
How to Add Beads on Plain Dresses
Are you interested to learn about the topic of how to add beads on plain dresses? If yes, we want to tell you that you are in the correct place. Yes, you got that right, and believe us, we are not trying to fool you.
If you want to learn the proper method of adding beads on plain dresses, then remember one thing you have to follow some basic rules; otherwise, you might not be able to perform the task appropriately.
But the good news is in this entire article we will provide you all the step-by-step discussion so that you can quickly understand the process of adding beads on a plain dress.
If you want to learn more about the process, please read the next sections of this article. You will learn about some of the factors that may have been preventing you from achieving your desired outcome.
An Overall Overview of the Topic
Beading is a type of art that has become popular recently. People who make things like jewelry and decorations use beads to create patterns and designs. This has also led to an increase in the popularity of beadwork in fashion and home decor.
Although it may seem daunting, beadwork can be a beautiful addition to a dress. By taking care and planning your beadwork in advance, you can successfully add your craft to any formal dress.
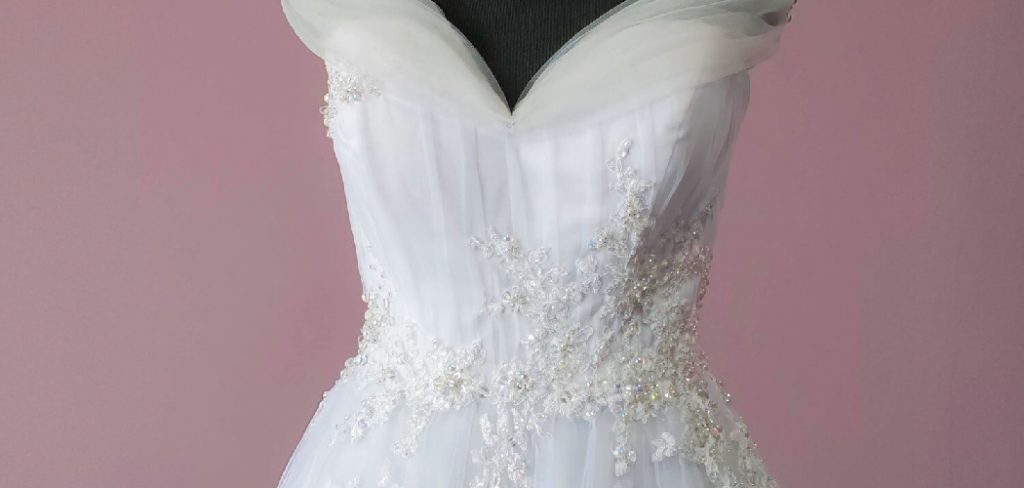
Sewing dots onto a bit of texture or garments is an incredible method to adorn it! You can make a basic dress look richer by sewing a couple of dabs onto the neck area or highlight a toss cushion by sewing globules.

Things that You Will Need
- Needles
- Dabs
- Beading string
- Tying apparatus (discretionary)
- Scissors

The Process of How to Add Beads on Plain Dresses
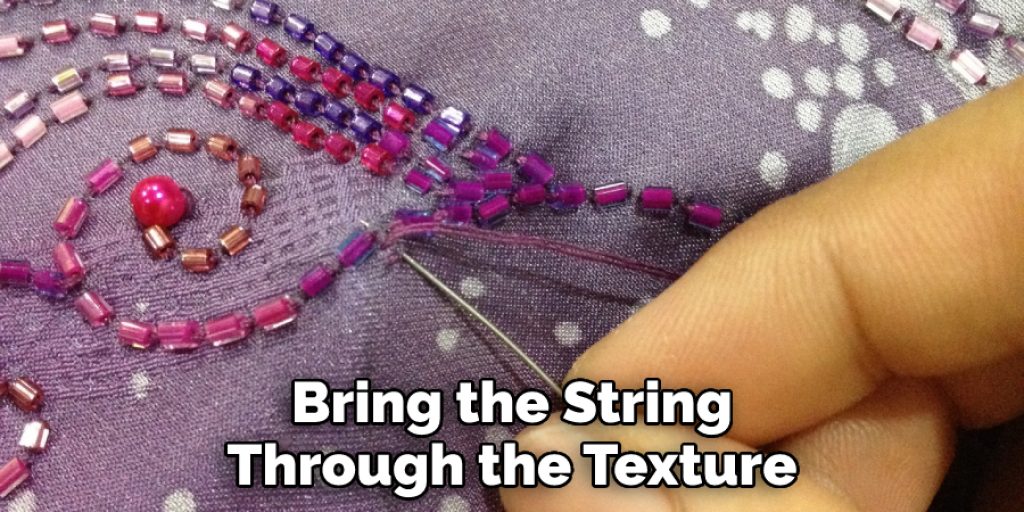
- When you are ready to include the first globule, embed the needle up through a similar gap you made for the first join. It will help diminish the measure of differences you make in the texture, which can harm the texture and look sloppy. If you can not find the specific opening, it is alright to embed the needle through the surface as near the gap, as could be expected under the circumstances.
- Hold the dab with your forefinger, so the opening is uncovered. At that point, embed the needle through the gap in the globule. Slide the bit down the length of the string until it is straight facing the fabric.
If you are sewing numerous globules on without a moment’s delay, at that point, embed the needle through each dot one at once until they are all on the string, and afterward pull the line rigid, so the dots lay against the texture. Be mindful so as not to leave yourself with the needle when you string it through the dab.
- Add the needle back through the texture on the opposite side of the globule. It will guarantee that your fasten will traverse the length of the globule, and the dab will lay level against the texture.
At that point, after you bring the string through the texture, pull the string rigid. If you want the lines to be closer together, then another alternative is to insert the needle directly close to your last line.
If you are sewing various dabs onto the texture without a moment’s delay, at that point, you can accumulate them to frame a straight line, or keep the string marginally free to that they will have the option to proceed onward the texture.
- Whenever wanted, you can make another go through the texture and the dot to guarantee that the globule will wait. Bring the needle up through a similar spot in the texture as you accomplished for the primary join, embed the needle through the dab once more, at that point, bring the needle down through the texture again in a similar area.
If you plan on washing your item frequently, it’s a smart idea to make a second pass with an extra secure bead. When you’re sewing multiple beads onto a string, be sure to sew through each of them evenly, as you did the first time.
- To secure the fastens after sewing the dot, push your needle through string under the dab on the rear texture. Yet leave around one in slack behind the dot. It will frame a little circle. Addition the needle through the loop and afterward pull it tight to bolt the string.
If you plan on washing your item frequently, it’s a smart idea to add an extra layer of protection by using a second layer of glue. When attaching multiple beads to a string, be sure to sew through each one evenly, as you did the first time.
- To add more great beads, move the needle to a brand new location on the bottom of the fabric. You can upload another bead proper next to the primary one or upload one some inches away. Observe the same technique for additional sewing beads onto the cloth.
Final Thoughts
For instance, you may retain clustering beads within the same region of your cloth, or you can flow the needle two inches faraway from the first bead and retain adding beads, which can be two inches away from every other to unfold them out.
We are at the end of the article. By this stage of this content, we believe you now have all the detailed information on the topic of how to add beads on plain dresses. Lastly, make sure you read the article with proper concentration so that you can execute the steps that we mentioned earlier in the article and flawlessly perform the task to achieve the most desired results that you were looking for a long time!
Elizabeth Davis
Elizabeth is a creative writer and digital editor based in the United States. She has a passion for the arts and crafts, which she developed from a young age. Elizabeth has always loved experimenting with new mediums and sharing her work with others. When she started blogging, she knew that DIYquickly would be the perfect platform to share her tutorials and tips. She's been writing for the blog from the beginning, and her readers love her helpful advice and easy-to-follow instructions. When she's not writing or editing, Elizabeth enjoys spending time with her family and friends.


