
How to Add Pockets to Crochet Cardigan
Adding pockets to a crochet cardigan not only enhances its functionality but also brings a stylish touch to your handmade creation. Pockets provide a practical way to carry small essentials while also giving your cardigan a more finished and personalized look.
In this guide on how to add pockets to crochet cardigan, we will explore the various methods to incorporate pockets seamlessly into your crochet project, ensuring that you can enjoy both the aesthetic and practical benefits of this popular design feature. Whether you’re a seasoned crocheter or a beginner, you’ll find tips and techniques to make the process enjoyable and rewarding.
Why Add Pockets to a Crochet Cardigan?
Adding pockets to a crochet cardigan serves multiple purposes that can greatly enhance the overall garment. First and foremost, pockets provide a functional aspect, allowing you to keep your essentials on hand, such as your phone, keys, or a small notebook. This convenience makes your cardigan more practical for everyday wear. Additionally, pockets can also play a significant role in the overall aesthetic of the piece.
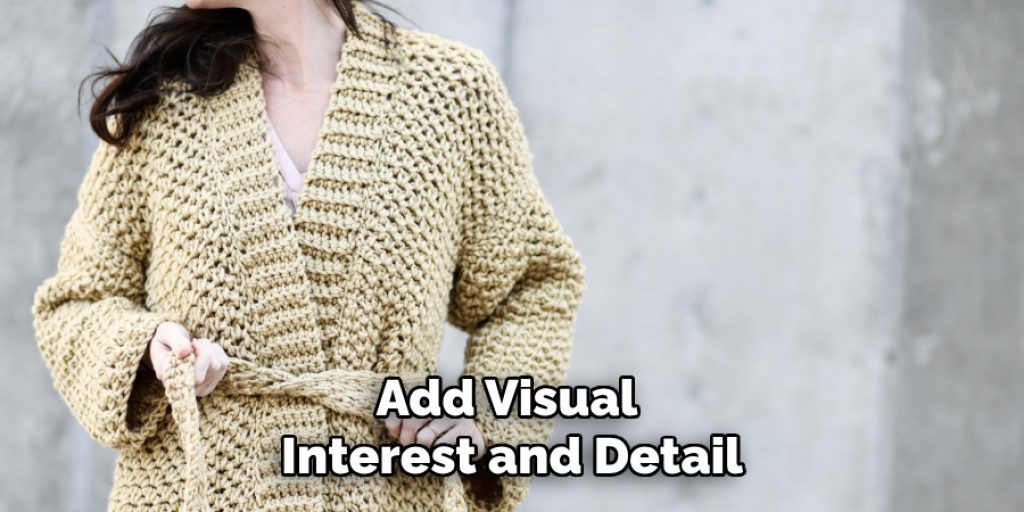
They can add visual interest and detail, creating a more tailored and sophisticated look. Furthermore, for many crocheters, incorporating pockets can be a fun and creative challenge, offering the opportunity to experiment with different shapes, sizes, and designs that complement their unique style. Ultimately, adding pockets transforms your crochet cardigan into a versatile and stylish wardrobe staple.
Types of Pockets to Add to Your Crochet Cardigan
Before beginning the process of adding pockets, it’s essential to consider what type of pocket you want to include in your crochet cardigan. There are several options that you can choose from, and each has its own unique look and purpose:
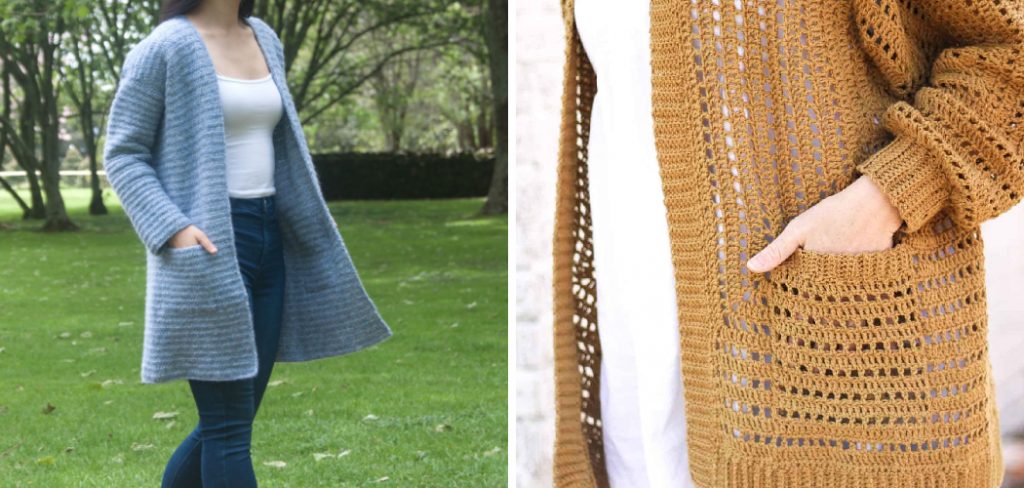
Patch Pocket:
This is the most commonly used pocket style for cardigans, where a separate piece of fabric or crochet is attached onto the garment. It creates a flap on the outside of the cardigan, providing a functional yet decorative touch.
In-Seam Pocket:
This type of pocket is integrated into the side seam of the cardigan, making it almost invisible from the outside. It’s perfect for those who prefer a more seamless and minimalistic look.
Kangaroo Pocket:
A popular choice in casual wear, this pocket style is created by crocheting a separate piece that is then attached to the front of the cardigan, creating a pouch-like pocket. It adds an element of coziness and texture to your cardigan.

8 Steps on How to Add Pockets to Crochet Cardigan
Step 1: Plan and Decide on Pocket Style
Before diving into your project, take a moment to plan and decide on the pocket style that best suits your crochet cardigan. Consider your personal aesthetic and how you envision the final piece. Each pocket type offers different functionalities and design elements, so think about what aligns with your vision.
For instance, if you prefer a more decorative look, a patch pocket might be the best choice, while an in-seam pocket is ideal for a streamlined appearance. If you’re aiming for a casual, comfortable feel, a kangaroo pocket could add a wonderful touch. Sketching your ideas or browsing inspiration online can help clarify your preferences. Once you have chosen a pocket style, gather the necessary materials such as yarn, a crochet hook, and any additional tools you might need, ensuring you’re ready to bring your chosen pocket design to life.
Step 2: Determine Pocket Placement
Next, you need to decide where on your cardigan you want to place the pockets. Factors such as the size and shape of your pockets, as well as the overall design of your cardigan, will influence this decision.
Keep in mind that for functional pockets, it’s essential to place them within comfortable reach of your hands. For decorative purposes, consider symmetry and balance when determining pocket placement.

Step 3: Create a Pocket Pattern
Once you have determined the pocket placement, it’s time to create your pocket pattern. Start by deciding on the dimensions of your pockets based on the style you’ve chosen and your personal preferences. For a patch pocket, sketch a rectangle that corresponds to the desired size, keeping in mind that some extra inches are needed for seam allowances.
If you opt for an in-seam pocket, measure the side seam of your cardigan to ensure a snug fit without disrupting the overall look. For a kangaroo pocket, sketch a larger pouch shape that accommodates both hand placement and the visual aesthetics you desire. After determining your pocket shape, it’s beneficial to create a swatch using the same yarn and stitch pattern as your cardigan. This will help you to assess the drape and density of your stitches, allowing you to adjust your pocket dimensions accordingly. Once satisfied with your pocket design, you can move on to the crochet portion of this project.
Step 4: Crochet the Pocket
With your pocket pattern established, it’s time to start crocheting your pocket. Begin by choosing the appropriate yarn and crochet hook as per your gauge. For a patch pocket, chain the desired number of stitches that correspond to the width of your pocket pattern, then proceed with your stitch pattern, ensuring you follow the dimensions you sketched. Keep crocheting until you reach the required length.
For an in-seam pocket, follow the same process but pay closer attention to the appropriate dimensions to ensure a snug fit within the side seam. When crafting a kangaroo pocket, make sure to leave plenty of room for both hand placement and an appealing look. Remember to check your work frequently to ensure it aligns with your initial measurements. Once you have completed your pocket piece, finish off your stitches and cut the yarn, leaving a long tail that can be used for sewing the pocket onto your cardigan. Make sure to weave in any loose ends to maintain a neat appearance.
Step 5: Prepare the Cardigan
Before attaching your pocket, make sure to prepare the area on your cardigan where it will be sewn. This includes double-checking measurements and placing markers to indicate the pocket’s placement. It’s helpful to steam or block your cardigan beforehand to ensure that the stitches have an even appearance and reduce any puckering or distortion of shape when sewing on the pocket.
It’s also beneficial to reinforce the area where the pocket will be attached by adding a few stitches around the edges of the pocket placement. This will help prevent any stress on the fabric and ensure the longevity of your pockets.
Step 6: Sew on the Pocket
Using a yarn needle, attach your crochet pocket piece to your cardigan using a backstitch or any preferred sewing method. Make sure to line up your pocket with the designated placement markers and sew along all sides, leaving an opening for functional pockets. For decorative pockets, you can choose to stitch down all edges or leave some open for added texture.
You can also opt to sew on buttons or add a zipper for added functionality and style. It’s essential to maintain even tension and secure stitching for durability.
Step 7: Finishing Touches
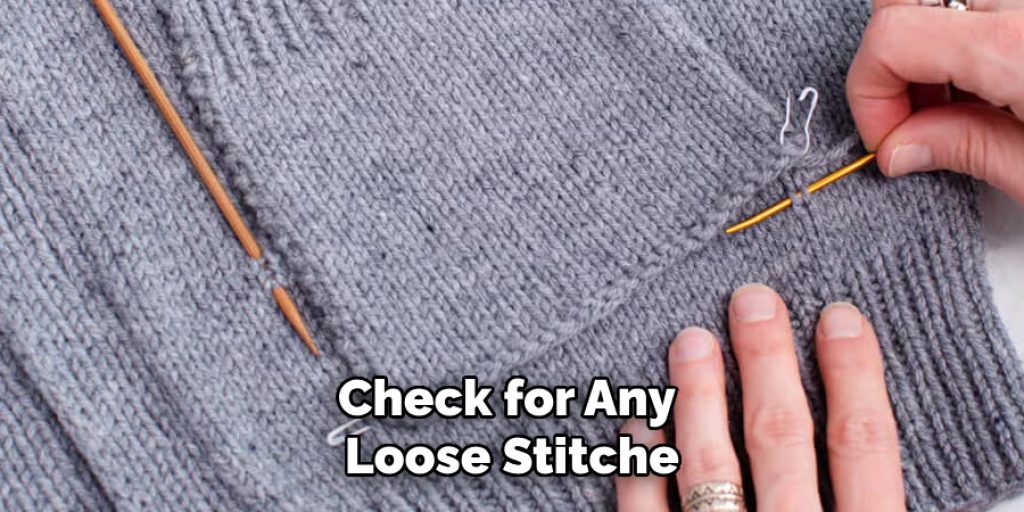
After attaching your pocket, take a moment to admire your handiwork and make any necessary adjustments. Check for any loose stitches or uneven edges and reinforce them if needed. You can also opt to add a lining to your pocket for extra stability and a polished finish.
The final step is to block your cardigan once again, ensuring the pocket lies flat and in perfect alignment with the rest of your creation.
Step 8: Enjoy Your New Crochet Cardigan with Pockets!
Congratulations! You have successfully added pockets to your crochet cardigan. Now it’s time to wear and enjoy your new cozy, functional, and stylish garment. Experiment with different pocket styles, colors, and textures for a unique touch each time you create a new piece.
Don’t forget to share your creations on social media and inspire others to add pockets to their crochet projects as well. Following these steps on how to add pockets to crochet cardigan, you can easily add pockets to any of your crochet garments and elevate their functionality and design.
Frequently Asked Questions
Q: Can I Add Pockets to Any Crochet Cardigan?
A: Yes, you can add pockets to any crochet cardigan as long as it is possible to sew onto the fabric without damaging or altering its overall design. It’s important to consider the weight of your pockets and ensure that the fabric can support them without adding too much strain.
Q: How Long Does It Take to Crochet Pockets for a Cardigan?
A: The time it takes to crochet pockets for a cardigan will depend on the size, style, and complexity of your chosen pocket design. On average, it can take anywhere from 1-3 hours to create a set of simple patch pockets. More intricate designs such as kangaroo or in-seam pockets may take longer.
Q: Can I Knit Instead of Crochet Pockets?
A: Yes, you can knit instead of crochet pockets onto your cardigan. However, the process and techniques may differ slightly depending on your chosen style and stitch pattern. It’s recommended to follow a knitting pattern specific to pockets for best results.
Q: How Do I Attach Buttons or Zippers to My Crochet Pockets?
A: To attach buttons or zippers to your crochet pockets, you can either sew them on before attaching the pocket to your cardigan or sew them directly onto the fabric after the pocket is attached. Make sure to use strong yarn or thread and secure stitches for durability.
Conclusion
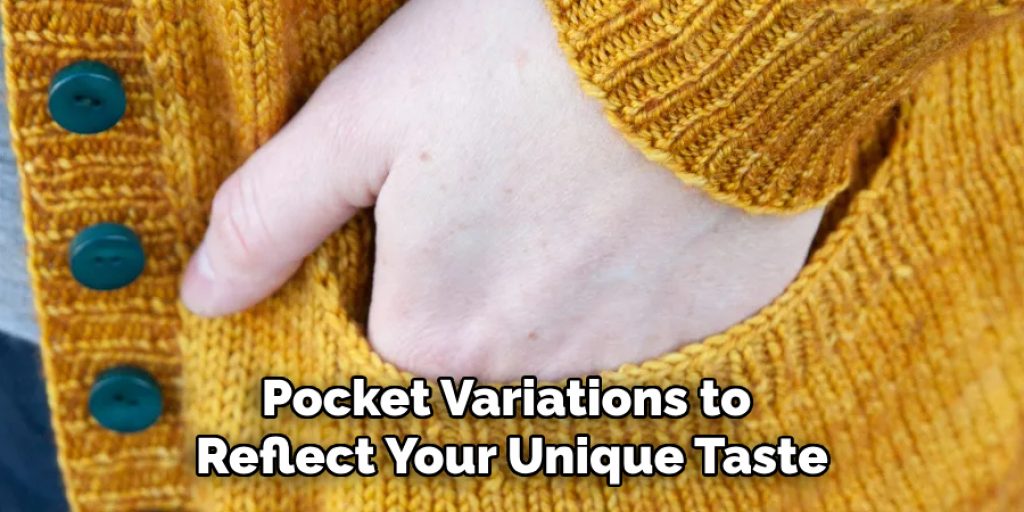
Adding pockets to your crochet cardigan not only enhances its functionality but also introduces an element of personal style to your creation. By carefully selecting your pocket design and paying attention to the attachment process, you can transform a simple cardigan into a chic and practical piece of clothing. Remember to be creative—experiment with different yarns, textures, and pocket variations to reflect your unique taste.
As you wear your cardigan, relish the satisfaction of showcasing your craftsmanship and enjoy the convenience of having pockets at your fingertips. Happy crocheting, and may your future projects be as rewarding and enjoyable as this one! Thanks for reading this article on how to add pockets to crochet cardigan.
Elizabeth Davis
Elizabeth is a creative writer and digital editor based in the United States. She has a passion for the arts and crafts, which she developed from a young age. Elizabeth has always loved experimenting with new mediums and sharing her work with others. When she started blogging, she knew that DIYquickly would be the perfect platform to share her tutorials and tips. She's been writing for the blog from the beginning, and her readers love her helpful advice and easy-to-follow instructions. When she's not writing or editing, Elizabeth enjoys spending time with her family and friends.


