How to Sew Pocket Square
Sewing a pocket square is not only a practical skill but also a creative one. It adds an elegant and refined touch to your attire while making you stand out in the crowd. Plus, sewing your own pocket square allows you to customize it according to your style and preference.
The main advantage of learning how to sew a pocket square is that you can create your own unique and personalized accessory. By utilizing different fabric patterns, colors, and textures, you can add a touch of style to your outfit. This allows you to stand out from the crowd and showcase your individuality. In this blog post, You will learn in detail how to sew pocket square.
Step-by-step Instructions for How to Sew Pocket Square
Step 1: Inspect the Fabric
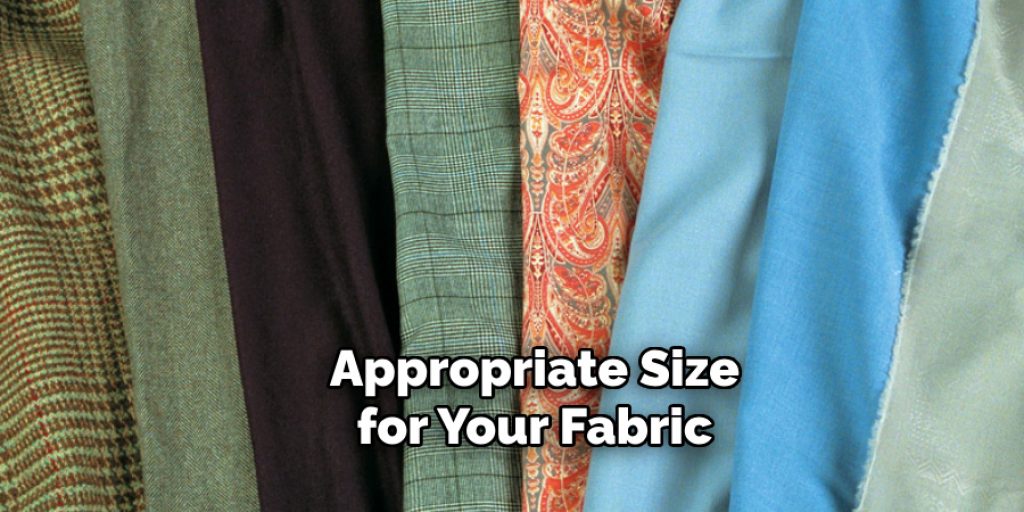
First, you need to inspect the fabric that you will be using for your pocket square. Make sure it is clean and free from any defects or blemishes. If there are any wrinkles, iron them out before starting. Using a measuring tape, measure a 12×12 inch square on your chosen fabric. Once measured, carefully cut out the square.
Step 2: Fold the Edges
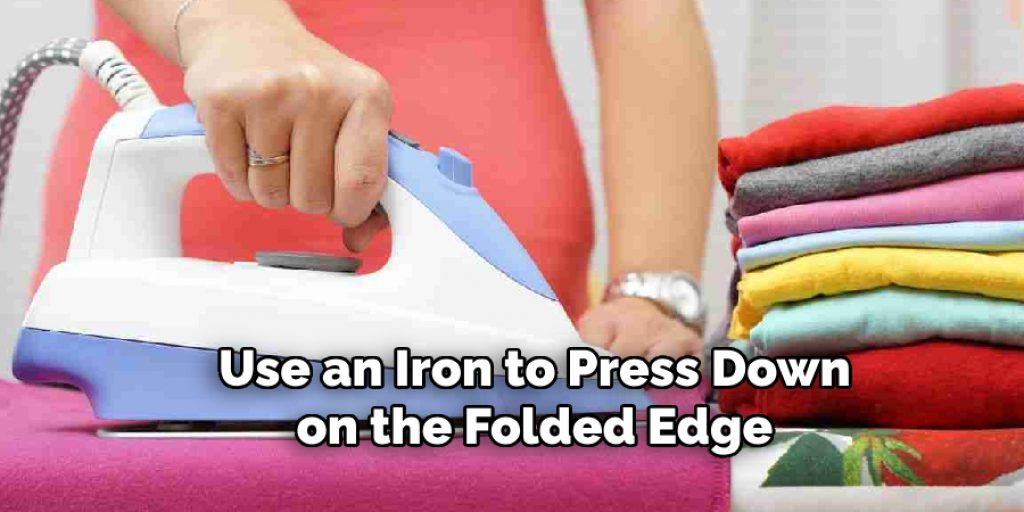
Take each edge of the fabric and fold it over by 1/4 inch. Use an iron to press down on the folded edge to create a crisp crease. Repeat Steps for all four edges of the fabric. This will create a neat and tidy edge for your pocket square.
Step 3: Fold the Corners
Take one of the corners and fold it in towards the center to meet the folded edges. Repeat this step for all four corners, creating a triangle shape with your fabric. Once all four corners are folded, secure them in place by using sewing pins. This will make it easier to sew the edges together.
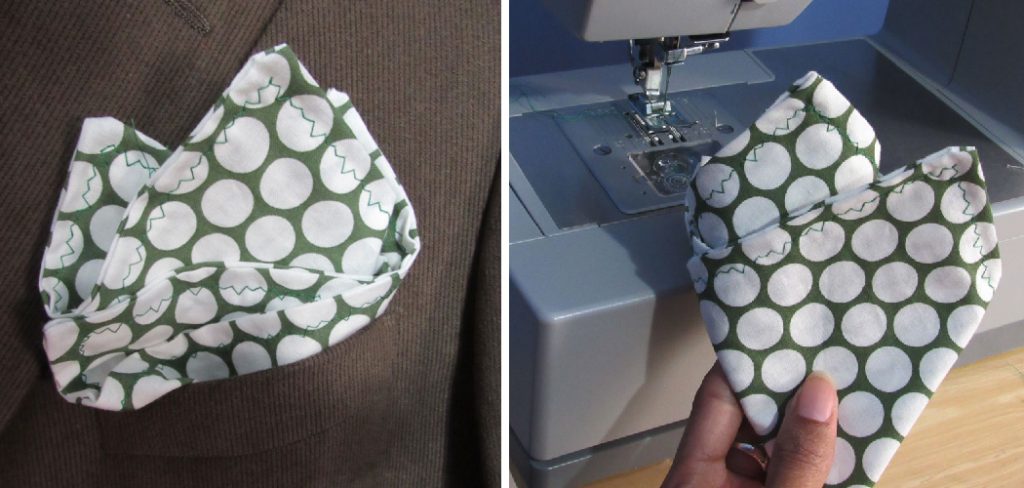
Step 4: Sew the Edges
Using a needle and thread, carefully sew along each edge of the folded fabric. Make sure to keep your stitches small and evenly spaced for a clean finish. After sewing, trim any excess fabric from the corners and edges, making sure to leave a small seam allowance.
Step 5: Turn Inside Out
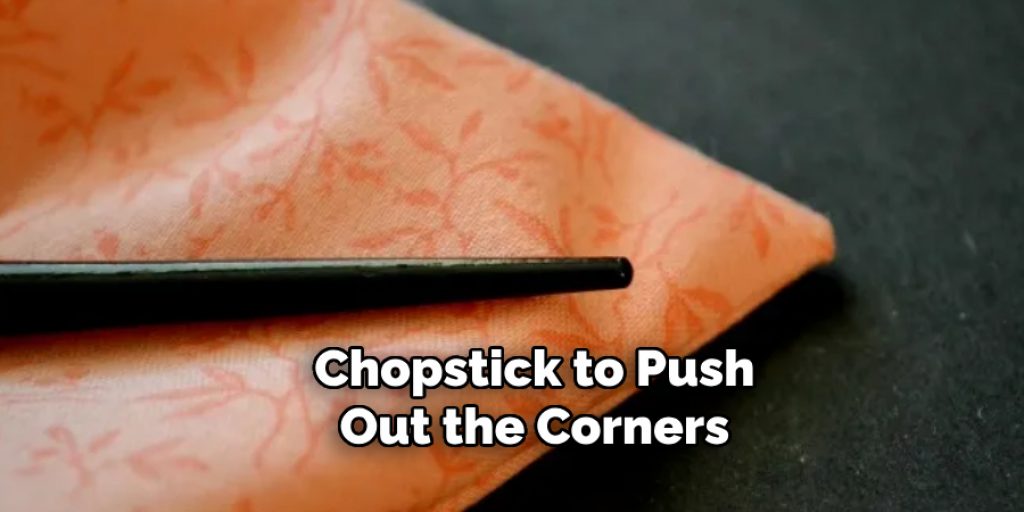
Gently turn the fabric inside out, using a pencil or chopstick to push out the corners. This will reveal the right side of your pocket square. Use an iron to press down on your pocket square, making sure all edges are crisp and straight.
Step 6: Finish the Edges
To give your pocket square a professional look, you can finish the edges with a rolled hem or a hand-stitched blanket stitch. Now that you have completed all the steps, you can proudly wear your handmade pocket square. Experiment with different fabrics and patterns to create unique pocket squares for any occasion.
By following these step-by-step instructions, you can easily sew your own pocket square and add a personal touch to your wardrobe.
Safety Tips for How to Sew Pocket Square
- Remember to always use proper safety equipment, such as scissors with sharp blades and a needle that is the appropriate size for your fabric.
- Make sure to wash your pocket square before sewing, as this will help prevent any shrinkage or color bleeding.
- Use a ruler or measuring tape to ensure accurate measurements and straight lines while cutting your fabric.
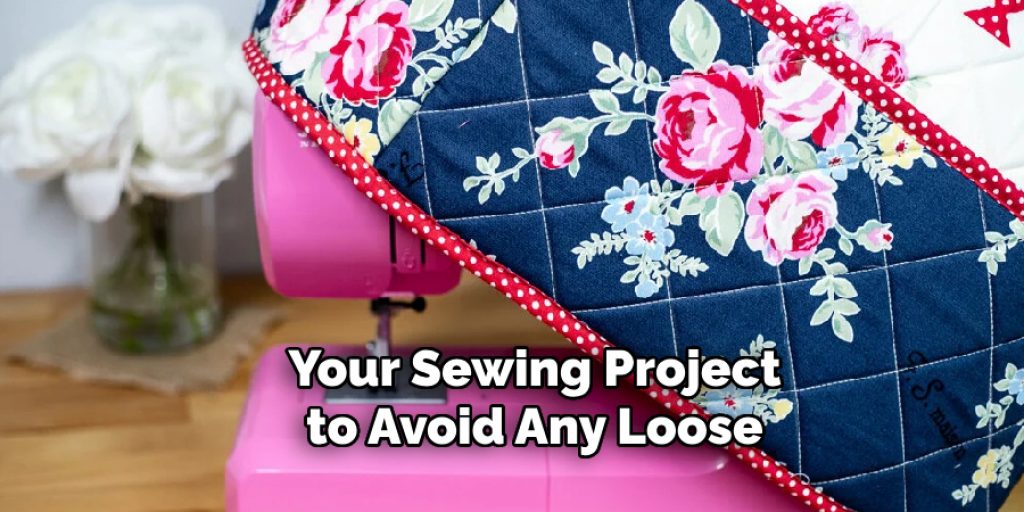
- Always double-check your thread tension before starting your sewing project to avoid any loose or uneven stitching.
- When using a sewing machine, keep your fingers and hands away from the needle and other moving parts to prevent injuries.
- Always sew in a well-lit area to avoid eye strain and ensure accurate stitching.
- If you are new to sewing, it is recommended to practice on scrap fabric first before working on your pocket square to avoid any mistakes or accidents.
In addition to these safety tips, there are also other precautions to keep in mind while sewing a pocket square.
Techniques for Sewing Pocket Square
1. Use Iron-On Adhesive Tape
One of the easiest ways to sew a pocket square is by using iron-on adhesive tape. This technique does not require any sewing skills and can be done quickly. All you need is an iron, adhesive tape, and fabric.
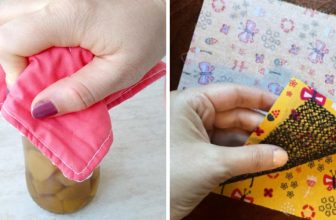
To start, cut the fabric into a square shape according to your desired size for the pocket square. Then, fold the edges of the fabric about ¼ inch and iron them to create a crisp edge. Next, place the adhesive tape inside the folded edges and iron over it for a few seconds to secure it in place. Finally, fold the pocket square into your desired shape and iron over it again for a polished finish.
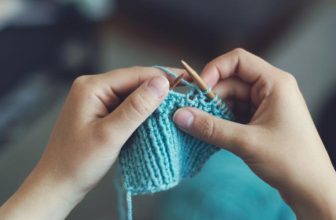
2. Hand-Sewing Technique
If you prefer a more traditional approach, hand-sewing is the way to go. It may take a bit longer than using adhesive tape, but the end result will be worth it. To sew a pocket square by hand, you will need a needle, thread, and fabric.
First, cut the fabric into a square shape and fold the edges about ¼ inch. Then, use small, neat stitches to secure the folded edges in place. Make sure to double back at each corner for extra reinforcement. Once all the edges are sewn, use an iron to press them flat and give your pocket square a clean look.
3. Machine-Sewing Technique
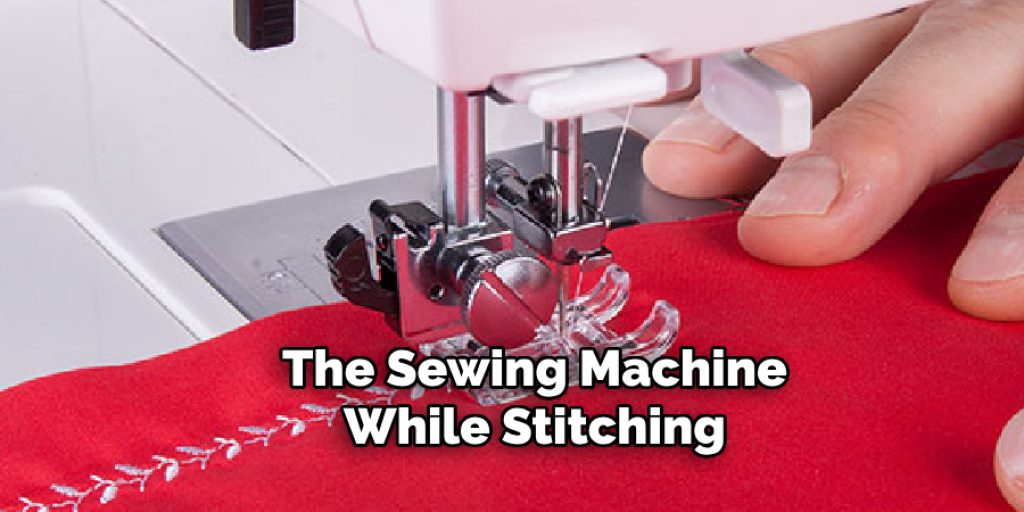
For those who have a sewing machine or prefer a more efficient method, machine-sewing is a great option. This technique will give you a clean and professional finish in less time. You will need a sewing machine, thread, and fabric for this technique.
To start, cut the fabric into a square shape and fold the edges about ¼ inch. Then, use your sewing machine to stitch along the folded edges with a straight or zigzag stitch. Make sure to backstitch at the beginning and end to secure the stitches. Finally, use an iron to press the edges flat for a polished look.
4. Rolled-Hem Technique
The rolled-hem technique is perfect for those who want a delicate and clean finish on their pocket square. It requires basic sewing skills and attention to detail. To start, cut the fabric into a square shape and fold the edges about ¼ inch. Then, fold the edges again to hide the raw edge and use a straight or zigzag stitch to secure them in place.
5. Hand-Rolled Technique
This technique is commonly used for silk pocket squares to give them a luxurious finish. It requires patience and precision but will result in a beautiful hand-rolled edge. To start, cut the fabric into a square shape and fold the edges about ¼ inch. Then, using your needle and thread, carefully roll the raw edge of the fabric towards the wrong side while stitching it in place. Make sure to keep the stitches small and even for a clean finish.
6. Frayed Edge Technique
If you prefer a more casual and edgy look, you can intentionally fray the edges of your pocket square. This technique works best with fabrics like linen or cotton. To start, cut the fabric into a square shape and use your fingers or a small brush to gently pull out threads along the edges. Continue until you have achieved your desired level of fraying.
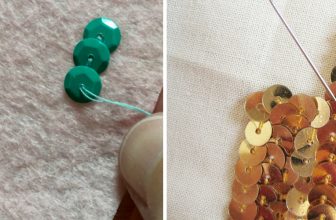
7. Embroidery Technique
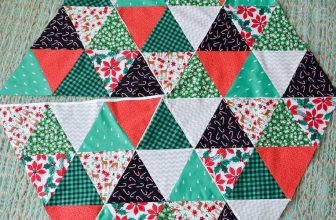
For those who want to add a personal touch to their pocket square, embroidery is a great option. You can use different types of stitches and designs to create a unique and personalized look. To start, cut the fabric into a square shape and draw your desired design or pattern onto it with a water-soluble marker. Then, using an embroidery hoop, thread, and needle, carefully stitch over the marked design.
Care and Maintenance of Pocket Squares After Sewing Pocket Square
Now that you have successfully sewn your own pocket square, it is important to know how to care for and maintain it to ensure its longevity. Here are some tips on how to properly take care of your pocket square:
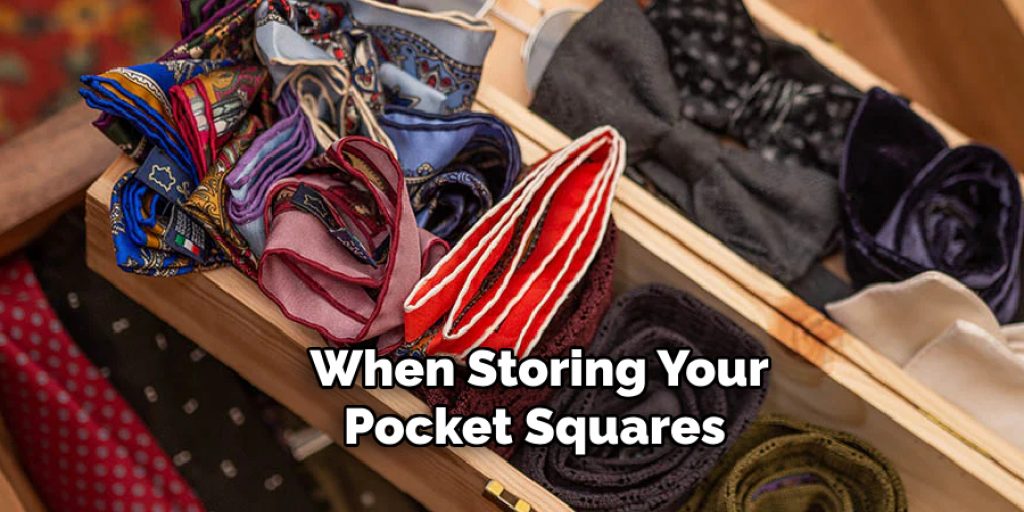
- Store Them in a Safe Place: When not in use, make sure to store your pocket squares in a clean and dry place away from direct sunlight. This will prevent them from getting dirty, discolored, or damaged.
- Spot Clean Stains: If your pocket square gets stained, it is best to spot clean the affected area using a gentle detergent and warm water. Avoid rubbing harshly as this can damage the fabric.
- Iron Carefully: Always use a low heat setting when ironing your pocket square to avoid damaging the fabric. If your pocket square has delicate details like embroidery or frayed edges, iron them from the backside.
- Rotate Wear: To prevent excessive wear and tear on one pocket square, it is best to rotate and switch them out every so often.
- Dry Clean When Necessary: For delicate fabrics like silk, it is recommended to take your pocket square to a professional dry cleaner for cleaning.
- Store Them Flat: When storing your pocket squares, make sure to lay them flat instead of folding them. This will prevent creases and wrinkles from forming.
- Handle With Care: Pocket squares are delicate and should be handled with care. Avoid pulling or tugging on the fabric too much as this can cause damage or distortion.
By following these care and maintenance tips, you can ensure that your pocket squares will stay in good condition for years to come.
Troubleshooting Common Issues for How to Sew Pocket Square
In this section, we will discuss some common issues that people may face while sewing a pocket square and how to troubleshoot them.
1. Fabric Slipping or Shifting
One of the most common issues faced by beginners is fabric slipping or shifting while sewing. This can result in uneven stitches and a messy finished product. To avoid this, make sure to use pins to secure the fabric in place before sewing. You can also use fabric adhesive or basting stitches to keep the fabric from moving.
2. Uneven Corners
Another common issue is uneven corners on the pocket square. This can happen if you don’t cut the fabric properly or if you don’t fold and press the corners accurately. To avoid this, always make sure to use a ruler or measuring tape when cutting the fabric and take your time to fold and press the corners correctly.
3. Tangled Thread
Tangled thread is a frustrating issue that can occur while sewing a pocket square. This can happen if the thread tension is too high or if you are using low-quality thread. To prevent this, make sure to use good quality thread and adjust the tension on your sewing machine according to the fabric you are using.
4. Crooked Stitches
Crooked stitches can ruin the overall look of your pocket square. This issue can occur due to improper handling of the fabric or if the needle is not inserted correctly in the sewing machine. To prevent this, make sure to handle the fabric gently and always double-check if the needle is inserted correctly before sewing.
5. Puckering or Gathers
Puckering or gathers can occur when the fabric is not fed evenly through the sewing machine while stitching. To avoid this, make sure to guide the fabric smoothly and avoid pulling it too hard. You can also use a walking foot attachment for your sewing machine to prevent puckering.
6. Needle Breakage
Needle breakage is not only frustrating but can also be dangerous. This can happen if you are using the wrong type or size of needle for the fabric or if the needle is dull. Make sure to always use the recommended needle for the fabric and replace it if it becomes dull.
7. Uneven or Unfinished Edges
An uneven or unfinished edge can make your pocket square look sloppy and unprofessional. This can happen if you don’t trim the fabric evenly or if you don’t sew close enough to the edge. To avoid this, always take your time to trim the fabric accurately and use a seam guide when sewing to ensure evenly spaced stitches.
In conclusion, by being aware of these common issues and knowing how to troubleshoot them, you can sew a perfect pocket square without any hassle. Remember to always take your time, use good quality materials, and pay attention to detail for the best results.
Important to Know How to Sew a Pocket Square
1. Sewing a Pocket Square Adds a Personal Touch to Your Style
A pocket square is an accessory that adds a touch of elegance and personality to any outfit. Whether you’re dressing up for a special occasion or just want to add some flair to your everyday look, sewing your own pocket square allows you to choose the fabric, color, and style that best reflects your personal taste.
2. It’s a Cost-Effective Way to Update Your Wardrobe
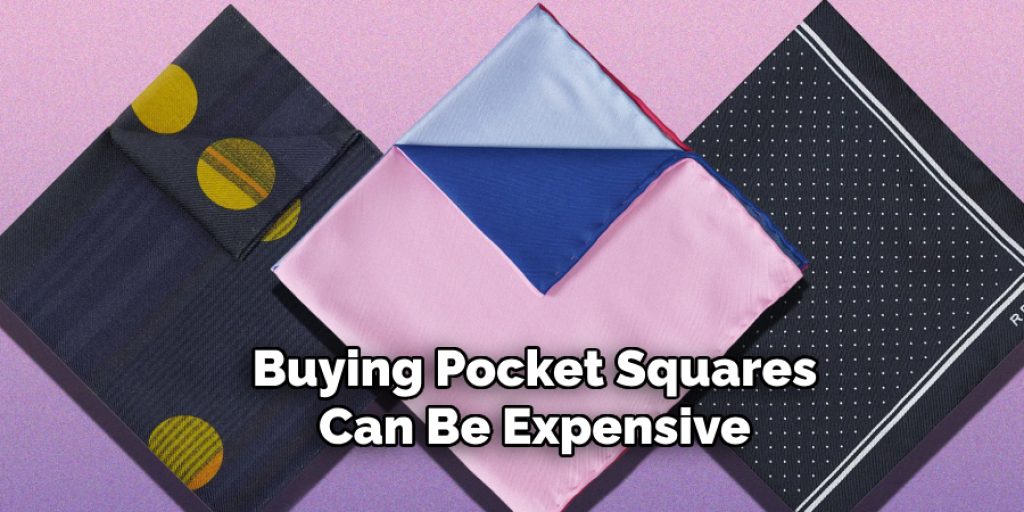
Buying pocket squares can be expensive, especially if you want high-quality ones. By learning how to sew your own pocket square, you not only have the freedom to choose from a wider range of fabrics but also save money in the long run. You can easily make several pocket squares for the price of one store-bought version.
3. You Can Customize Your Pocket Square to Fit Perfectly
One of the biggest challenges with buying pocket squares is finding the perfect fit for your jacket or suit pocket. But by sewing your own, you can customize the size and shape to fit your specific needs. This will not only ensure a perfect fit but also prevent your pocket square from slipping or falling out of your pocket.
4. It’s a Fun and Creative Project
Learning how to sew a pocket square is not only a practical skill but also a fun and creative project. You can experiment with different fabric patterns, textures, and shapes to create unique pocket squares that complement your style. You can also add personal touches like monograms, embroidery, or decorative stitching to make your pocket square truly one-of-a-kind.
5. You’ll Gain Basic Sewing Skills
Sewing a pocket square may seem like a small task, but it involves several basic sewing techniques that can be applied to larger sewing projects. By mastering these skills, you’ll be able to tackle more complex sewing projects in the future with confidence and ease.
6. It’s a Handy Skill to Have in Emergencies
Knowing how to sew a pocket square can come in handy during emergencies when you need to fix a loose thread or hem on your outfit. Instead of stressing out about finding a tailor or improvising with safety pins, you can quickly and easily mend the issue yourself.
7. You Can Make Pocket Squares as Gifts
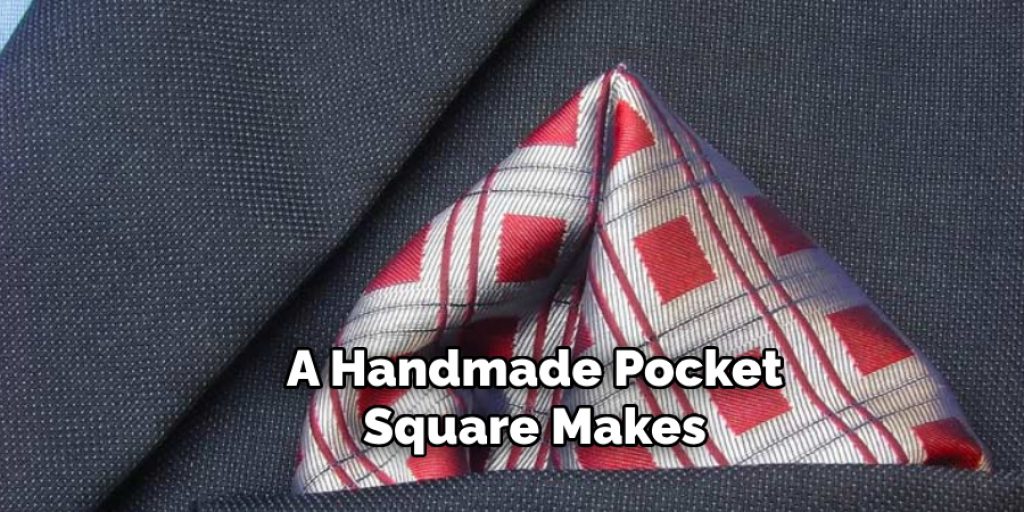
A handmade pocket square makes for a thoughtful and unique gift for friends and loved ones. You can personalize the fabric and design to suit their individual style, making it a meaningful and practical present that they will appreciate.
Learning how to sew a pocket square may seem like a small skill, but the benefits are significant. From adding a personal touch to your style to gaining basic sewing skills, it’s a useful skill to have.
Conclusion
In conclusion, sewing a pocket square is a simple and fun DIY project that can elevate any outfit. By following the steps outlined in this blog, you can create your own unique pocket squares to add a touch of personality to your style.
One of the best things about sewing your own pocket square is that you have complete creative control over the design, size, and fabric choices. You can choose to match it with your tie or shirt, or go for a contrasting pattern or color.
The possibilities are endless and you can create pocket squares that perfectly complement your personal style. Not only is sewing a pocket square cost-effective, but it also allows you to repurpose old fabrics and turn them into stylish accessories.
This sustainable approach not only benefits the environment but also adds character to your outfits. I hope reading this post has helped you learn how to sew pocket square. Make sure the safety precautions are carried out in the order listed.
Nancy Behan
Nancy is an embroidery artist, fashion blogger and a full time editor at DIY quickly. Nancy edits the fashion section on DIY quickly, focusing on the embroidery and cross stitch articles, alongside with fabric and other costume design elements. She graduated from the University of Michigan with a Bachelor of Arts in Art History. She loves to work on her own projects, read books and watch romantic movies in her spare time.