
How to Assemble a Platform Bed
Instead of the conventional box frames, a platform bed lifts the mattress onto a series of slats. These slats can accommodate an unstructured mattress such as a futon or support a regular mattress and box spring layouts. Platform beds are typically more straightforward to use rather than some common types of beds.
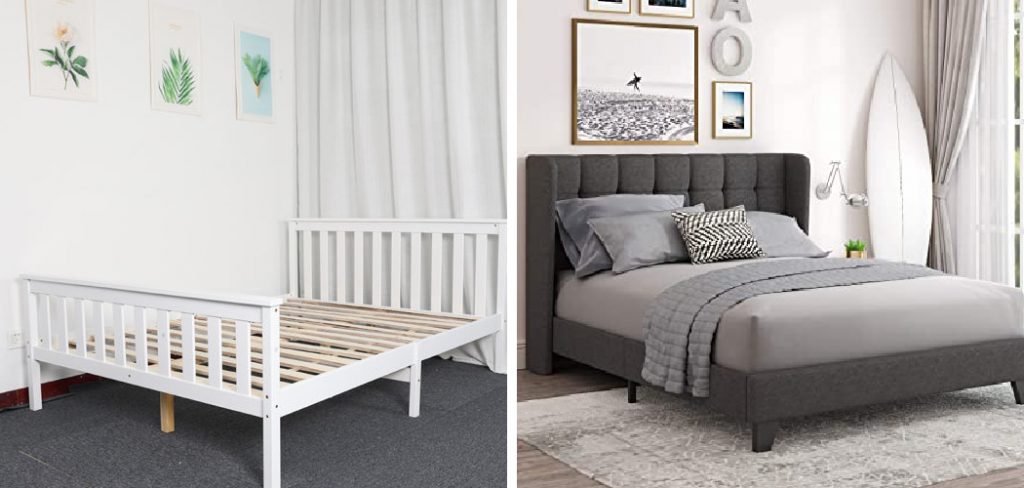
While various models have different characteristics, the assembly method from design to design remains identical. How to assemble a platform bed properly? Don’t worry; you won’t have to call experts to assemble your platform bed. You can simply do that with some simple tactics.
Once, I also had a struggle while assembling my newly bought platform bed. The settings were quite confusing for me, and I couldn’t figure them out for the first time. But once, I spend only 60 minutes getting through this and figuring out the exact way of doing this. So, let’s have a look at the process.
How to Assemble a Platform Bed

Step 1 – First, you have to clear a particular space of your room where you intended to set your platform bed. After all, you are not going to set your bed over other furniture. Moving these things and starting the process in a cleaned area will be easier for you.
Step 2 – Target a particular place on the wall where you will finish, then lay the headboard against that place.
Step 3 – To attach the side rail to the headboard, you must follow the manual instructions. This can be tricky, but the basic process involves using a screw or bolt mounted on a screwdriver or hex wrench.
Step 4 – Once you have completed mounting one of the sidebars. You will now become able to finish the rest. So, repeat the previous process and complete mounting the rest of the rails.
Step 5 – Position the footboard at the side rail closed end. Just as you have completed the headboard, follow the same process for the footboard.
Step 6 – If your layout contains one, connect the middle support bars. Its attachment process is similar to the side rails. This process can be completed by using different approaches in some ways. See the directions of the manufacturer, whether they have mentioned.
Step 7 – Place the slats in a perpendicular form with the rails and then secure the stands on the side rails in compliance with the supplier’s directions.
Elizabeth Davis
Elizabeth is a creative writer and digital editor based in the United States. She has a passion for the arts and crafts, which she developed from a young age. Elizabeth has always loved experimenting with new mediums and sharing her work with others. When she started blogging, she knew that DIYquickly would be the perfect platform to share her tutorials and tips. She's been writing for the blog from the beginning, and her readers love her helpful advice and easy-to-follow instructions. When she's not writing or editing, Elizabeth enjoys spending time with her family and friends.


