How to Attach a Balloon Arch to A Wall
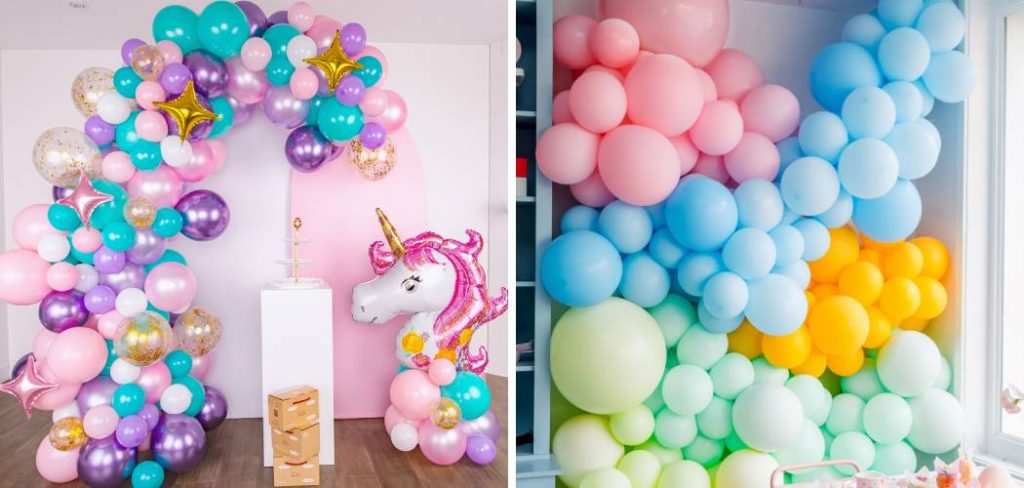
Balloon arches are vibrant and eye-catching decorations that elevate any event’s ambiance, from birthday parties to weddings and corporate functions. These stunning displays create a festive atmosphere, serving as perfect backdrops for photographs and enhancing the overall aesthetic of the venue. However, securely attaching it to a wall is essential to ensure that a balloon arch remains stable throughout the celebration. This guide will provide you with a clear understanding of how to attach a balloon arch to a wall, outlining the necessary process and materials for a successful setup. By following this guide, you’ll learn how to create a beautiful balloon arch and ensure its stability and longevity during your special occasion.
Materials and Tools Needed
To create an impressive balloon arch, you will need the following materials: a selection of vibrant balloons, a balloon arch frame (either pre-made or constructed from flexible tubing), adhesive hooks, balloon tape, command strips, and wall-safe adhesive to ensure no damage occurs to the surface. The tools required for assembly include scissors, a tape measure for precise placement, a ladder for height access, and a balloon pump to inflate your balloons efficiently. Optional tools that can enhance your project are glue dots for secure adhesion, a fishing line for added support, and zip ties to connect the frame. Gathering these materials and tools beforehand will streamline the process and ensure a successful balloon arch installation.
Preparing the Balloon Arch
Inflating the Balloons
To begin creating your balloon arch, start by inflating the balloons using a balloon pump or a helium tank, depending on the desired effect and whether you want the arch to float. For most balloon arches, a regular air pump is sufficient. Ensure that each balloon is evenly inflated to achieve a uniform size and appearance; this is crucial for maintaining a polished look. As you inflate, tie the knots securely to prevent any deflation. If you’re using helium, remember that the balloons will float, which may require additional anchoring methods to stabilize the arch. After inflating, group the balloons by color or size if you plan to create a pattern; this will facilitate the subsequent assembly process.

Assembling the Arch Frame
Once your balloons are prepared, proceed to assemble the arch frame. If you are using a pre-made frame, simply connect the segments as per the manufacturer’s instructions, ensuring that all connections fit snugly and securely. If constructing your own frame from flexible tubing, cut the tubing to the desired lengths and connect them with ties or connectors. Ensure the frame is stable and fully assembled before attaching the balloons.
How to Attach a Balloon Arch to A Wall: Attaching the Arch Frame to the Wall
Choosing the Attachment Method
When it comes time to attach the arch frame to the wall, the first step is to choose the most appropriate method based on the weight of your frame. For lightweight frames, adhesive hooks or command strips work well, holding the frame securely without damaging the wall. Opt for wall-safe adhesives or brackets for heavier frames that provide a more robust support structure. Always ensure that the chosen attachment method is suitable for your wall type, whether it’s drywall, plaster, or another material, to avoid any damage.

Mounting the Frame
Next, measure and mark the wall where you want to place the arch frame to ensure precise placement. Use a level to confirm the markings are straight. After marking, attach your adhesive hooks or strips according to the instructions, ensuring they are firmly adhered. Finally, carefully mount the arch frame onto the hooks or brackets, checking for level and stability. This ensures that your arch looks great and remains securely in place throughout the event.
Decorating the Balloon Arch
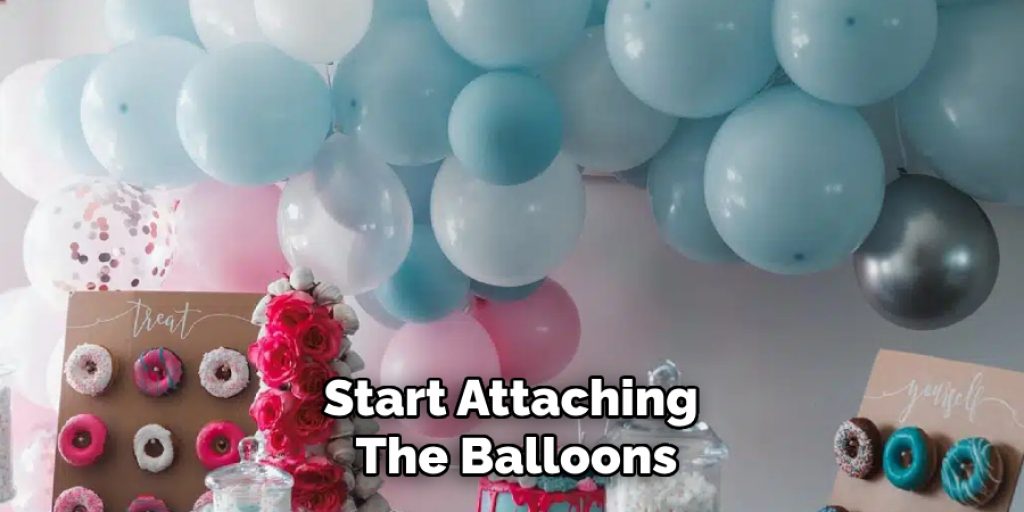
Attaching Balloons to the Frame
Now that your arch frame is securely mounted, it’s time to start attaching the balloons. Using balloon tape or glue dots, begin by affixing the balloons to the frame, ensuring that each balloon is firmly attached to prevent any from falling off. Arrange the balloons in your desired pattern or color scheme, considering gradients or clusters for a more dynamic look. A balanced distribution of colors can create visual interest, so be mindful of the placement as you work your way around the arch. As you attach the balloons, fill in any gaps to ensure a full and vibrant appearance; this will enhance the overall aesthetic of the arch and make it more eye-catching.
Securing and Adjusting the Arch
Once all the balloons are attached, step back to evaluate the arch’s overall appearance. Adjust the position of any balloons that appear uneven or out of place to achieve a balanced look. Use additional tape or glue dots to secure any loose balloons that might shift during the event. Check that the arch maintains its shape and is firmly attached to the wall, as ensuring stability is key to a successful display.
Final Touches and Maintenance
Before the event begins, thoroughly inspect the balloon arch for any issues, such as loose balloons or uneven sections. Make necessary adjustments to the arch or wall attachment to address any concerns. To maintain the arch’s integrity during the event, keep it away from direct sunlight and heat sources, as excessive warmth can cause the balloons to lose their shape or color. Regularly check throughout the event to ensure everything remains secure and vibrant.
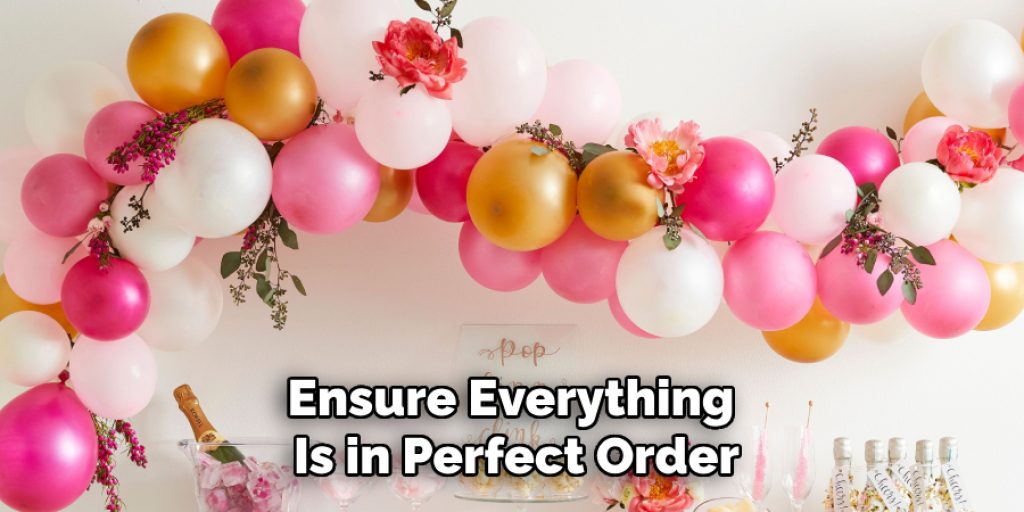
Final Touches and Maintenance
Before the event begins, it’s essential to thoroughly inspect the balloon arch to ensure everything is in perfect order. Look for any loose balloons or uneven sections that may detract from the overall aesthetic. Make necessary adjustments by repositioning or securing any balloons that may have shifted during the assembly process. Additionally, use extra tape or glue dots where needed to reinforce the balloons’ attachment, ensuring that none will fall off during the event.
To maintain the integrity of the arch throughout the celebration, it’s crucial to position it away from direct sunlight and heat sources. Excessive heat can cause balloon materials to expand and potentially pop or change color, leading to an undesired appearance. Regularly monitor the arch during the event to check for any signs of deflation or instability. If any issues arise, spare balloons and tools are available for quick repairs. Finally, remember to take plenty of photos of your beautiful creation while it lasts, as a well-crafted balloon arch can provide a stunning backdrop and unforgettable memories for your special occasion.
Troubleshooting Common Issues
Even well-planned balloon arches can encounter challenges during assembly or display. One common issue is balloon popping, which can occur due to overinflation or exposure to direct sunlight. To prevent this, always ensure that balloons are inflated to a consistent size and monitor temperature conditions. If you notice a popped balloon, quickly replace it with a spare from your kit.
Another frequent problem is the arch sagging or becoming unstable. This can happen if the frame is not securely attached to the wall or if the balloons are too heavy on one side. To remedy this, reposition the arch using stronger adhesive hooks or brackets and evenly distribute the balloons along the frame to maintain balance.
If balloons start to deflate during the event, it may be due to temperature changes. Keep the arch away from drafts or heating vents to combat this issue. In case any balloons appear limp, have extra inflated balloons ready for quick replacements.
Lastly, if the arch’s overall appearance appears uneven, step back to assess it from a distance. Adjust the balloon placement as necessary for a harmonious look, ensuring that clusters are visually appealing and evenly spaced throughout the design.
Frequently Asked Questions (FAQs)
1. How Long Will My Balloon Arch Last?
The longevity of a balloon arch typically depends on environmental factors such as temperature and humidity. A well-constructed balloon arch can last several hours to a few days if kept in a cool, shaded area away from direct sunlight and heat sources. However, it is best to assemble the arch close to the event time for optimal results.
2. Can I Use Regular Balloons for My Arch?
While you can use regular balloons, it is recommended that you opt for high-quality latex or foil balloons specifically designed for arches. These options offer better durability and color retention, ensuring that your arch looks vibrant throughout the event.
3. How Do I Store Leftover Balloon Materials for Future Use?
Leftover balloons should be stored in good condition for future use in a cool, dry place away from direct sunlight and sharp objects. Seal the opened balloon packs in plastic bags to prevent dust and humidity from compromising the materials.
4. Is It Possible to Create a Balloon Arch without A Frame?
Yes, it is possible to create a free-standing balloon arch without a frame by securing balloon garlands with weighted bases or poles. However, this method may require additional reinforcement to ensure stability.
5. What Should I Do if My Balloons Start to Go Flat?
If you notice balloons losing air, you can quickly replace them with spares you prepared earlier. For a less dramatic fix, gently squeeze the balloon to release any excess air and re-tie it. If significant deflation occurs, consider using a hand pump to inflate them back to size before reattaching.
Conclusion
In summary, learning how to attach a balloon arch to a wall involves several key steps: preparing your materials, assembling the frame, securely attaching it to the wall, and decorating it with balloons while ensuring stability and aesthetic appeal. Remember, experimenting with different designs and setups can yield stunning results, allowing you to create an impressive balloon decoration tailored to your event’s theme. Enjoy the creative process, and let your imagination guide you in crafting memorable and beautiful displays!
Elizabeth Davis
Elizabeth is a creative writer and digital editor based in the United States. She has a passion for the arts and crafts, which she developed from a young age. Elizabeth has always loved experimenting with new mediums and sharing her work with others. When she started blogging, she knew that DIYquickly would be the perfect platform to share her tutorials and tips. She's been writing for the blog from the beginning, and her readers love her helpful advice and easy-to-follow instructions. When she's not writing or editing, Elizabeth enjoys spending time with her family and friends.