
How to Attach Casters to Angle Iron
If you need to move a large piece of furniture but don’t want to strain your back, casters are the perfect solution. Casters can be attached to almost any object, including angle iron. In most cases, the caster wheel will come with a metal bracket that mounts to the angle iron. The caster wheel screws onto the bracket. Some brackets have a small hole for the bolt on the caster wheel to go through.
If your casters do not come with a bracket, you can find one at your local hardware store. In this guide, we will walk you through the steps on how to attach casters to angle iron.
First, measure the width of your angle iron and buy a bracket that is that wide. Drill two holes in the bracket (the same distance apart as the holes in your angle iron) and screw it to your angle iron using two bolts. Add some washers between the bracket and angle iron for extra stability. Read on for more information.
Summary: An easy way to attach casters to angle iron is to use a screwdriver. First, drill a hole in the angle iron at the desired caster location. Then, insert the screwdriver and screw it in until it’s flush with the angle iron. Use a wrench to tighten the screw.
10 Effective Ways on How to Attach Casters to Angle Iron
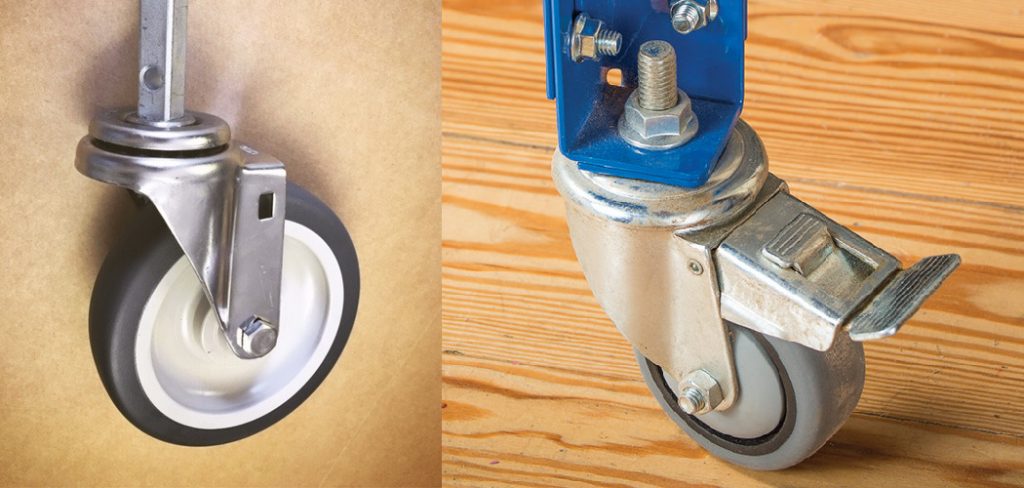
1. Using Caster Wheels With Brackets:
The easiest way to attach casters to angle iron is by using wheels that come with brackets. In most cases, the bracket will be made of metal and easily mount to the angle iron. The caster wheel will then screw onto the bracket.
2. Using a Universal Bracket:
If your caster wheels do not come with brackets, you can purchase a universal bracket at your local hardware store. Measure the width of your angle iron and buy a bracket that is that wide. Drill two holes in the bracket (the same distance apart as the holes in your angle iron) and screw it to your angle iron using two bolts. Add some washers between the bracket and angle iron for extra stability.
3. Bolting the Caster Wheel Directly to the Angle Iron:
If you are using large caster wheels, you may be able to bolt them directly to the angle iron without using a bracket. This can be done by drilling four holes in the angle iron (two on each side) and then bolting the caster wheel to the angle iron through those holes.
4. Welding the Caster Wheel to the Angle Iron:
If you have access to a welder, you can weld the caster wheel directly to the angle iron. This is a very strong method, but it is not always possible to weld the caster to the angle iron, especially if it is already installed in a piece of furniture.
5. Attaching the Caster Wheel with L-Brackets:
Another option is to attach the caster wheel to the angle iron using L-brackets. Drill two holes in the angle iron and two holes in the L-bracket. Then, bolt the L-bracket to the angle iron using two bolts. The caster wheel can then be screwed onto the L-bracket.
6. Finding the Right Bracket:
If you are having trouble finding a bracket that fits your angle iron, you can always make your own. First, cut a piece of metal to the correct size and shape using a saw or grinder. Then, drill holes in the bracket so that it can be bolted to the angle iron.
7. Using a Plate:
Another option is to use a metal plate to attach the caster wheel to the angle iron. Drill four holes in the plate (two on each side) and then bolt the plate to the angle iron. The plate will provide a sturdy surface to which you can bolt the caster.
8. Screwing on the Caster Wheel:
In some cases, you may be able to screw the caster wheel onto the angle iron simply. However, this will only work if the holes in the caster wheel line up with the holes in the angle iron. If they don’t line up, you’ll need to drill new holes.
9. Attaching the Caster with Straps:
If you can’t find a bracket or plate that fits your angle iron, you can always attach the caster using straps. First, drill two holes in the angle iron and then thread the strap through the holes. Next, tie the strap around the caster wheel and then tighten it to secure the caster.
10. Adding Washers for Extra Stability:
No matter which method you use to attach the caster to the angle iron, adding washers is a good idea for extra stability. This will help to prevent the caster from coming loose over time. Simply put a washer on each bolt before you tighten it down.
There are many different ways that you can attach casters to angle iron. The method that you choose will depend on the type of caster you are using and the amount of weight placed on the caster.
Step by Step Procedure: How to Attach Casters to Angle Iron
Step 1: Set Up Your Work Area.
Clear off a table or workbench to have a flat surface to work on. You’ll also need a drill and some drill bits, a hammer, and nails. If you’re using screws instead of nails, you’ll need a screwdriver or power drill.

Step 2: Measure the Width of the Angle Iron.
Measure the width of the angle iron with a tape measure. This will be the diameter of the caster wheel that you’ll need to purchase. Most hardware stores will have a variety of caster wheels in different sizes.
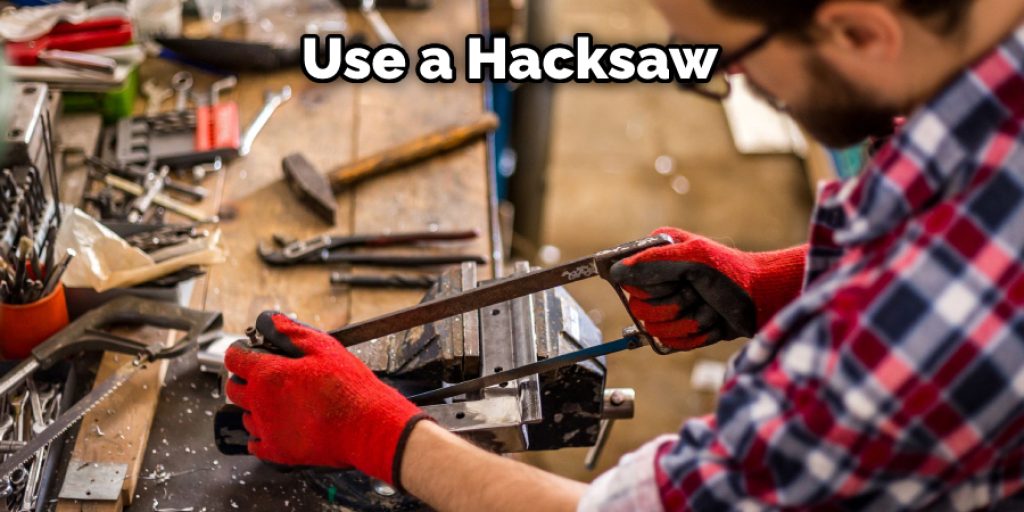
Step 3: Cut the Iron to Size.
If you’re starting with a big piece of angle iron, cut it down to the size you need with a hacksaw. Angle irons come in different thicknesses, so make sure you get one that’s thick enough to support whatever you’re going to be rolling around on it.
Step 4: Purchase Caster Wheels.
Once you know the caster wheel size that you need, purchase them from a hardware store. There are a variety of caster wheels available, so make sure you get ones that are suitable for the surface you’ll be rolling them on.
Step 5: Mark the Holes.
Using a pencil, mark the spot where you want to drill the holes for the caster wheels. Make sure that the holes are evenly spaced and big enough for the screws or nails you’ll be using.
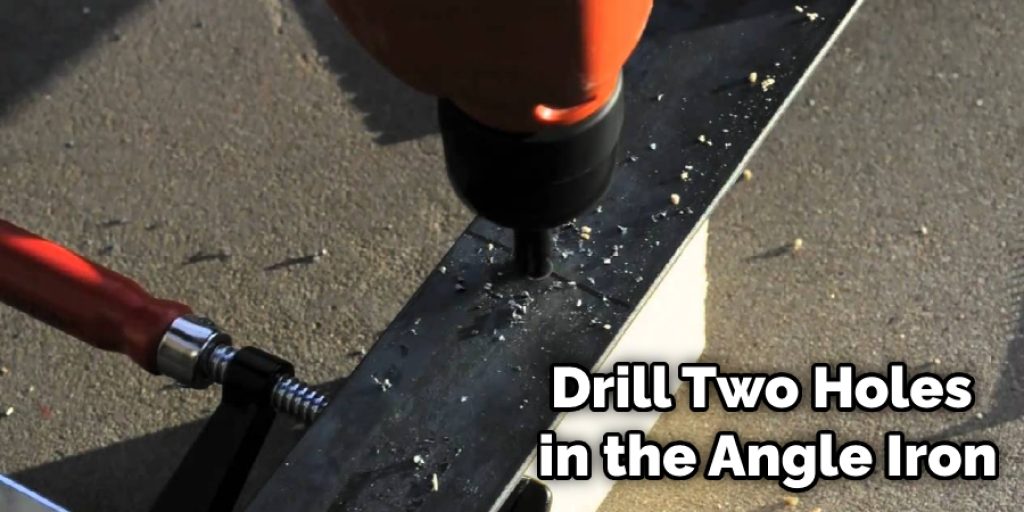
Step 6: Drill Holes in the Angle Iron.
Using a drill and a drill bit that’s slightly smaller than the screws or nails you’re going to be using, drill holes in the angle iron. The holes should be spaced evenly apart, and they should be big enough to accommodate the screws or nails.
Step 7: Attach the Caster Wheels.
Using screws or nails, attach the caster wheels to the angle iron. Make sure that the screws or nails are driven all the way into the wood so that the caster wheels are securely attached.
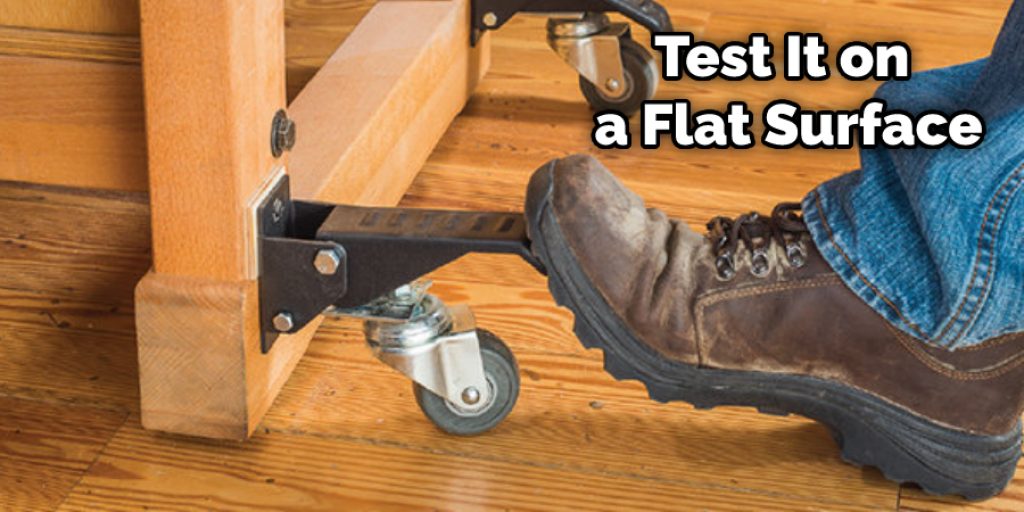
Step 8: Test It Out.
Once the caster wheels are attached, test it out by rolling it around on a flat surface. Again, make sure that the wheels roll smoothly and that the angle iron is sturdy enough to support whatever you’re going to be using it for.
Now that you know how to attach caster to angle iron, you can use it to make a variety of things that are easy to move around. For example, try using it to make a coffee table, a plant stand, or a TV stand. With a little creativity, the possibilities are endless!
Some Helpful Tips When Attaching Casters to Angle Iron
1. Make sure that the surface to which you’re attaching the caster wheels is flat and level. This will ensure that the wheels roll smoothly and that the angle iron doesn’t tip over.
2. If you’re using screws or nails to attach the caster wheels, make sure that they’re driven into the wood so that they’re secure.
3. Be creative! There are a lot of different ways that you can use angle iron with caster wheels. With a little imagination, the possibilities are endless.
4. Always add washers for extra stability. This will help to prevent the caster wheels from coming loose over time.
5. When choosing caster wheels, make sure you get suitable ones for the surface you’ll be rolling them on. For example, if you’re using them on a carpeted floor, make sure you get casters with soft rubber wheels.
6. If you’re not sure what size caster wheels you need, take a look at the width of the angle iron. The width of the angle iron will be the diameter of the caster wheel that you’ll need to purchase.
7. Make sure that the holes you drill for the screws or nails are big enough to accommodate them. If they’re too small, the screws or nails may not go in, and the caster wheels may not be securely attached.
8. Always test it out before using it for its intended purpose. This will help to ensure that everything is working properly and that there are no issues.
Conclusion
To attach casters to angle iron, you will need a few simple tools and supplies. First, use a hacksaw or bolt cutter to cut the caster’s stem down to size. Next, drill two holes into the angle iron using a drill bit that is slightly smaller in diameter than the screws on your caster. Finally, screw the caster into place and enjoy your newfound mobility!
We’ve shown you how to attach casters to angle iron in this post. Always use caution when working with metal, especially when using power tools. If you have any questions about the process of attaching casters to angle iron safely, please don’t hesitate to reach out for help. We hope you found this guide helpful and that it enables you to add mobility to your projects with ease.


