
How to Attach Rug Pad to Rug
Rug pads are a great way to protect the floor from rug wear and tear. They also help keep rugs in place so they don’t slide around on your floor. However, attaching a rug pad can be tricky if you don’t know how! In this blog post, we’re going to talk about how to attach rug pad to rug.
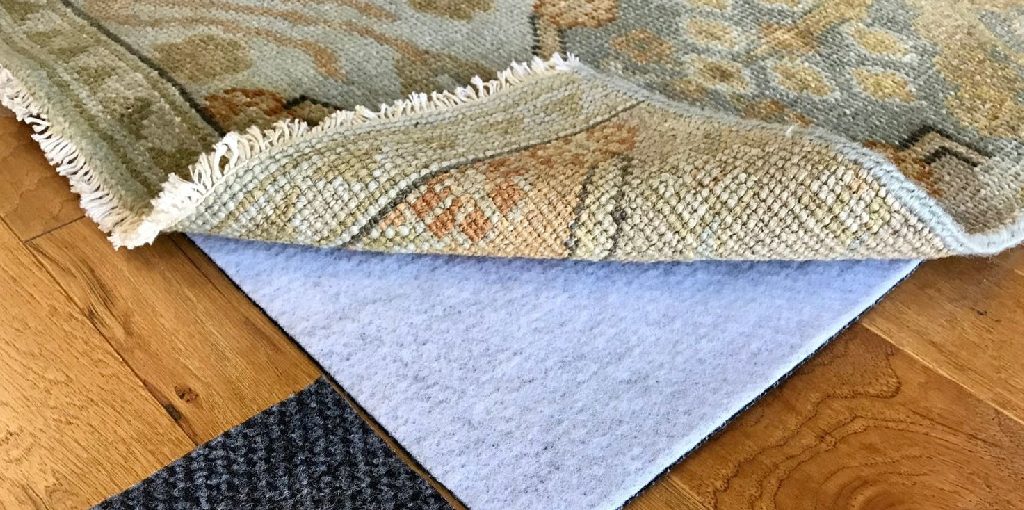
To begin, you need a non-slip mat or rug pad that is the same size as your carpet and then lay it down on top of your carpet. Next, fold up the edges of the rug pad, so they are touching and secure them with tape by taping from one side over to the other side, leaving no gaps in between. Finally, trim off any excess material from around the edge using scissors. Read on to know more information!
10 Ways on How to Attach Rug Pad to Rug:
1. Using a Staple Gun:
This is the most common way to attach the pad. Place some staples evenly around the perimeter of your rug, making sure not to overlap any of them. It’s ok if they are on the underside of the carpet. Pull out any staples that aren’t flush with the surface and replace them with new ones.
2. Using Double-Sided Carpet Tape:
Carpet tape is also a great option for attaching the pad to the bottom of your carpet. Line up the hook side of the tape with the underside of your rug, and press it onto your carpet. Make sure that all four corners are secure before placing any tape on top of the pad.
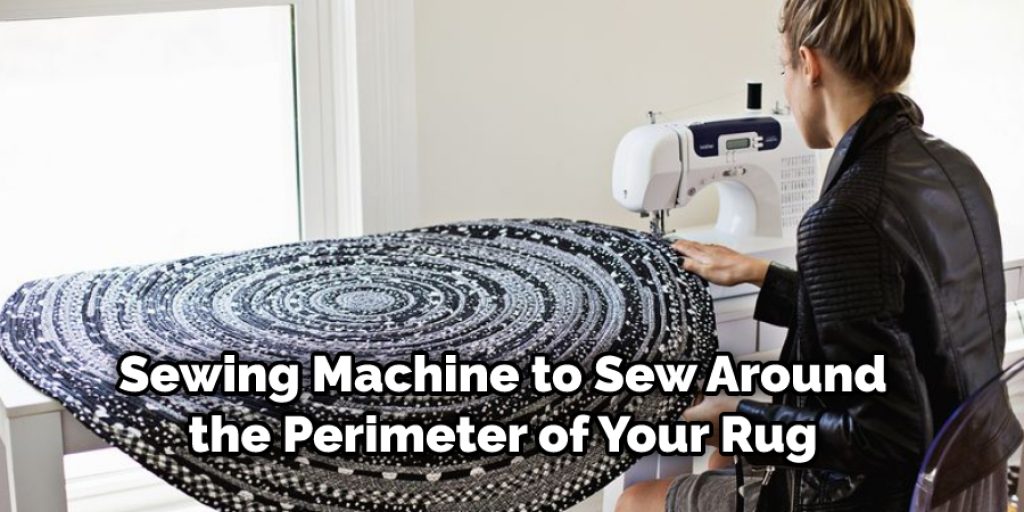
3. Attaching a Rug Pad With a Sewing Machine:
Cut a rectangle from your rug pad that’s slightly smaller than your rug, and place it on top of your carpet. Fold the corners inward so they line up evenly and attach them with double-sided tape or staples. Then, use a sewing machine to sew around the perimeter of your rug. This is a better option for thicker carpets because it will provide extra cushioning.
4. Using a Rug Pad with an Elastic Backing:
This kind of rug pad is attached to your carpet by stretching the elastic across the underside of your dirty. The rounded edge should be placed under the rug, and the rest of it should face upwards. Pull all four corners tightly and staple them down using a heavy-duty stapler. Make sure the prongs of the staples go deep into your carpet.
5. Nailing Onto Wood:
Nail down the pad’s corners first and then fill the rest of the space with nails. Place a small bead of hot glue over each nail before hammer it in to make sure they don’t come loose. Make sure you cover any spaces between the rug and the floor with an extra pad.
6. Using Carpet Tack Strip:
Make sure your carpet tack strip is wide enough to cover the entire length of your rug but not so big that it extends past where you want your rug to end on all four sides. Attach the backside of the strip first, and work your way to the front. It’s a good idea to use a utility knife to trim off any excess strip.
7. Using Velcro Strips:
Peel off the protective backing from the rug pad, and attach it to your carpet. Then, use fabric glue to attach one side of strong velcro strips to each rug pad corner. Make sure you’re attaching them in opposite directions so that when you go around the perimeter of your rug, they will meet in the middle.
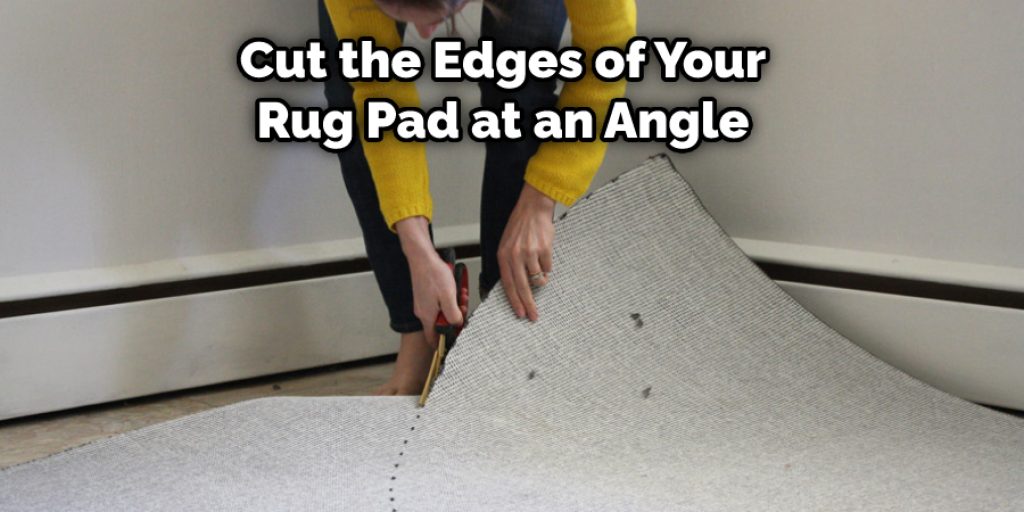
8. Cutting Your Rug Pad to Size:
You can use an Exacto knife to cut the edges of your rug pad at an angle. Then, please attach it to your carpet by tucking the backside underneath and gluing or tacking down the exposed front. This option is best for smaller rugs or areas with no space between the wall and the edge of your carpet.
9. Rubber Stamping:
Rubber stamping is like cutting your rug pad to size, but it’s a little more forgiving if you make a mistake. First, outline your rug with chalk, and cut along those lines with an Exacto knife or box cutter. Then, use rubber stamps and an ink pad to create your design. You may have to experiment with different ink colors before you find the right color for your carpeting.
10. Using Fabric Paints:
If you want to put a custom image or design on the bottom of your rug, fabric paints are an excellent option. They dry quickly and won’t run, no matter how much your carpeting gets wet. After you’ve drawn or stenciled your design onto the pad, let it dry overnight. Please make sure you use acrylic paint because it won’t fade in sunlight as oil paints do.
You Can Check It Out to Keep Rugs From Slipping on Tile
Some Tips and Suggestions:
- Before you start, make sure that your floor is even, because if it’s not, then your rug will end up leaning towards one side or another.
- Plan out where the pad is going to be attached before you do it. You don’t want to move it around, or you risk having part of the pad not attached.
- If you want to, you can (carefully) use a staple gun or similar tool to attach your pad once you lay it down and figure out where it needs to go.
- Attach the pad using double-sided tape, staples, glue, spray adhesive, etc., and then flip over your rug and place heavy objects on it to weigh it down while the adhesive dries.
- You might want to use a marker to make a circle around each corner of your pad, and then cut out these circles with scissors once the adhesive has dried so that you know where to put your stapler or staple gun. There’s probably a way to do it without cutting, but this is the easiest method if you have a staple gun.
6. There are probably special tools for rug repair that will help save your pads, but they’re pretty expensive and not worth it unless you do this all the time.
Conclusion:
There are many ways to attach a rug pad, but we recommend using tackless strips. These strips will allow you to easily remove and reapply your rug if necessary without damaging it. If you’re not sure how to use these adhesive rubber pieces, learn more about them in these blog posts!
You now know how to attach rug pad to rug. Ensure that the surface is clean and dry before beginning and allow enough time for adhesive to set up. Be careful not to over-stretch the nylon as you’re attaching it, or else you’ll end up with wrinkles in your new floor covering!


