
How to Attach Stone to Metal
Stone is a popular material for jewelry and other accessories. However, it can be pretty expensive, so protecting your investment is essential. One way to do that is to attach the stone to metal.
There are many ways to do this, and each has its benefits and drawbacks. In this blog post, we’ll discuss the most common methods of how to attach stone to metal. We’ll also look at some tips for choosing the right approach for your project.
10 Ways on How to Attach Stone to Metal
1. Epoxy:
Epoxies are very strong and versatile. They can be used as a filler for small holes and chips in metal, which becomes part of the object when it is cured. They’re also great for attaching stone to any metal. Just be sure to use a metal stone, not an actual gemstone.
2. Welder:
A welder can be used to attach stones directly, simply by clamping the metal down and ensuring it is clean of oil and grit. By using less concentrated filler rods for lighter stones or more concentrated rods for heavy stones, you can create a beautiful, customized piece.
3. Epoxy Filler Paste :
This paste is specifically designed to attach stone to metal. You can smooth it into small fissures or holes, then let it dry. Once it’s cured, it will secure whatever you’ve placed on top – in this case, your stone.
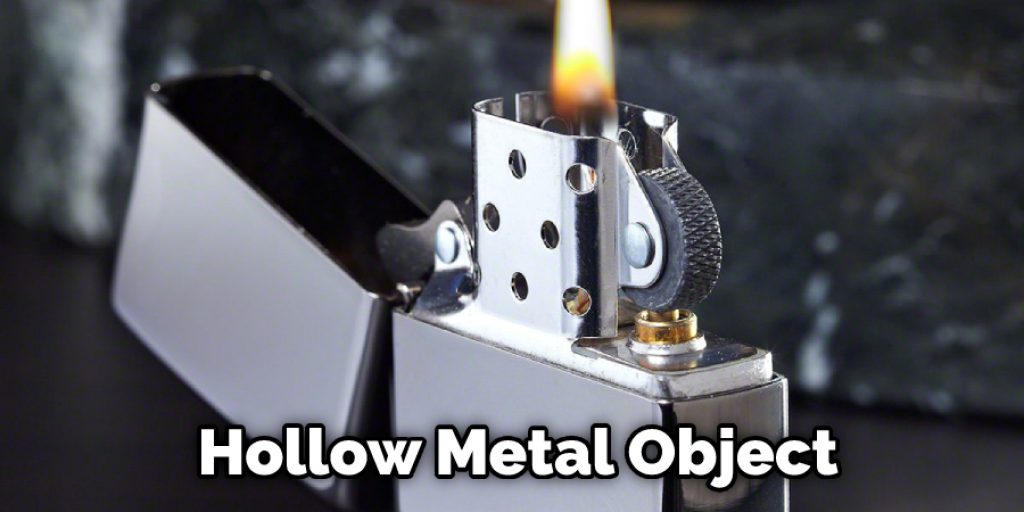
4. Bezel Wire:
This works great if you have a hollow metal object, like a lighter or a pill bottle. Just drill some holes around the outside of the container and string some wire through them. I think this might be my favorite method since it doesn’t require anything permanent, and it’s easy to undo if you ever want to take the stone off.
5. Jeweler’s Epoxy:
You can attach a stone to metal using epoxy. First, cut a small hole in the metal. Then place the stone inside the metal object. Next, mix up some epoxy and pour it in, filling all the space between the stone and the surface. Let the epoxy cure, and the stone will be attached.
6. Cold Connections:
Cold connections are great because they are almost invisible from one side but still hold securely on both sides. They are also completely removable. To make one, drill a hole on either side of the object you’re attaching your stone to and thread some wire or string through both sides.
Then, get two connectors and thread them both through the same string. Connect them, cross your fingers you didn’t get it twisted up so tightly that you can’t undo it, and there you go!
7. Solder:
Solder is a great way to attach a stone to a non-porous surface like glass, but keep in mind that you’re going to have solder on the outside of your piece when it’s done. This can be cool if you want something vintage-looking, or it might ruin the look if you want a modern shiny look. This method is also permanent, so it will shatter whatever you attached it to if you ever want to take your stone off.
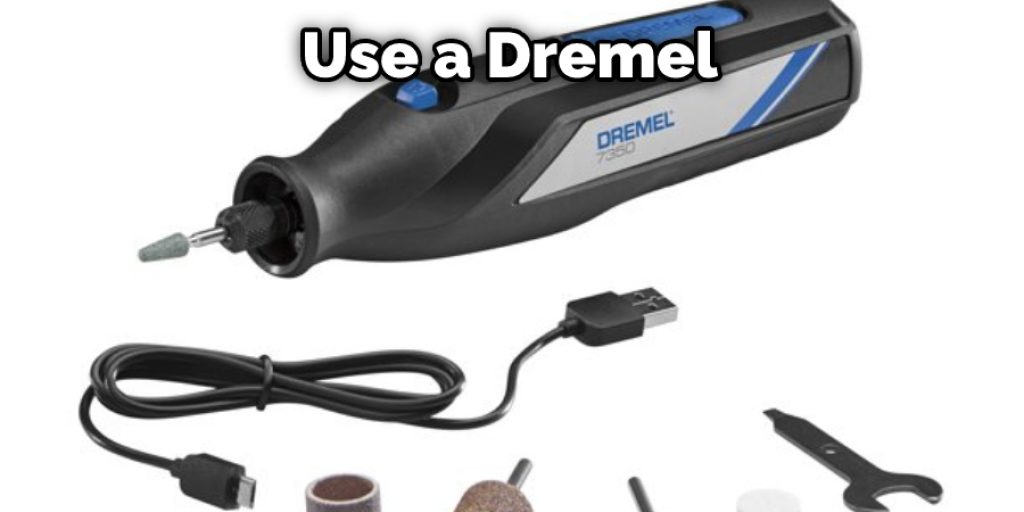
8. Knife Handle:
If all else fails, mark the area where your stone needs to go on some metal and use a Dremel or grinder to carve out the space for it. Then, attach it with epoxy or Liquid Nails. This is the least preferred method, but it’s worth a shot if you’re attached to your stone and metal object.
9. Sandblasted:
Sandblasting is a great way to add texture and character to metal, which is also an excellent way to attach stones. So if you’re adding some accents or detailing with stones, sandblasting is an excellent method. It allows the stone and the metal to shine together without looking too busy.
10. Patina:
If you’re a fan of oxidation and aging, a patina can be a great way to attach the stone to metal. Just mix up your oxidizing agent and apply it anywhere on the object that you want to see your stone.
Then, just take your stone and place it wherever you’d like once it’s done. As a note, the patina will make a permanent solder connection. If you want to undo the solder later on down the road, the stone may end up falling off entirely.
Some Tips and Suggestions
Here are some tips and suggestions on how to attach stone to metal.
1. Keeping all of your stones separate by type on a tray will make this process go faster.
2. Place one stone at a time onto the metal portion of the clasp and trace it with a pencil, so you know where exactly to solder, but don’t place yet!
3. Once you’ve put them all out, use tweezers or anything small enough to grab the stones and move them around until you find a pattern/combo that you like. Keep in mind how much space is between each stone and where they will be placed.
4. Once you have decided on a layout, solder each one down! This can be time-consuming as well as frustrating.
5. Once you have all the stones soldered on, check to ensure they don’t catch anywhere and it closes properly.
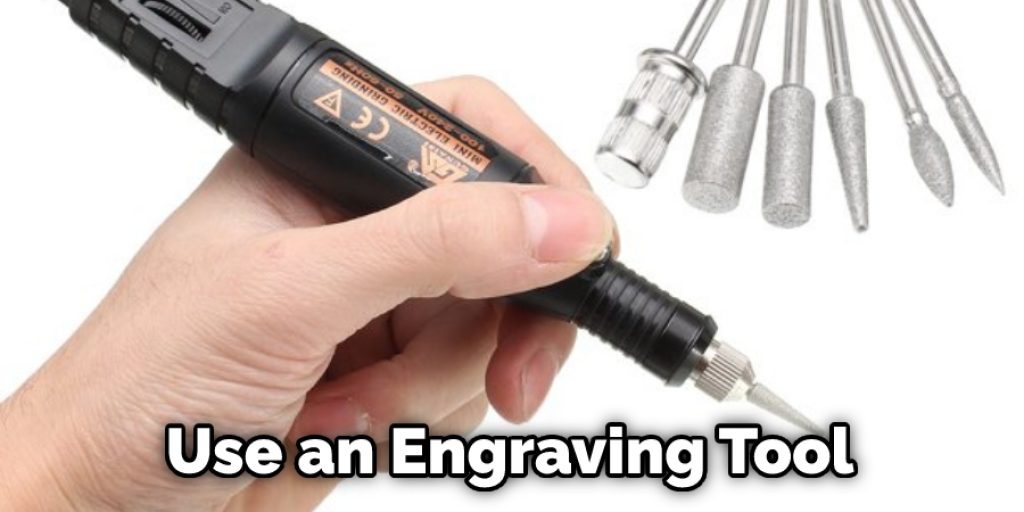
6. After all of this is done, use an engraving tool or dremel and carve into your metal where the stone should lay flat and flush to the metal; this will help it lay flat and not be caught on anything.
7. Put your stone side into the tumbler to polish just as you would a finished piece of jewelry!
Types of Adhesive for Attaching Stone to Metal
1. Super Glue:
Superglue has been found to work well under the right conditions. A few people have mixed success with super glue because it can melt some stones and does not hold up well under high heat.
2. Metal Cement:
Metal cement is a two-part adhesive that works best on metal and ceramic pieces. It comes in a bottle and is applied with a brush or dipping. It dries very quickly, so you have to use it right after the parts are joined.
3. Epoxy:
Epoxy works well on most stones and metals except for aluminum because epoxy does not adhere well to aluminum. It will work on many plastics as long as they can withstand the chemicals in epoxy.
4. E-6000:
E-6000 works well on metal and stone, and it is water-resistant, so can be used outside or around water. It takes a couple of days to set up, but you do not need to clamp parts together to allow proper adhesion.
5. Jeweler’s Glue:
Jeweler’s glue is a two-part adhesive that has been specifically designed to be non-toxic. It works on almost everything except rubber and fabric, but it does not work well on tough stones such as quartz or granite.
You Can Check It Out To Make Air Stone Quieter
How to Attach Stone Table Tops to Metal Bases
Tabletops with stone veneers have become a popular choice for homeowners and businesses. In addition, tabletops constructed from stone are often lower in cost than those constructed from granite, marble, or quartz.
Metal bases can help you save even more money by adding the tabletop’s added strength and durability. Given this, attaching a metal base to your tabletop can be an attractive choice, but it does require some cleanup work before you can use power tools to secure the two pieces together.
Which Adhesive Works on Stone
If you own a metal sculpture and would like to add stone, you’ll find there are only a few suitable options. The easiest materials for attaching stone to metal are cyanoacrylate adhesives such as Krazy Glue and Loctite 401. Both of these glues bond well to metal, stone, wood, ceramic, and just about anything else you can think of.
However, they also bond quickly, meaning the pieces will be stuck together permanently in just a few minutes. Once that happens, there’s no way to separate them without damaging one or both of the materials. If you don’t mind the permanency of this option, go ahead and attach your stones with either of these glues.
How Do You Use a Stone to Attach Metal
In order to attach the stone to metal, it is necessary to use a strong adhesive that will hold the two materials together securely. Many adhesives will work as long as they can withstand high temperatures and intense pressure without failing.
Metalworkers have been known to secure stones using their unique techniques, which vary from person to person. Some of these adhesives are not available for purchase and must be made by the stone worker.
Conclusion
You can use this technique for many different projects, including making a planter, stepping stones, or even using the stone as an accent in your garden design. Unfortunately, there is no one correct answer when attaching large rocks like cobbles and flagstones- what works best for one person may not work well with another person’s project.
Some limitations might make certain techniques difficult or impossible depending on how much weight needs holding up. However, luckily there are still plenty of options available if time becomes an issue too! We hope this blog post on how to attach stone to metal has been helpful. If you have any questions or want to know more, then feel free to comment below!


