
How to Avoid Brush Marks When Painting
Brush marks are the enemy of painters. They can be unsightly and even ruin a painting, but there is good news! Brushmarks are easily avoidable with just a few tips. In this blog post, we are going to cover how to avoid brush marks when painting.
The first tip is to always paint in steps. Never try to do an entire room at once because there will inevitably be some drying time between coats, which can cause brush marks if you’re trying to use your brush on wet paint.

A second tip is not to go back over already painted areas too soon; this also leads to unwanted brush marks and uneven layers that may require extra coats later down the road (and we all know how expensive that stuff gets). So wait for everything else in the room to dry before going back and laying down another coat. Read on to know more information!
10 Ways on How to Avoid Brush Marks When Painting:
1. Clean Your Brush in Between Colors
Try to match the color of your brush’s bristles to the color you are painting, especially when layering or stippling. For example, if you’re using cadmium red paint and then want to switch to yellow ochre, clean your brush first. In general, use a clean brush for each color you want to apply.
2. Keep Bristles Damp
A dry brush will leave marks as it tries to slough off dried paint from its hairs. Painting with a damp brush keeps the bristles soft and supple so they have no trouble sliding over the wet paint on your palette or the paper.
3. Keep Your Brush Flat on the palette
If you can see the brush’s shape, then there’s a good chance it holds some paint and will leave marks when you try to lift it off your palette. This is especially true of flat brushes like brights or filberts (which have hard edges). When using these brush types, touch the flat edge of the bristles to the palette, so they pick up just a little paint. Then apply it with minimal pressure on your paper.
4. Use an Absorbent Surface
When you’re painting with watercolors or fluid acrylics (or even oil), keep that surface wet by placing absorbent material like paper towels or newspaper under it. This way, if you put down a blob of paint and then try to move your brush over it, the absorbent surface will mop up some of this excess moisture and dilute that blob into more of a smear or puddle (which is less noticeable).
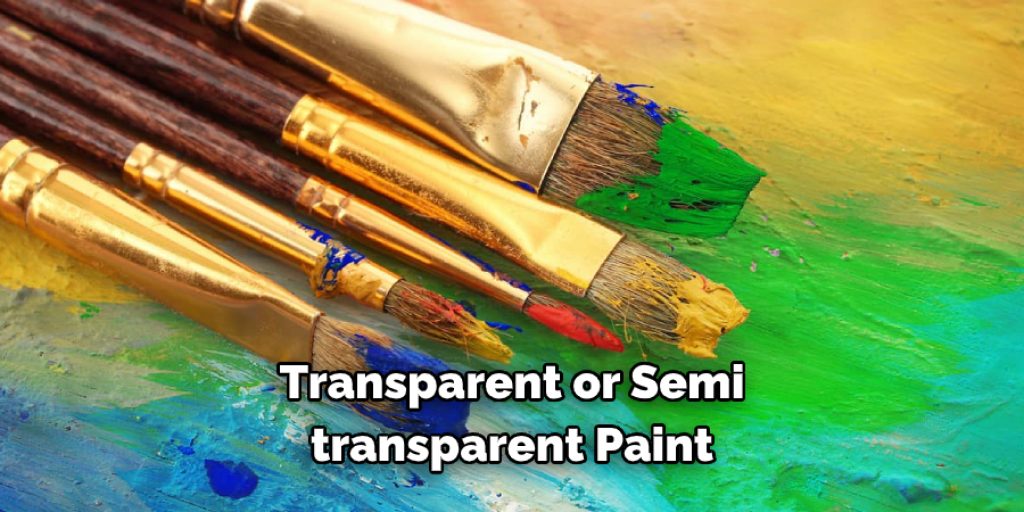
5. Use an Opaque Paint
If you’re using transparent or semi-transparent paint, it’s easier to see the brush marks. Using opaque color (or one with a higher percentage of pigment) can help reduce this effect because it covers so well and dries to a more complex finish.
6. Thin Your Paint
Thinner paint is more fluid and less inclined to dry in ridges or beads. Thinned acrylics and watercolors are usually dry to a matte finish that allows brush marks to show more readily than paint applied with medium (or thicker).
7. Paint Faster
Brush marks frequently appear when you slow down too much, lifting the full brush off the surface and carefully placing it back down again. But you can avoid this by working quickly and applying paint as soon as the brush touches down, then sliding it sideways or back and forth across that area to blend the stroke into the rest of your painting.
8. Clean Your Palette Knives and Other Tools
Soapy water doesn’t just help clean your brushes: It’s also helpful in cleansing your palette knives and other tools, some of which will leave marks if you apply them to paint that’s already on the paper.
9. Use a Palette Knife Instead of a Brush
Palette knives are great for covering large areas with flat or glazing colors because they glide smoothly over the surface without adding any ridges or textures. They’re also suitable for applying coats of gesso, mending tears in your paper, and lifting color from the surface before repainting that spot with a brush.
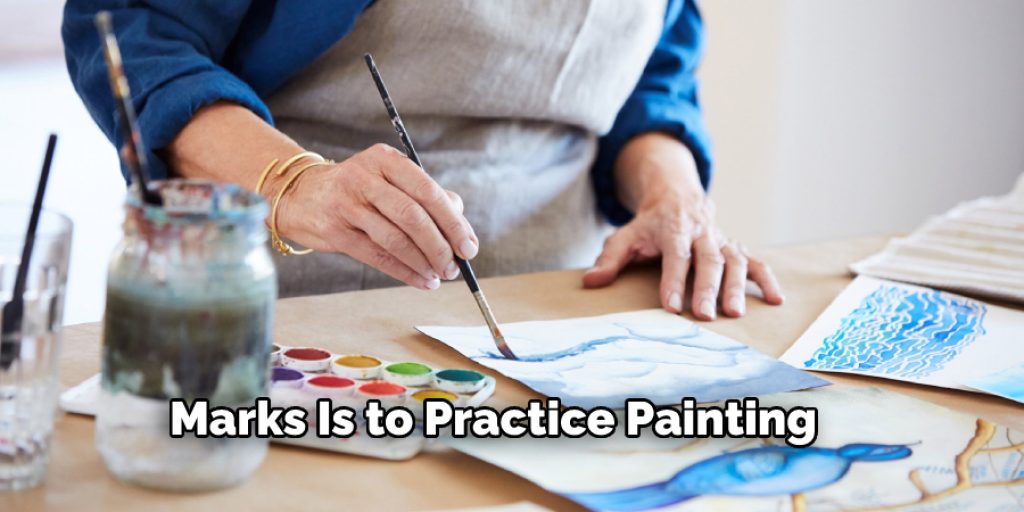
10. Practice
The best way to avoid brush marks is to practice painting with smooth strokes and clean brushes. Watch for ridges of pigment drying on your palette and try to blend them out as soon as possible. If you see a brush mark forming on the paper, don’t reach for another color right away: Practice blending with that one color by pulling it sideways or back and forth over the mark.
Some Tips and Advice:
1. Buy a good quality brush.
2. Use a light-colored wash or drawing paper and use the drier to remove the first layer of color. Burnish with a hard, round bristle brush until your image is not visible through the back of the paper. Place on another sheet of drawing paper and draw your design lightly with a pencil so that you can easily see it through the paper.
3. Use masking fluid to preserve the white highlights of your design. Paint around them, then remove them when it’s dry.
4. Avoid brush marks by loading your brush with color well and avoiding dipping into water between strokes, only washing the ends in a jar of clean water.
5. If you are making tussock, marks, or stipples with your brush, use a small brush for the same effect.
6. To paint a clear wash on a dark background, apply masking fluid to the area you don’t want to have color, then use a dry brush and remove some of the masking liquid from the desired areas.
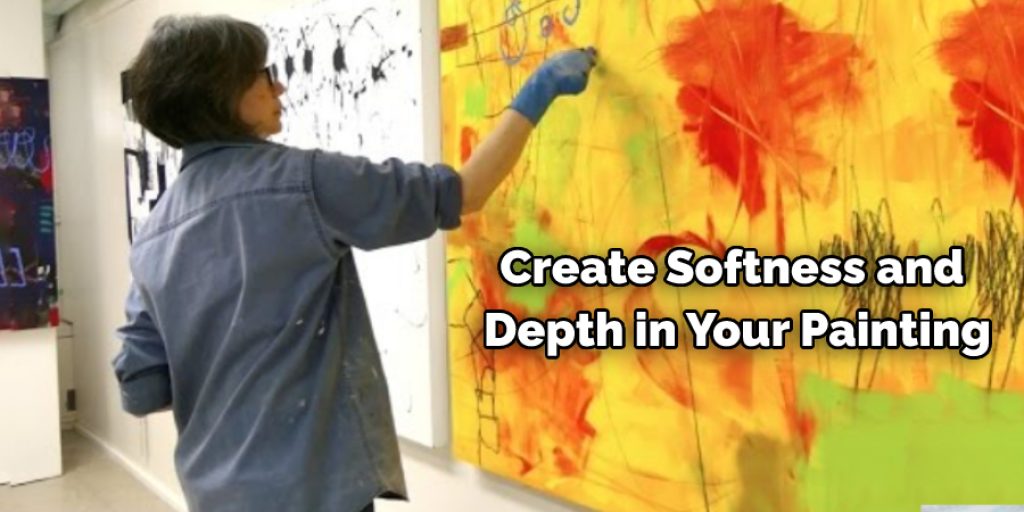
7. Avoid painting wildly around objects with one stroke of your brush. Instead, leave a slight white margin, then wet the background with a clean, damp brush. Hand-painted backgrounds can help to create softness and depth in your painting.
Conclusion:
In this post, we have looked at the different ways in which you can avoid brush marks when painting. These tips can help even beginners with their first oil paintings and make them feel like expert painters! Of course, it is essential to keep your paint evenly mixed on your palette before applying it to your canvas or paper.
It would help if you also tried using less paint than you think you need to avoid excess dripping off the brush onto the canvas. Finally, if you have problems achieving smooth strokes when painting, don’t forget about proper bristle care. We hope this blog post on how to avoid brush marks when painting has been helpful. Let us know your thoughts in the comments below!


