
How to Build a Continental Kit
If you’re a motor vehicle enthusiast, there’s a good chance you’ve at least heard of the term “continental kit.” But what is it, exactly? A continental kit is an added accessory for your car that gives it a more streamlined look and improved performance.

This guide will explain everything you need to know about building your continental kit, including what components are required and how to install them properly. To build a continental kit, you will need a few basic supplies. The following guide will show you how to build a continental kit. So read on to learn more!
Summary: Planning a European vacation can be daunting, but it doesn’t have to be. With the Continental Kit, you can build all the essential supplies for your trip without leaving home. This kit includes everything from travel maps to passport stamps, so you’ll never miss a beat during your travels.
What is a Continental Kit
A Continental kit is a spare tire carrier that mounts on a car’s trunk lid or rear deck. It gets its name from its popularity on luxury cars in the 1950s, which often featured them as an optional extra. Today, continental kits are popular among car enthusiasts who want to add a retro style to their rides.
Building your own continental kit is a relatively simple project that can be completed in a weekend. With a few basic tools and some inexpensive materials, you can create a stylish and functional spare tire carrier for your car.
8 Advantages of Having a Continental Kit
1. Improved Appearance:
A continental kit can give your car a more streamlined look, which is especially beneficial if you’re driving a classic or vintage vehicle.
2. Enhanced Performance:
In addition to improving your car’s appearance, a continental kit can also enhance its performance. By mounting the spare tire closer to the ground, you can improve the aerodynamics of your car and potentially increase its fuel efficiency.
3. Reduced Weight:
Another advantage of a continental kit is that it can reduce the overall weight of your car. For example, the spare tire is often one of the heaviest items in a car, so by mounting it on the rear of the vehicle, you can take some weight off of the front end.
4. Better Tire Traction:
Another performance-related benefit of a continental kit is improving tire traction. This is because the weight of the spare tire is evenly distributed between the front and rear wheels, which helps to keep the car more balanced.

5. Improved Handling:
Continental kits can also improve a car’s handling by reducing its oversteering tendency. This is because the extra weight of the spare tire is located at the back of the car, which helps to keep the rear wheels planted on the ground.
6. Greater Stability:
In addition to improved handling, a continental kit can also provide greater stability for your car. This is because the spare tire acts as a stabilizing force in the event of a tire blowout or other emergency.
7. Fun Factor:
Let’s face it, and continental kits are just plain cool. There’s something about the retro style that makes them fun to drive. So whether you’re taking your car to a classic car show or just cruising around town, a continental kit is sure to turn heads.
8. Increased Safety:
Last but not least, a continental kit can actually help increase your car’s safety. This is because the spare tire is easily accessible in the event of a flat, which can help you to avoid being stranded on the side of the road.
What You’ll Need
- Plywood
- Measuring tape
- Jigsaw
- Drill
- 1-inch hole saw
- Sandpaper
- Paint or stain
Instructions: How to Build a Continental Kit
Step 1: Measure the Width of Your Car’s Trunk.
The first step in building your own continental kit is to measure the width of your car’s trunk. This will determine the plywood size that you will need to purchase.

Step 2: Cut the Plywood to Size.
Once you have measured the width of your car’s trunk, you will need to cut the plywood to size. You can do this with a hand saw or a power saw. If you are using a power saw, wear safety goggles to protect your eyes.
Step 3: Drill Holes in the Plywood.
After you have cut the plywood to size, you will need to drill holes in it. These holes will be used to attach the plywood to the car’s trunk lid. Use a drill bit that is slightly smaller than the screws you will be using.
Step 4: Attach the Plywood to the Car’s Trunk Lid.
Now it’s time to attach the plywood to the car’s trunk lid. First, line up the holes you drilled in the plywood with the holes in the trunk lid. Then, use screws or bolts to secure the plywood to the trunk lid.
Step 5: Cut a Hole for the Spare Tire.
The next step is to cut a hole in the plywood for the spare tire. This can be done with a jigsaw or a power drill with a hole saw attachment. The hole should be slightly larger than the spare tire so that it can be easily inserted and removed.
Step 6: Sand the Edges of the Hole.
After you have cut the hole for the spare tire, you will need to sand its edges. This will help to prevent the tire from getting caught on the edges and ripping.
Step 7: Attach the Kit to the Car.
Now that the hole has been cut and sanded, you can now attach the continental kit to the car. You will need to use some strong adhesive or screws to do this. Ensure that the kit is attached securely so that it does not come loose while driving.
Step 8: Attach the Braces.
Now it is time to attach the braces that will hold the continental kit in place. There are typically two braces that will need to be attached. One will go on the top side of the kit and one on the bottom. The top brace will usually attach to the fender well. The bottom brace will be attaching to the frame of the car.
Step 9: Attach the Bumper.
The next step is to attach the bumper. This is usually a simple process of lining up the holes in the bumper with the corresponding holes in the kit and then screwing or bolting them together. If your kit didn’t come with pre-drilled holes, you’ll need to drill them yourself before attaching the bumper.

Step 10: Paint or Stain the Plywood.
Now that the hole has been cut and sanded, you can paint or stain the plywood to match your car’s color scheme. You can use a brush, roller, or spray paint to apply the finish of your choice. This is optional, but it will give your continental kit a more finished look. Let the paint or stain dry completely before moving on to the next step.
Step 11: Attach the Spare Tire to the Plywood.
The final step is to attach the spare tire to the plywood. This can be done with bolts, screws, or straps. Be sure to use something that will securely hold the tire in place, so that it doesn’t come loose while you’re driving.
And that’s it! You’ve now learned how to build a continental kit for your car. This project is relatively simple and can be completed on the weekend. With just a few supplies and some basic tools, you can create a functional and stylish spare tire carrier for your vehicle.
Some Tips When Building a Continental Kit
1. Make sure to measure the width of your car’s trunk before cutting the plywood. You don’t want the plywood to be too big or too small.
2. Use a drill bit that is slightly smaller than the screws or bolts that you will be using. This will make it easier to attach the plywood to the car.
3. Be sure to sand the hole’s edges that you cut for the spare tire. This will help to prevent the tire from ripping.
4. Use a strong adhesive or screws to attach the continental kit to the car. Make sure that it is securely attached not to come loose while driving.
5. Paint or stain the plywood to match the color of your car. This will help to give it a finished look.
6. Attach the continental kit to the car’s trunk using the instructions that came with it. Make sure that it is installed correctly so that it functions properly.
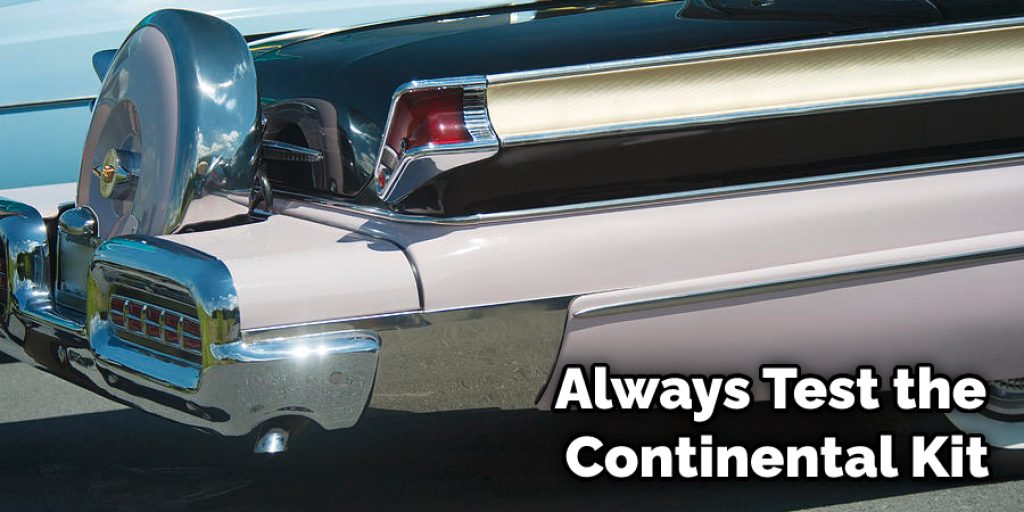
7. Always test the continental kit before driving to ensure that it is secure and functioning properly.
Conclusion
Although a continental kit can be installed on any car, it is important to make sure that the kit is compatible with the make and model of your vehicle. Nevertheless, installing a continental kit is a great way to improve the appearance and performance of your car, and most people can do it with basic automotive knowledge.
So, there you have everything you need to know about building your own continental kit! We hope this article on how to build a continental kit was helpful and that you will enjoy putting together your new vehicle gear set-up. As always, let us know if you have any questions or feedback.
Louis Wein
Louis has always been fascinated by cars. He loves the way they look, the sound of the engine, and how they make him feel when he's driving. He is always keen to learn more about different mechanics of cars and how the engine contributes to other aspects of the car. As an automotive technician with over 10 years of experience, he knew how they worked and loved taking them apart to see how they went back together. He was especially interested in the mechanics of combustion engines and loved finding ways to make them more efficient. He loves to work on cars and help people keep their vehicles running smoothly. As a senior editor, he enjoys contributing to Diy quickly because it allows him to share his knowledge and expertise with others.


