
How to Build a Paver Patio on a Sloped Yard
A paver patio is an inexpensive way to create an ample outdoor living space that matches the style of your home. It can be built on sloped yards, but there are some considerations to consider when planning it out.

Sloping yards create challenges for builders and homeowners alike, but it’s possible to tackle this project on your own with the right approach! This post will give you step-by-step instructions on how to build a paver patio on a sloped yard and ensure that everything goes smoothly.
7 Common Mistakes When Building a Paver Patio:
Here are seven common mistakes people make when building their paver patios:
1. Building the Patio Too Low:
If you place pavers at ground level, they’ll end up being lower than your lawn which creates an uneven surface
2. Cutting Corners by Buying Cheap Pavers:
This might save money upfront, but more expensive materials last longer and stay level longer
3. Taking Shortcuts With Materials:
Sturdy paver base and underlayment are crucial to patio stability.
4. Skimping on the Layout:
Measure twice, cut once. If you don’t have a level surface to build on, your patio will be uneven no matter how to level the pavers are
5. Building Without a Contractor:
To create a stable patio with good drainage, it often requires digging deep trenches and installing complex underlayment systems that are far outside do-it-yourself capabilities
6. Using Too Much Sand:
A thick helping of sand under your pavers not only makes for a soft surface but can also lead to a low-lying patio after a year or two. A thin helping, on the other hand, helps with drainage and surface stability.
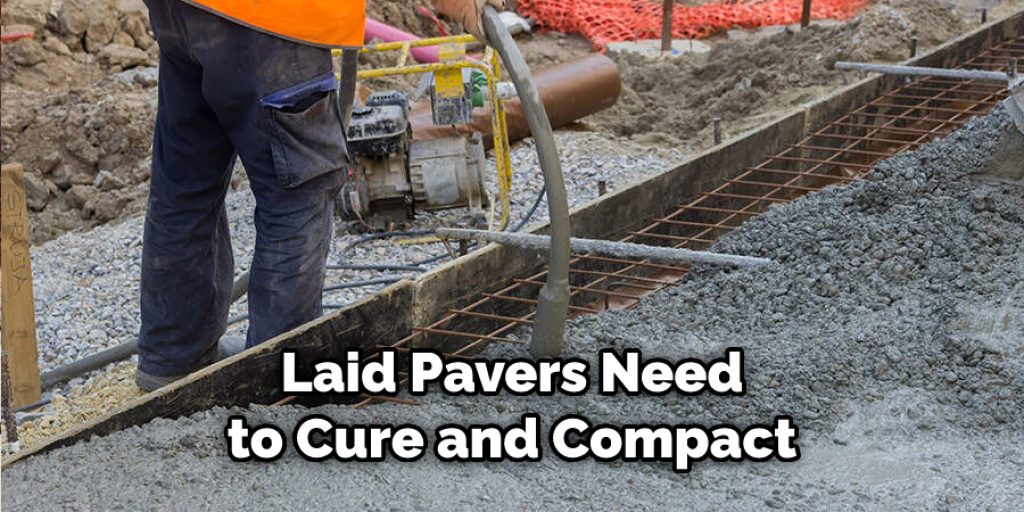
7. Skipping the Curing and Compaction Stage:
Newly laid pavers need to cure and compact for about 28 days before walking or parking on them. If you skip this step, the patio will settle and crack over time.
Step by Step Guide: How to Build a Paver Patio on a Sloped Yard
If you have the skills and equipment, leveling the ground before laying pavers is worth the extra effort.
Step 1: Assess Your Pavers and Options
Review your pavers and options before construction begins. Take into consideration the slopes of your yard and whether or not you would like to use a patio frame. Once you have decided on the location of your paver patio, buy enough pavers to cover the area completely, minus a few inches for expansion room, at a depth that meets your needs.
For patios built over clay soil, choose pavers that are rated for clay soil. Clay soil shrinks when dry and expands when wet, causing pavers to pop up or sink in overtime.
Step 2: Prepare the Area for Construction
Remove all vegetation from the surface of your patio location. Use a sod cutter if necessary to remove any stubborn grassroots left in the ground. Mark out stakes around the perimeter of your patio with string and a line level.
Step 3: Excavate the Patio Area
Use a shovel to remove any remaining vegetation from your patio area, working slowly and keeping cleared soil on one side of the site if possible. If you have clay soil, you will need to remove all vegetation using a sod cutter. Remove a depth of soil that is double the height of your pavers. For example, if your pavers are 3 inches high, remove a layer of soil 6 inches deep.
Step 4: Compact Your Patio Base
Use a tamper to compact the soil within your marked-out patio site. Continue compaction until no big lumps or bumps of soil remain visible. This process will ensure that your paver patio is level and stable before construction begins.
Step 5: Add Gravel for Drainage
Spread gravel over the compacted patio base, using a rake to even out the surface. Gravel is an essential component of any patio base because it aids drainage and keeps pavers off dirt, leading to warped or damaged paver surfaces.
Step 6: Set Pavers Into Concrete Sand
Mix concrete sand with water, following your paver mix’s manufacturer’s specifications, if given. Scoop some concrete sand into a bucket and add water, mixing until the consistency is similar to thick pudding. Set pavers into your mixture one by one, pressing them down firmly with a rubber mallet or hammer until they are entirely covered in the sand-water mix.
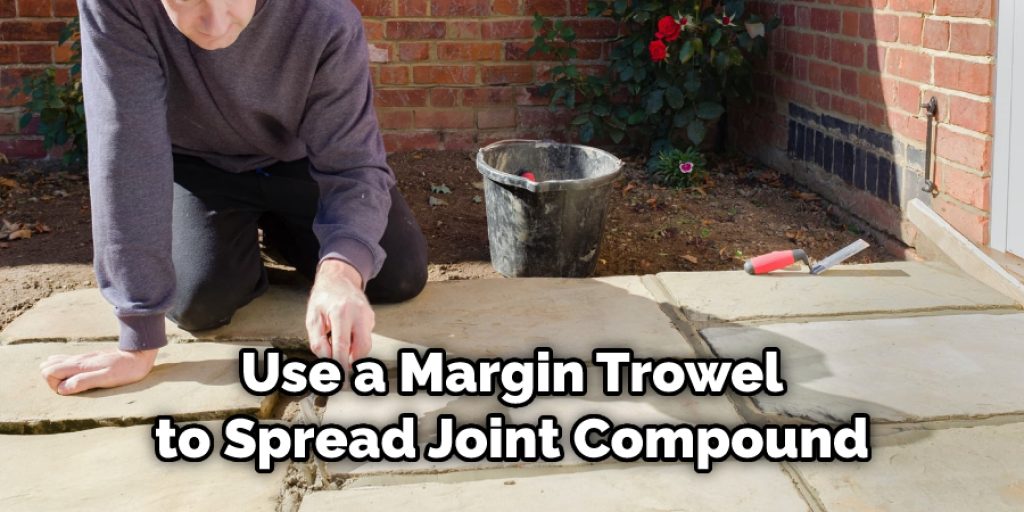
Fill paver joints level with the surrounding ground using a margin trowel, then allow the paver patio to dry for 48 hours in direct sunlight or 24 hours in indirect sunlight. After dehydrating your paver base, you can begin setting pavers into sand joints with a margin trowel.
Step 7: Add Joint Compound and Finishing Pavers
To ensure your patio’s longevity and durability, use a margin trowel to spread joint compound over the sand joints. The joint compound should be applied two times in an X-shaped pattern, allowing each layer of joint compound to dry before applying more. Set pavers into your newly filled joints as done with the first round of pavers.
Make consistent spacing between pavers, using a marker or chalk line to mark out pavers before installation. Once you have laid all of your pavers, add a top-coat of sand over the patio area and cover with a piece of scrap wood to prevent erosion from occurring while waiting for the next steps in construction.
Step 8: Seal Your Paver Patio
Seal each paver surface and sand joint with a high-quality, UV-resistant sealer. Add several coats of sealant over one week to ensure that your patio is fully sealed from moisture damage. Then, add outdoor furniture as desired and enjoy your new paver patio!
You Can Check It Out to Cut Metal Landscape Edging
Some Tips and Suggestions:
- Plan everything out. You don’t want to find yourself with a patio that doesn’t fit the area you have planned for it or with a patio that fits the area but does not suit your needs.
- It may be easier to build an earthen pad first and then build up from there. You can also create an earthen pad and then build the pavers on top of that, but make sure you allow for drainage between the two layers if you go this route.
- If your yard slopes more than 3/4″, you may want to think about staggering your paver layout so that each row is at a different level. This will help the patio flow better, making it look more natural.
- If you use pavers on the path leading up to the patio, make sure they are of a different size or color. This will make it easier for guests to know where they should be walking.
- If the area you want to build a patio on is higher than the surrounding areas, you will have to bring in more fill dirt. This will leave an unattractive hill after you remove all of the excess soil from your project site.
- You may want to use landscape fabric around the perimeter of your patio for weed prevention and to make the area look more polished.
Conclusion:
If you’re looking for a way to add value to your home through addition that is both functional and aesthetically pleasing, a paver patio may be the perfect solution. It can replace a traditional walkway or driveway with one that will look beautiful and provide additional functionality. In these blog posts, we have discussed how to build a paver patio on a sloped yard.
The next time you have any doubts about how easy installing this kind of project is on sloped ground, take comfort in knowing there are ways around these difficulties if they arise during construction. Speak with an experienced contractor early on to get started on designing your new backyard oasis today!


