
How to Build a Shower Curb With 2×4
The bathrooms in our houses contain showers, and sometimes it is seen that the water gets overflown to the ground. This happens when there is an absence of shower curbs. We must build a shower curb before we decide to use the shower. For this reason today we are going to suggest you an easy technique on how to build a shower curb with 2×4, this will be much beneficial for the people who are beginners in this field. First of all, you need to make a mark on the ground by using a leveler. This will help you in making a mark on the ground which is straight and level. You must use a measuring tape to measure the length and width of the shower curb.

Procedure
Shower curbs are used to keep the water inside the confined space because sometimes the flow of water might get out of hand, and the floor might get flooded. Building a shower curb is following necessary carpenter skills. For this reason, we will suggest some easy steps that you can follow to get a good hold of your curbs and install them properly. These steps are stated below with proper explanation. First of all, take a tape measure and a pencil to make proper markings on the shower area.
- Step One
At first, you have to choose the plank you want to install, the 2×4 cross-section planks are much recommended in this case, but for your better convenience, you can use different materials. It is better to use three such planks for the process. Among them, two will be standard wood, and another will be especially thermal treated wood. Both of the woods will be necessary for the entire process to work correctly.
- Step Two
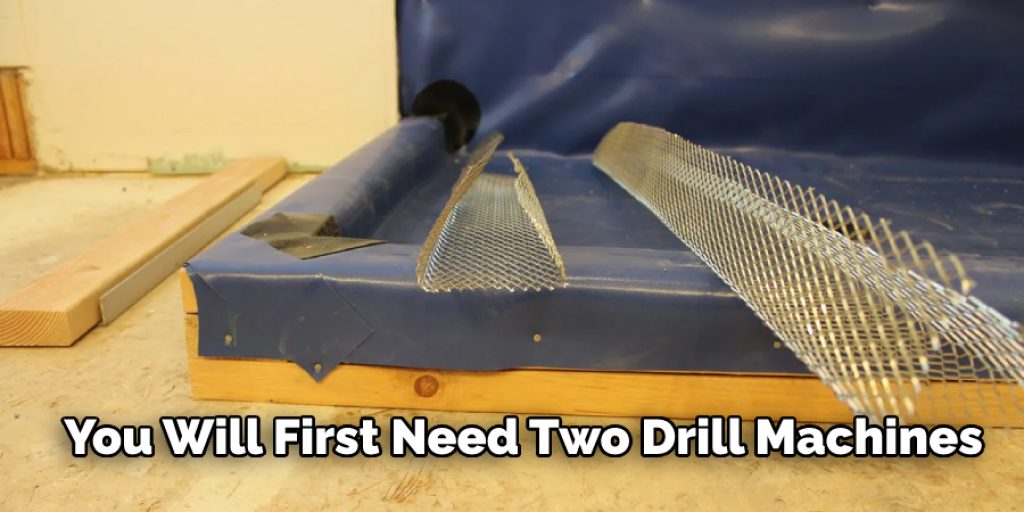
In this step, you have to manage all the necessary instruments for the process, and you will first need two drill machines. One will be used to drill holes, and the other will be used for driving the screws. This will make your work much easy and comfortable. Next, you have to manage both standard and concrete screws. These will be forced into the wood for the proper attachment of the woods.
- Step Three
In order to build a deck, you first need to gather all the required materials and tools. Once you have everything you need, you have to mark the line for placing the plank with a marker. Then, you have to take the thermally treated wood and put it on the ground, aligned to the edge. The thermal wood is used first because it will be much resistant to water. Next, you have to use two standard screws and attach the plank to the side woods. Thus, the wood will not move from its place while connecting to the ground.
- Step Four
In this step, you have to take the concrete screws and drill three holes at both ends and the plank’s center. Then you have to drive the three concrete screws inside the plank. This will make your wood get attached to the ground firmly. You can use repulsive rubber to seal the leakage below the wood, if any. Now you have to take the other wood and then place it over the installed wooden plank and then drill holes at the corners and in the middle and attach screws.
- Step Five
The last step in the process is to take the previous plank and place it over the installed planks. Then, take the drill machine and drill five holes in the plank from the corners. Next, take the standard screws and install them in the wood. This will prepare the shower curb so that you can easily use your shower without worrying about the water overflowing.
Precautions
- Drilling
The riveting process requires repeatedly hitting rivets with a machine in order to secure two pieces of metal together. It is important to be careful while performing this process because the rivets are quite sharp objects, and they might harm your hands. In this case, we suggest that you use hand gloves throughout the process, and operating the machine should also be done keeping personal safety in mind.
- Knee-caps
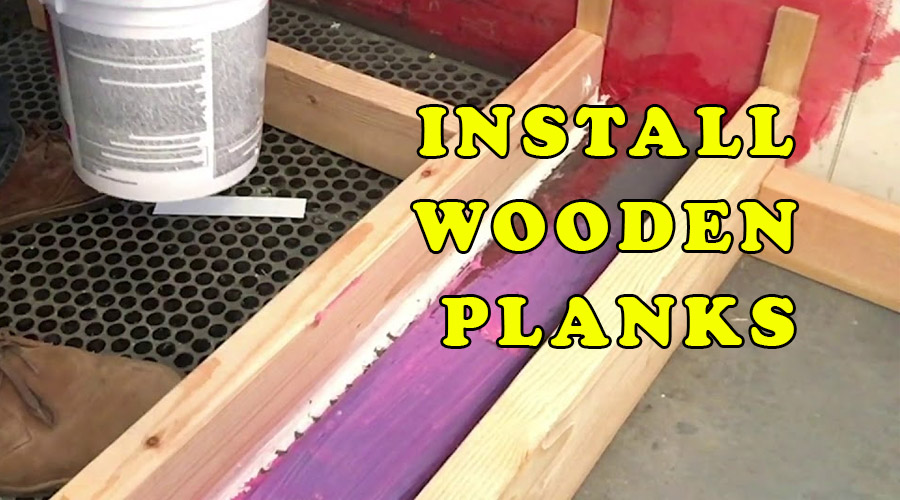
When you are installing wooden planks on the ground, it is easier to sit on your knees and then work. However, sometimes it can be tiring to sit on your knees for a long time. In these cases, you can use knee-caps to help protect your knees and make you more comfortable while working.
Conclusion
In conclusion, we would like to state that the shower faucets that we use in our bathrooms are most likely to create a water overflow. For this reason, you can easily follow our guidelines to make your DIY shower curbs. You can also use other materials for this process, and this will change even the décor of your bathroom. The DIY skills will also get improved, and the final output will be worth of your hard work. Thanks for your patience. Have a beautiful day!!
Angela Ervin
Angela is the executive editor of DIY quickly. She began her career as an interior designer before applying her strategic and creative passion to lifestyle and home. She has close to 15 years of experience in creative writing and online content strategy for housekeeping, home decorations as well as other niche efforts. She loves her job and has the privilege of working with an extraordinary team. She lives with her husband, two sons, and daughter in Petersburg. When she's not busy working she spent time with her family.


