
How to Build a Shower in a Closet
Many homeowners nowadays take great pride in their homes and want to make them as beautiful and functional as possible. Therefore, one of the most popular home renovations is to convert a closet into a shower. This is an attractive option because it can be accomplished much less than building an entirely new bathroom.
Building a shower in your closet might seem like an impossible feat, but with the right tools and materials, you can make it happen. This blog post will show you how to build a shower in a closet by walking through each process step.
The only downside, which may not seem like one at first, is that there isn’t enough space in the average closet to build a large or luxurious shower enclosure. Most people choose to install the simplest version by simply installing a plastic curtain rod inside the doorway with two hooks on either side of it. This way, you get all of the benefits without any restrictions when using your shower! Read on for more information!
Reasons Why Build a Shower in a Closet?
1. Convenience:
It’s convenient to build a shower in the closet. You don’t need to reroute plumbing or alter your house/apartment’s structure.
2. Size:
Building a shower inside of a closet gives you complete freedom over its size and shape, as opposed to building one against an exterior wall limited by structural walls and load-bearing walls. This allows you to be creative with your shower space and design it exactly how you want it.
3. Venting:
Venting a shower in a closet is easier because it will have more space for vents and ducts. A larger opening makes it easier to combine the air from the fan with the fresh air from ventilation, reducing your overall installation cost.
4. Safety:
Since it’s inside a closet, it is safer than an external shower. Because there are no windows, there will be less chance of someone accidentally walking into the bathroom when you’re in the middle of taking a shower/bath.
5. Choice:
It’s likely that you already have your closet set up to your liking, so altering it to fit a shower stall in it will be much better than building a shower in an area that is not set up for one, such as next to your kitchen.
6. Appearance:
Building a shower in your closet will have minimal impact on the room’s appearance. Some even go to install an elegant glass door that will serve both as privacy and aesthetic protection.
7. Flexibility:
If you build a shower into your closet, either you or any guests you have over will likely be able to utilize it without any issues.
8. Savings:
Building a shower in a closet will save you money because you can install everything yourself, provided that you have the necessary supplies and expertise required.
9. Separating Spaces:
Having a separate entrance for your shower allows for more privacy; it’s like having a private bathroom that you never have to share with anyone else.
10. Temperature:
It’s easier to heat a room than to cool one, so if you build your shower in the closet, your hot water will remain hotter longer because the air won’t circulate as much.
10 Ways on How to Build a Shower in a Closet:
Here we have mentioned some ways on how to build a shower in a closet.
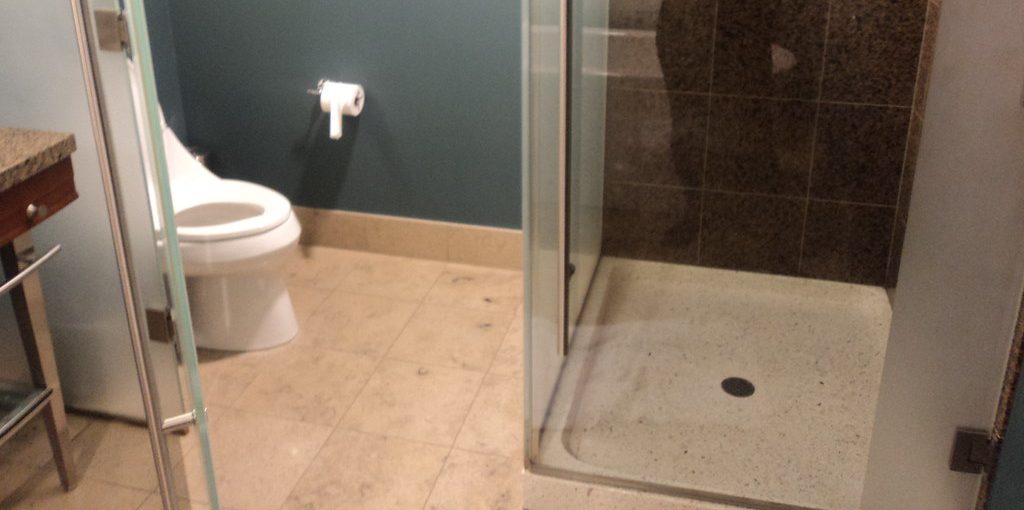
1. Shower Enclosure
A shower enclosure is one of the simplest ways to build a shower in a closet. A kit can be purchased at many hardware stores and assembled by hand or with power tools to create any size shower you’d like. The downside is that it will be made of metal or plastic, so showers built this way are best for outdoors or environments where they can always get wet.
2. Tile Shower
If you like the look of tile but want a more permanent solution, putting it in your shower is as simple as tiling over an existing bench or shallow countertop. This is not the sturdiest of solutions, so you may have to buy two benches (or build your bench out of plywood).
3. Board-and-Batten Shower
If you want the look of old-school wooden shelves in your shower but don’t like the idea of using wood that will get wet, then board-and-batten is the way to go. A couple of sheets of plywood sheathed in waterproof board-and-batten siding will provide you with the sturdy wood construction of shelves while protecting them from water damage.
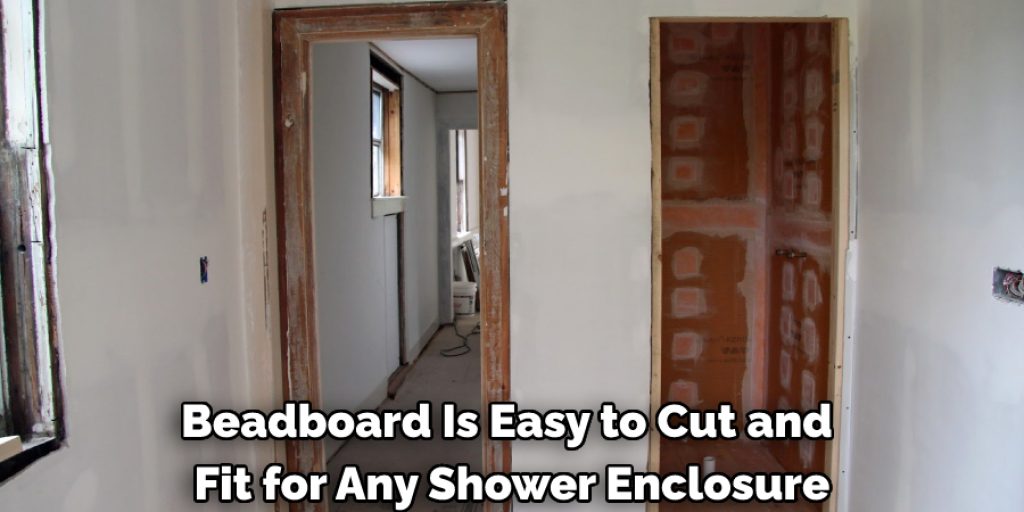
4. Beadboard Shower
Beadboard is an inexpensive siding material with thin sheets that are easy to cut and fit for any shower enclosure. The drawback to this material is that it’s not as durable as some of the other options listed here, but if you plan to leave your shower open most of the time or keep a cover on it when not in use, it works great.
5. Tile Backer Board
Tile backer board can be used as a substitute for tile and board-and-batten in a shower, creating a simple border around the entire shower. The advantage to this option is that it will be the sturdiest and most waterproof of all listed here, but it’s also going to look fairly permanent, and you won’t have a lot of room for taller showers.
6. Reclaimed Wood Shower
This is an excellent option for any closet if you’re into DIY projects and want to build your shower simultaneously. By salvaging wood from old pallets or other outdoor structures, you can quickly create a sturdy but straightforward shower inside an otherwise forgotten space in your home.
7. Plywood Shower Bench
A plywood bench with a little added cushioning makes an excellent shower base and is lighter and easier to work with than solid lumber. When building a plywood bench, you can customize it with outlets for electrical appliances or power tools built right into the shower itself.
8. Bathtub Shower
Though this may seem like an odd idea at first, there are some great benefits to combining a bathtub and shower. Bathtubs make for great seats in the shower, which is especially nice if you have limited space or want a more profound bathing experience.
In addition, the entire unit can be outfitted with custom plumbing that allows either fixture to operate without needing extra equipment, making it an ideal solution for smaller bathrooms.
9. Closet Liner
This solution is the quickest and most accessible, requiring no unique construction or tools. By draping a shower liner over the back wall of your closet, you can bring the look and feel of an accurate shower into an area that might otherwise go unused. Liners are available in various colors and styles to match any décor, and they’re sold at most home improvement stores.
10. Curtain Rod Shower
Though this solution is the least durable on the list, it’s also the cheapest and can be done with items you might already have lying around your house. All it takes is a curtain rod attached to the back wall of your closet, then hanging a shower curtain in front. After that, it just works like any other shower enclosure!
Now that you know how to build a shower in a closet, you can start your next DIY project today. And don’t forget about all of the extra storage space you’ll be getting out of the deal!
Things to Consider Before Building a Shower in a Closet:
1. The shower should be the same size as a standard prefabricated tub/shower unit, which local building codes will determine.
2. A minimum clearance of 30″ in front of the entrance door must be kept for an emergency egress window.
3. The ceiling should be at least 8′ high to allow space above the showerhead for the water to drain out of the enclosure.
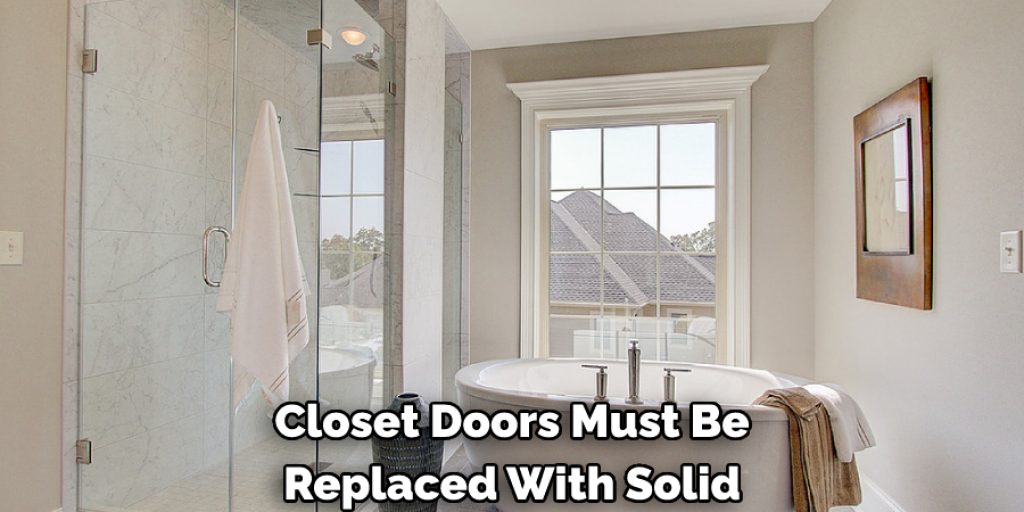
4. Closet doors must be replaced with solid, non-venting sliding doors if any part of them will swing inside the new shower space.
5. A flange must be installed around the drain opening to ensure good drainage and hold caulking in place.
6. A new electrical box must be installed for at least one electric outlet.
7. The 2×4 sidewalls should be braced with 1x3s, which provide room for installing shelf brackets inside the enclosure.
8. The building of a shower in a closet is not recommended if it can’t meet local building codes or if it interferes with other water pipes or wiring.
Conclusion:
The best way to build a shower in a closet is by using the space wisely and ensuring enough room for you to get in. Then, with the right materials and a little bit of time, you can create your private shower. We hope this article has helped demystify some of the processes so that if you ever need an emergency bathroom or want more space for storing clothes, you know how to build a shower in a closet out of nothing but what’s available.
If you have any questions about building your custom-made shower, don’t hesitate to ask our team of experts! We’re happy to help with any question or concern when building a new home addition or remodeling project.
Angela Ervin
Angela is the executive editor of DIY quickly. She began her career as an interior designer before applying her strategic and creative passion to lifestyle and home. She has close to 15 years of experience in creative writing and online content strategy for housekeeping, home decorations as well as other niche efforts. She loves her job and has the privilege of working with an extraordinary team. She lives with her husband, two sons, and daughter in Petersburg. When she's not busy working she spent time with her family.


