
How to Build a Waterbed Frame With Drawers
Are you in the market for a new bed frame? If so, you may want to consider building your waterbed frame with drawers. This DIY project is relatively easy and can be completed in just a few hours. Plus, it will save you money compared to buying a pre-made frame from a store.
If you are in the market for a new bed frame, a waterbed frame with drawers may be just what you are looking for. These frames are sturdy and can hold up to the weight of a waterbed, and they also have added storage space that can come in handy. This article will show you how to build a waterbed frame with drawers using basic carpentry skills. Read on to know more!
Summary: If you’re looking for an easy way to add extra storage to your bedroom, build yourself a waterbed frame with drawers! This project is simple and can be completed in just a few hours, so you’ll have plenty of space to store all of your clothes and accessories.
Step by Step Guide: How to Build a Waterbed Frame With Drawers
Step 1: Planning
The first step to building a waterbed frame is to plan out the design. There are many different styles of bed frames available, so finding one that suits your needs and taste should be easy. However, just because you choose a certain type doesn’t mean there won’t be any modifications necessary.
For example, you’ll need to consider how much space you have in your room and how high you want the bed to be. If you don’t already, you’ll need to obtain a waterbed mattress or foundation (the flat platform on which the mattress rests).
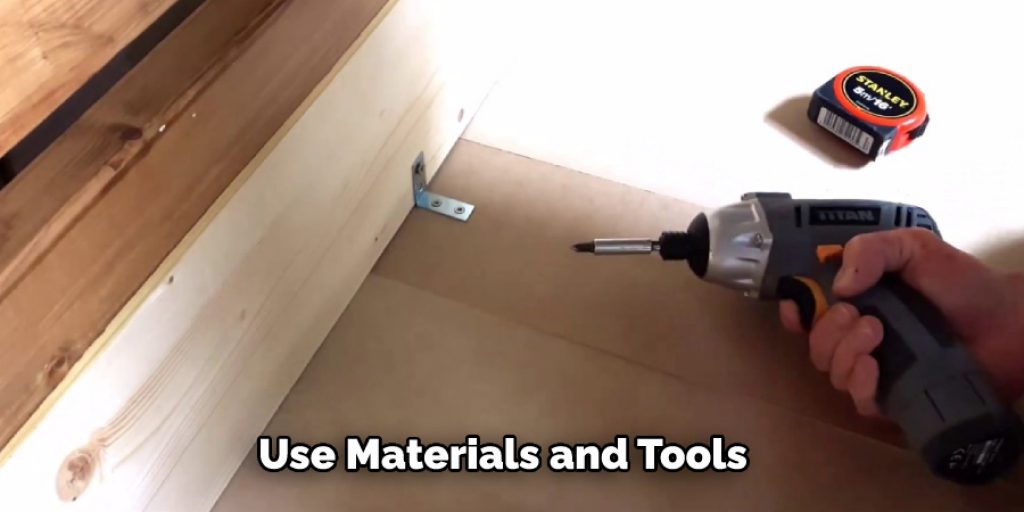
Step 2: Materials and Tools
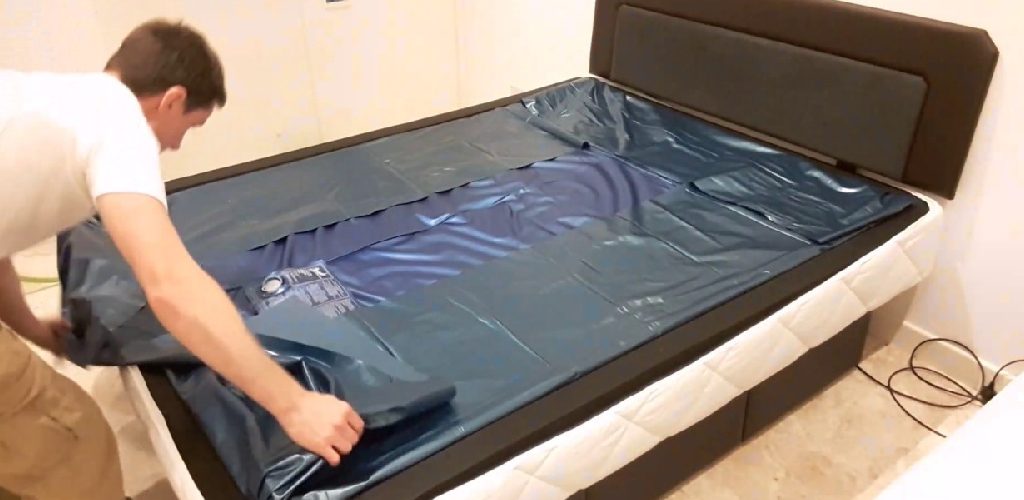
Once you’ve settled on a frame design and established how high to make the headboard and footboard, you’ll need to acquire the parts necessary. The frame should be made of metal, sturdier than wood, and painted so that it’s rust-resistant. The mattress or foundation of your bed is where all the water will go, so make sure it’s thick, sturdy, and made of vinyl.
A sturdy headboard will keep your pillows from falling off the bed; get one that is either wood or metal. The footboard can be made of anything you like (although having a matching design to the headboard helps the frame appear more cohesive). You’ll also need to get metal bed rails for your mattress so that you can attach the frame to them. Finally, you’ll need a drill, screwdriver, wire cutters, and pliers for this project.
Step 3: Assembling the Frame
If you’re using corner pieces to keep the frame together (usually used when building things like desks), now is the time to secure them in place. You can use either screws or nails, whichever you prefer. However, this step is unnecessary if you’re not using corner pieces and just connecting metal beams to hold the bed together. It simply involves screwing two beams into opposing corners of your mattress foundation.
Step 4: Prepping the Lumber
Before using the lumber, you’ll need to paint it with a rust-resistant sealant so that your bed frame doesn’t start breaking apart. Make sure you put on several coats and let them dry before starting work again.
Step 5: Making the Headboard and Footboard
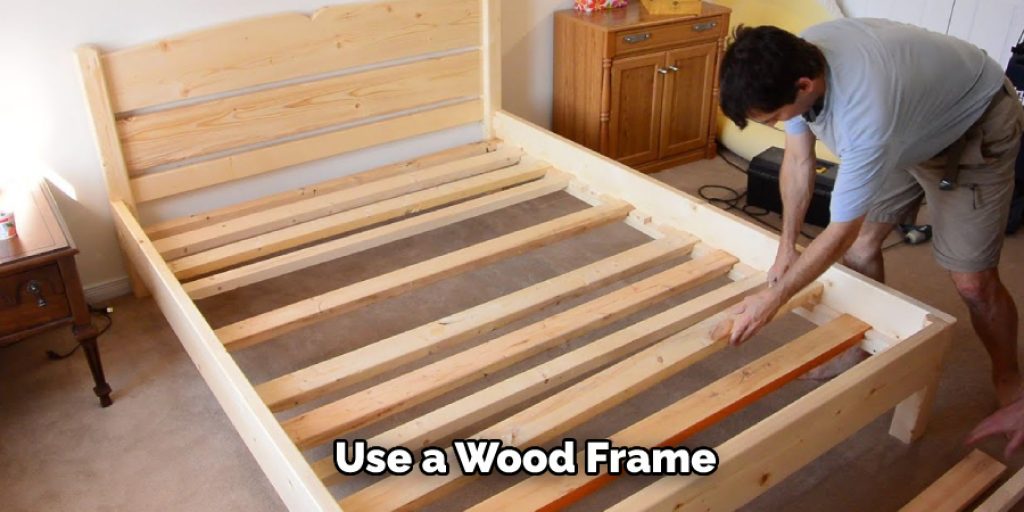
If you don’t already have a headboard or footboard, now is your chance to make one. If you’re using an off-the-shelf design, measure it against the size of your mattress foundation to ensure that it will fit. Use either wood or metal (depending on your preference) and cut it to size.
If your bed frame is metal, you can drill holes in the headboard or footboard so that they fit snugly on top of the metal beams. If you’re using lumber, screw them into place.
Step 6: Attaching Rails
Use the same materials as your frame to attach bed rails to your mattress. Drill holes in each side of the rail exactly where you want them, then screw them into place. Make sure that they’re attached securely to don’t fall off if someone jumps on the bed too hard.
Step 7: Headboard Installation
This step will depend on the type of design you choose to build. If your headboard is attached to the frame, then screw it into place wherever you like. You may mark where the screws should go first to ensure that everything fits appropriately. However, if your bed’s headboard isn’t bolted directly onto the frame, attach it to the metal rails already attached to your mattress.
Step 8: Covering the Frame
Cover the exposed metal with paint that’s rust-resistant. Use just one coat, let it dry, and then paint over it with another if necessary. You can use stencils or stencil brushes to paint the letters to your bed’s name or just freehand it. Either way, let the paint dry before you move on.
Step 9: Add Fittings to Footboard
Most waterbed mattress foundations have fittings at each corner so that you can easily secure the mattress to the bed frame. Use a waterbed tool or screwdriver to add these fittings to your bed’s footboard.
Step 10: Finishing Up
If you want the footboard of your bed to act as a storage space (for shoes or books, for example), now is when you should make the compartments. The simplest way to do this is to drill holes in the frame and attach drawers, but if you’re using lumber, you can cut away part of the footboard and add compartments that way. Next, add hinges to the compartments or drawers and attach handles so that you can pull them out when necessary, and then your bed frame is complete.
Some Tips & Suggestions:
Here are some tips and suggestions on how to build a waterbed frame with drawers.
1. It is not necessary to use this method for building drawers, but it may be beneficial to you
2. The design of the bed will allow you some room if you want space between your new drawers and the existing mattress
3. If you are using new wood, sand it down before assembly so the edges will be smoother
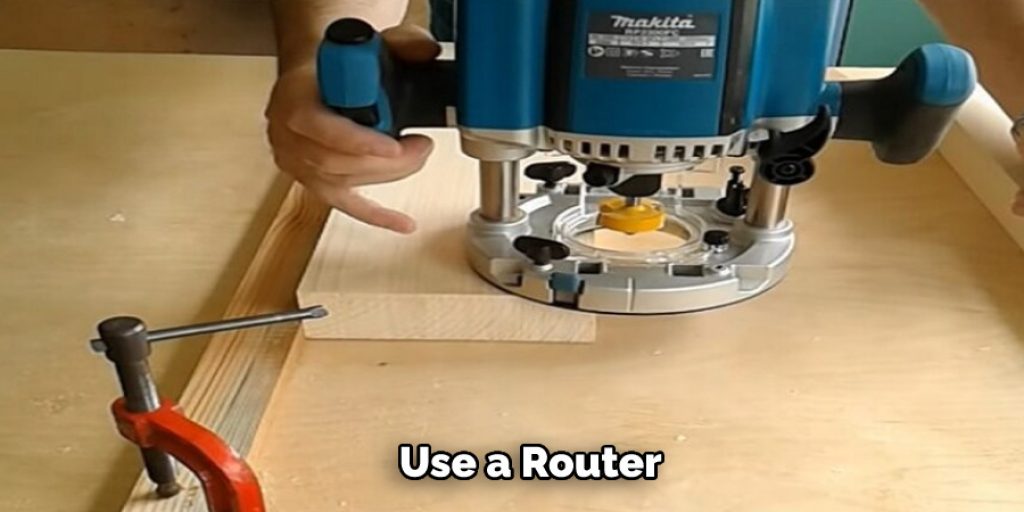
4. You can use a router to cut out the slots for your drawer slides (if you buy drawer slides), or you could screw in some boards and attach the slide to those instead (a simpler method).
5. You can purchase the drawer slides at a home improvement store (or many other retailers that sell drawers and similar items).
6. The number of drawers is entirely up to you, but remember that the more drawers there are, the harder it will be to get in and out of bed
7. This project is for a waterbed frame with two drawers (so four total sides); keep that in mind while designing your bed frame
How Do You Build a Waterbed Frame With Drawers?
The first step to making your waterbed frame with drawers is to cut the wooden board. One of the most important measurements you must consider when deciding how wide you want each drawer to be is the size of the drawer slides. Once you have found out what widths of various components will work, cut four pieces at your desired length to make the frame.
Make sure that you include an extra 1/2 inch added onto the thickness of the frame because this will be needed for the drawer glides. Next, cut six pieces at your desired length to create sides of each drawer. The other ends of the drawers must be screwed onto hinges so that they can close (you may want to take out the hardware first).
Your replacement waterbed mattress needs to fit over at least one board. Once you know where your boards are, cut it down to size or leave it if you prefer a bigger bed. Then cut four pieces for the mattress support.
You Can Check It Out to: Turn a Waterbed Frame Into a Platform Bed
Conclusion:
As you can see, building a waterbed frame with drawers is relatively easy and takes just minutes. Now that your frame is built, it’s time to add the mattress and bedding! If you’re not sure what size or type of mattress will work best for your particular needs, we recommend consulting our article on choosing the perfect mattress that covers all aspects of choosing one from firmness level, price range, and more.
When installing sheets onto your new waterbed, be careful not to stretch them too tight as this causes wrinkles in the fabric. We hope this blog post on how to build a waterbed frame with drawers has been helpful. If you have any questions or want to know more, then feel free to comment below!


