
How to Build Lamp Post Sleeve
Lamp posts are a great way to provide light and a focal point for any street corner. However, installing a new one is challenging without the right tools. A new or old lamp post can be customized with this design, which gives you the ability to choose the perfect color for your neighborhood.

There are several ways to install a lamppost; you can hire an electrician or contractor with the appropriate equipment, purchase your equipment, or build your lamp post sleeve from scratch. In this blog post, we will discuss how to build lamp post sleeve, what it takes to build your lamp post sleeve, and which materials you’ll need!
10 Ways on How to Build Lamp Post Sleeve:
1. Use Wood Glue:
Building a lamp post sleeve with wood glue is the simplest and most effective method. This type of glue provides a strong hold, while also helping to protect the wood from moisture damage.
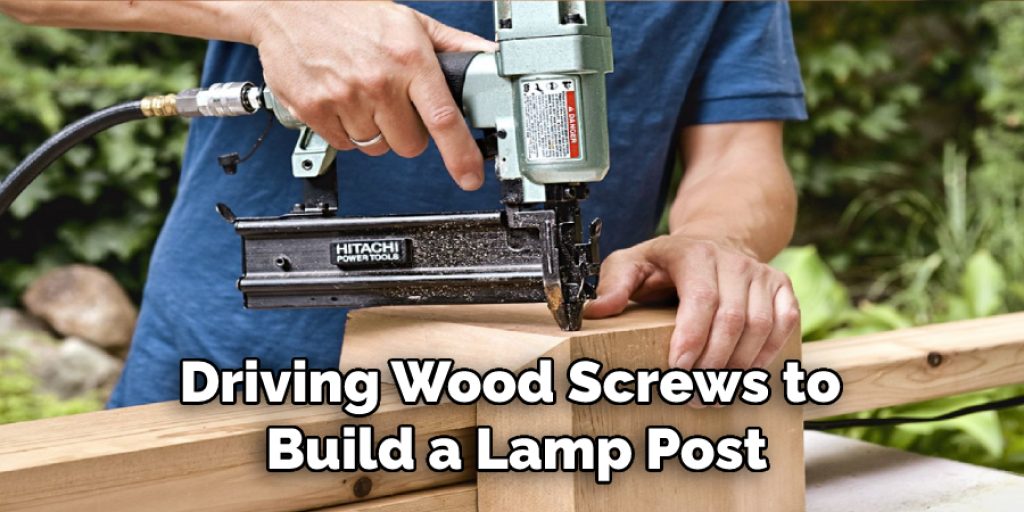
2. Use Wood Screws:
Another standard method for building a lamp post sleeve is to drive wood screws into it. While screws provide a stronghold, they do not protect the wood from moisture as glue does. They also may damage surrounding surfaces or cause other objects to become loose.
3. Use Welding Wire:
Welding wire is an excellent way to create a lamp post sleeve. This type of wire is also known as “flux core” welding wire. In order to use it, you will need a welder that uses flux core wires or has been converted to that type of welder. Please note that the welding wire method may leave some residue on the wood and should not be used for exterior applications.
4. Use a Glue Gun:
A glue gun is a quick and easy way to build a lamp post sleeve, but it can cause damage to surrounding wood surfaces.
5. Use a Portable Drill:
A portable drill can be used to build a lamp post sleeve. This method provides the same protection as driving screws but does not damage surrounding surfaces like screws may do.
6. Use Epoxy:
Epoxy is another method of building a lamp post sleeve. This method provides good moisture protection and creates a very stronghold. However, epoxies do not fill spaces and other types of glue, and the working time with this type of glue is usually fairly short.
7. Apply a Thin Coat:
Another method is to apply a thin coat of glue to the wood and then insert the sleeve into it. This method provides good moisture protection and may be used on exterior surfaces. The downside of this method is that it is difficult to do and takes some time to orchestrate properly.
8. Fill with Plaster:
Plaster can also be used to build a lamp post sleeve. It is available in dry powder, liquid, or premixed form. Plaster provides good moisture protection and fills gaps well, but it tends to be brittle and can crack easily under pressure from movement or weight loads.
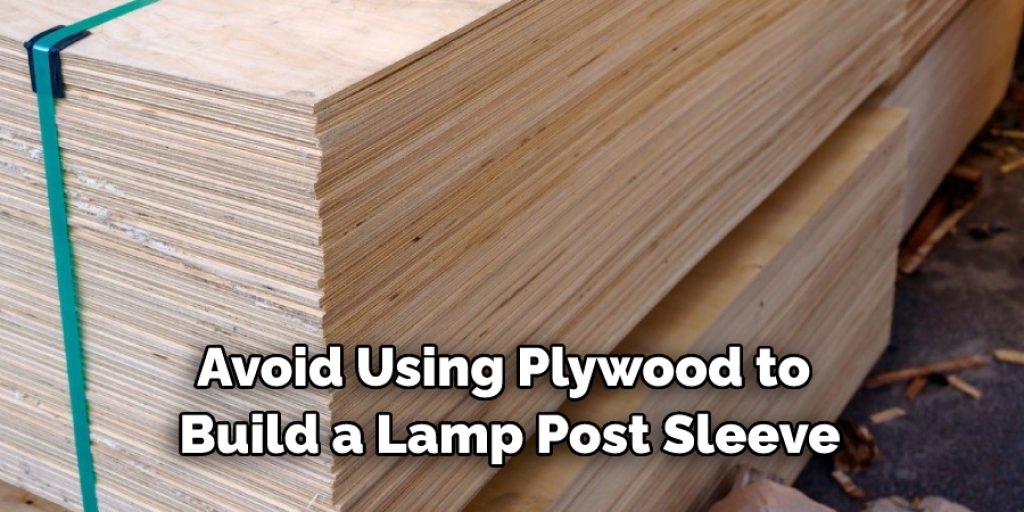
9. Avoid Using Plywood:
Avoid using plywood to build a lamp post sleeve. While modern wood glues are strong enough to hold plywood together, older adhesives may not provide the same type of support. This will result in splitting of the wood and possibly damage to surrounding surfaces.
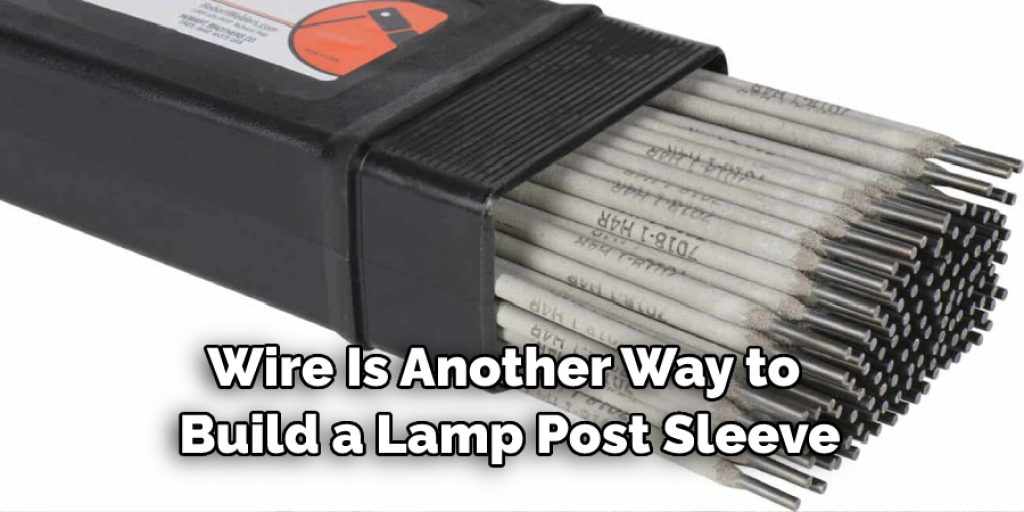
10. Use Welding Rods or Wire:
Welding rods and wire is another way to build a lamp post sleeve. Welding rods and wire are fairly similar in that they provide a stronghold with minimal moisture protection, but welding does involve some risk of fire, sparks, and hot metal.
While many methods exist for building lamp post sleeves, not all will provide the same results. Therefore, it is essential to understand the desired use of each sleeve before choosing a building method for it. For example, lamp post sleeves made of metal provide the best protection against vandalism and theft. If you are concerned about these issues, you may want to consider this type of sleeve for your lamp posts.
Tools and Supplies Needed:
- Drill
- Round rasp
- Rubber mallet
- 1″ Forstner bit
- Spade bit
- Clamps
- Pencil
- Tape measure
Step by Step Guide: How to Build Lamp Post Sleeve
Step 1: Get materials
Gather up all the materials which you will need. For example, you will need tools, a conduit pipe, lamp pole dressings, and goop glue.
Step 2: Cut the pole dressing
Using a hacksaw, cut off the bottom of the old lamp post sleeve to flush with the ground. Now fit the tool in the top of the conduit pipe to cut it at a similar height. This will be your first lamp post sleeve to attach to the first lamp pole. Next, cutting off the bottom of the old lamp post sleeve with a hacksaw. The bottom of the old sleeve is now flush with the ground.
Step 3: Attach pole dressing
Now use a hacksaw to remove enough of the conduit pole so that it just fits into the lamp post sleeve. Then apply goop glue to both surfaces and put them together, sealing off any gaps or spaces.
Step 4: Add the top sleeve
Now do the final cut on your conduit pole, which should flush with the newly attached lamp post sleeve. Then slide over and join up your top pole dressing. Finally, add some more goop glue around each end of the joins to seal everything neatly in place and stop it from coming undone. Your new lamp post sleeve is now ready to weld the lamp fitting onto, and then stand back to admire your handy work.
Step 5: Weld the lamp post fitting
Put the base plate on top of your new sleeve and secure it with the screws provided. Then remove the old lamp post fitting by undoing all of the nuts. Quickly join everything together with your welding torch where necessary.
Be careful not to burn yourself or meld the conduit pipe to your new sleeve. Once finished, give it a quick clean with some steel wool, then replace all of the old bolts and nuts back into the lamp fitting, ready for installation.
Step 6: Install onto a lamp post.
Now that your new lamp post sleeve is complete slide it back over the top of the existing lamp post. Then re-fit the lamp post nut and washer followed by the plastic cover to give it a nice finished look. Finally, attach the lamp fitting to the new sleeve, and you are good to go!
You Can Check It Out Build a Reception Desk
Final Thoughts:
It is essential to have a sturdy foundation with the right amount of concrete. The post sleeve should be at least four feet deep and made out of reinforced steel, which can also help protect against corrosion. Make sure that it can withstand any weight your lamp posts will need to bear. A good way to ensure this happens is by using extra reinforcement for each corner meeting the ground.
We hope this blog post on how to build lamp post sleeve has been helpful. There are many other ways to make a lamp post sleeve, and we’ve covered the basic steps for building one.
If you want more information on this process or building other types of sleeves, reach out to us! We would love to help answer any questions that might come up as you work through creating something beautiful for your garden.


