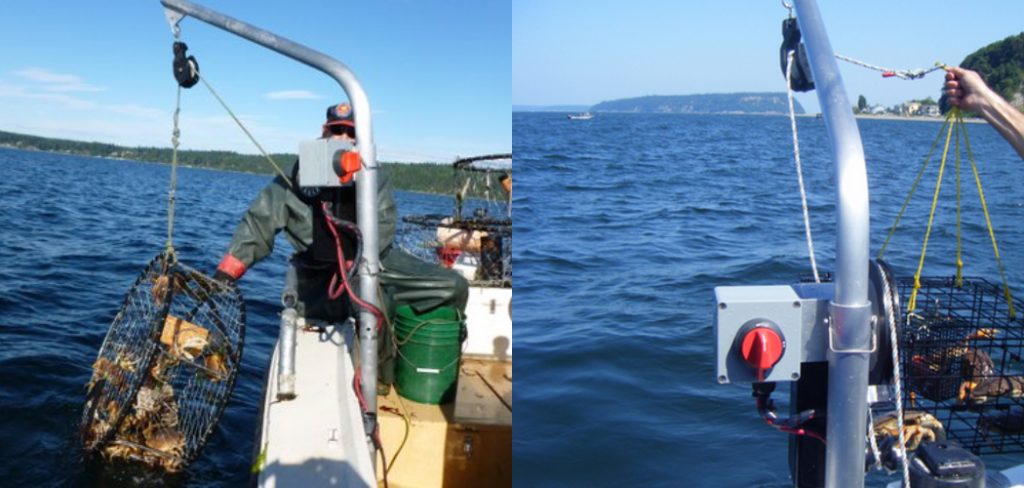
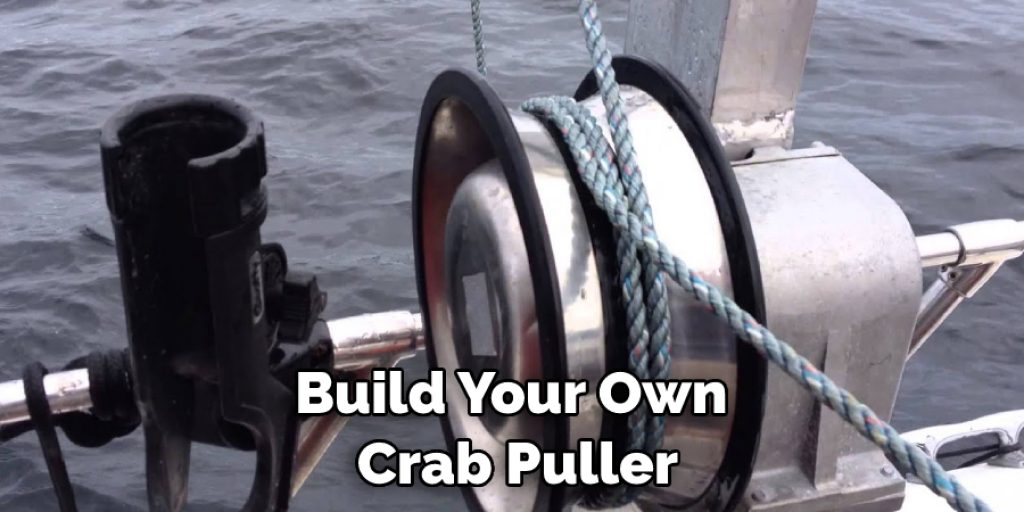
How to Build Your Own Crab Puller
What do you do when your crabbing net is full, and there are still more crabs to be caught? Grab a crab puller, of course! Crab pullers can be made from various materials, but the most popular type is the metal claw. In this article, we’ll show you how to build your own crab puller using a metal claw and some other simple supplies. Let’s get started!
What Is a Crab Puller?
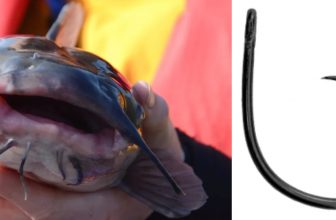
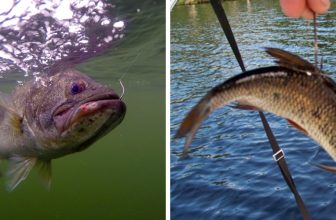
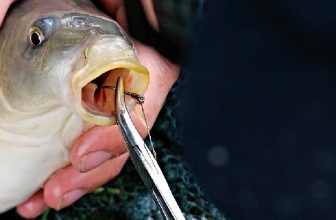
A crab puller is a tool that is used to help remove crabs from their shells. It is a long, thin rod with a small hook on end. The crab’s claw is placed over the hook and then pulled gently until the crab is released from its shell. Crab pullers are designed to be used with live crabs only.
They are not meant to be used with cooked crab meat. If you are planning on eating your crabs, it is best to remove them from their shells before cooking them. This will ensure that the meat is fresh and not overcooked. Crab pullers can be found at most kitchen supply stores.
Why Should You Build Your Own Crab Puller?
Crab pulling is a great way to get some exercise while enjoying the outdoors. But why should you build your own crab puller? For one thing, it’s a great way to save money. Buying a crab puller can be expensive, and it’s not always easy to find one that’s the right size for you. But if you build your own, you can tailor it to your exact specifications.
And for another thing, it’s a great way to get some exercise. Building your own crab puller requires some basic carpentry skills, so it’s a perfect project for anyone who likes to work with their hands. Plus, once you’ve built it, you’ll have the satisfaction of knowing that you created something useful – and possibly even beautiful – with your own two hands.
So if you’re looking for a fun and challenging project, consider building your own crab puller. You may be surprised at how much you enjoy it.
How to Build Your Own Crab Puller
If you love crab but don’t love the hassle of trying to catch them, then building your own crab puller is a great solution. With a few simple materials and a bit of elbow grease, you can easily build a device that will help you harvest these delicious crustaceans.
1. Choose the Right Materials
The first step in building your crab puller is to select the right materials. You will need four pieces of wood that are at least 2 feet long and 6 inches wide. The wood you use is up to you, but we recommend using sturdy hardwood like oak or maple.
2. Gather the Tools You Will Need
Next, you will need to gather the tools to build your crab puller. This includes a drill, saw, screws, and wire. You will also need a hammer to help secure the crab puller to the wall or door frame.
3. Cut the Wood
Once you have gathered your materials and tools, it’s time to start building your crab puller. Cut the wood into four equal pieces using a saw. Make sure that the pieces are long enough to reach from the ground to your waist when you put them together.
4. Drill Holes
Next, you will need to drill holes in two of the pieces of wood. These holes will be used to attach the pulley system. The holes should be drilled about 6 inches from the top of the wood and about 3 inches from the bottom.
5. Assemble the Crab Puller Frame
Once you have cut and drilled the wood, it is time to assemble the crab puller frame. To do this, simply take two pieces of wood and attach them together using screws or nails.

6. Install the Pulley System
The next step is to install the pulley system. You will need to purchase a kit containing all the necessary hardware. Once you have the kit, follow the instructions carefully to install it.
7. Connect the Crab Trap to The Pulley System
Now it is time to connect the crab trap to the pulley system. The best way to do this is to use a length of rope or twine. Simply tie one end of the rope to the crab trap and the other end to the pulley system.
8. Test Your Crab Puller
Before using your crab puller, you should test it to ensure it works properly. The best way to do this is to set up a mock crab pot with a few pieces of bait and a few dummy crabs. Set the pot in the water and let it sit for a few hours.
Then, use your crab puller to see if you can successfully remove the crabs from the pot. If everything goes according to plan, you should be able to remove the crabs without any problems.
9. Paint or Stain the Crab Puller
Once you have tested your crab puller and made sure that it is working properly, you can now paint or stain it to your liking. This will help protect the wood from the elements and give it a nice finish. You can use any type of paint or stain that you like, but make sure that it is compatible with the type of wood that you are using.
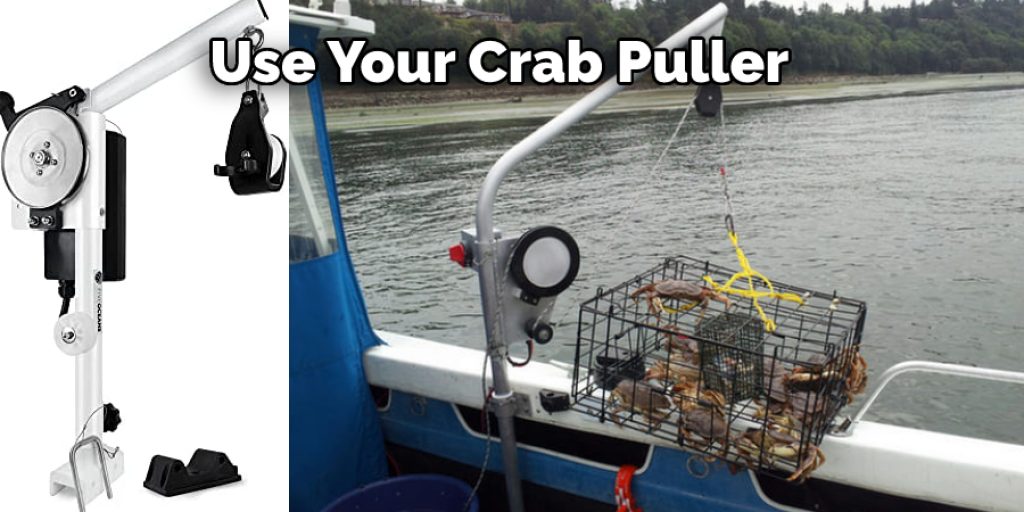
10. Hang Your Crab Puller in A Location Where You Can Easily Use It!
Now that your crab puller is built and installed, all that is left to do is hang it in a location where you can easily use it. The best place to hang it is near a body of water where there are crabs. We hope that this guide has helped you build your own crab puller and that you enjoy using it!
That’s it! You’ve now learned how to build your own crab puller. With this handy device, you’ll be able to catch crabs with ease. First, however, be sure to follow the instructions carefully and test your crab puller before using it for real.
Conclusion
Crabbing is a fun summer activity enjoyed by many. If you want to get in on the action, but don’t have your own crab puller, never fear! You can easily build one yourself using some basic materials and tools.
Follow these simple instructions, and you’ll be ready to start pulling crabs out of the water in no time. Thanks for reading our post about how to build your own crab puller. What are you waiting for? Get started today!