
How to Change Eye Color in Gimp
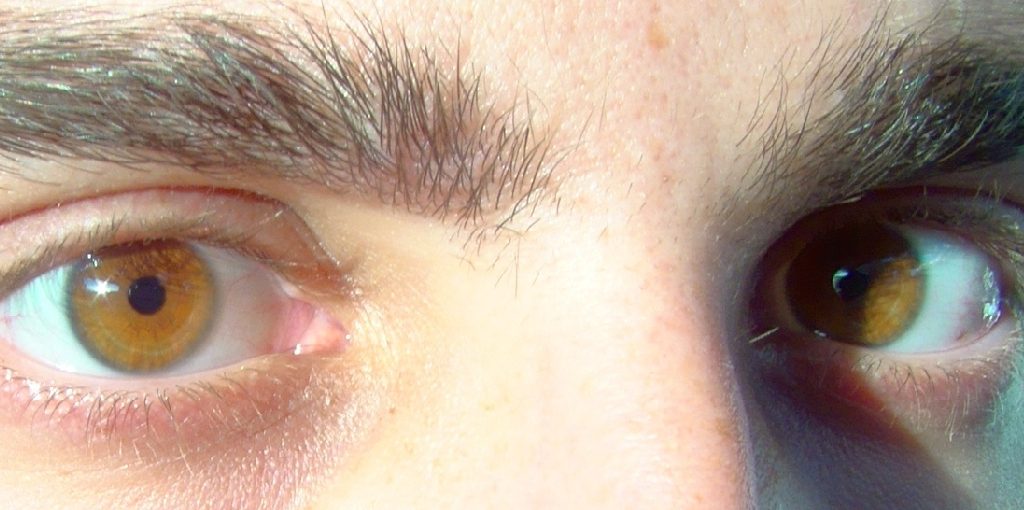
When you are editing photographs or graphics, there may come a time that you want to change the eye color of your subject. Unfortunately, changing hair color can be frustrating when trying to find the right shade. If you’ve ever wanted a specific hair color but couldn’t figure out where to start, then let us help guide you through it using gimp!
In this tutorial, we will show you how to change eye color in gimp quickly and easily. We’ll go over what colors work best for different skin tones and provide some tips on how to achieve specific colors such as red or purple. So sit back and enjoy this!
Instructions: How to Change Eye Color in Gimp
Step 1: Open the Photo
Gimp should be open already. If not, open it now. Go to File> Open or hit Ctrl+O on your keyboard. Navigate your way to the folder where you stored the image file whose eye color you want to change. Double-click on the Image’s thumbnail (the small picture) in gimp to open the Image.
Step 2: Duplicate the Background Layer
Now you must copy the existing “Background” layer so that you can work on it independently from its original. You do this by clicking on the new layer icon at the bottom of Gimp’s Layers window (it looks like a square with an arrow pointing downwards) and choosing “Duplicate Layer” from the dropdown menu.
Step 3: Desaturate the Background Layer
Now that you’ve duplicated the Background layer, you must remove all colors from it. Next, click on Colors > Desaturate or hit Shift+Ctrl+U on your keyboard to open gimp’s desaturation window.
Gimp should already know that you want to work on the Background copy by default, and so it asks you whether to apply the desaturation process only to the copied layer. Confirm this by clicking “Use Copy” and hitting OK in Gimp’s window.
Step 4: Change the Eye Color
Now it’s time to change your subject’s eye color. First, click on Colors > Colorize or hit Shift+Ctrl+E on your keyboard to open gimp’s colorization window. When it opens, choose any available colors (preferably using the Hue-Saturation slider) and then click OK.
Step 5: Change Brightness & Contrast
This step is optional, and you can skip it if you want, but it’s a good idea to brighten up your subject’s eyes by using the Brightness-Contrast tool. Click on Colors > Brightness-Contrast or hit Shift+Ctrl+B on your keyboard. In gimp’s window, set the brightness value to 85 and the contrast value to 30. Click OK to close the window.
Step 6: Merge Visible Layers
Now that you’ve changed your subject’s eye color, you must merge all visible layers so that no “empty” layers exist in your photo. Click on layer> Merge Visible or hit Shift+Ctrl+E on your keyboard again to open Gimp’s Merge Visible window. Confirm that your Background copy is selected by clicking on it (in Gimp’s Layers window), and click OK.
Step 7: Save Your Result & View the Final Result
Before saving your File, make sure to keep all of its layers as one single layer. You can do this by clicking on the topmost layer, right-clicking on it, and selecting “Merge Down” from the dropdown menu.
Now you may save your File as a PNG image by going to File> Save As or hitting Ctrl+S on your keyboard. Then open the newly saved File in gimp again for final proofreading before publishing it somewhere online.
Some Tips to Choose Colors:
- Try to use pure colors. This is especially important for eyeshadow, as several pure colors can be used that will work well with any skin color or eye color. These are red, yellow, blue, green and black.
- Some skin tones don’t need bright colors on the eyes; try using more subtle shades.
- Try to use colors that contrast with each other, rather than ones that ‘match’. This is much more flattering for photographs.
- Make sure you choose contrasting hues e.g. if you’re using blue eyeshadow, don’t wear blue eyeliner! If you want your eyes to stand out more, then use a darker shade of eyeshadow and pair it with a lighter hue for the eyeliner/mascara. Experiment with these colors to find the perfect contrast for you.
- The color wheel can help you choose complementary (opposite) colors, often more flattering than the colors that ‘match’ (e.g. purple and yellow).
- Choose an eyeshadow color 1-3 shades darker or lighter than your skin tone, and pair it with a color 1-3 shades lighter or darker than your skin tone to create depth and make the colors more flattering.
- For bright eye colors, try using black eyeliner to define your eyes. This will help them stand out and look even brighter!
- Try using bright shades on the center of your lids to make them look larger.
Things You Should Know When Using Gimp:
- On the top of the Toolbox, from left to the right: Foreground color, Background color, Brush size.
- On the top of your screen, go to Windows > Dockable Dialogs. This allows you to save images in different formats (i.e., TIFF, JPEG, PNG).
- You can save your work at any time by going to File> Save.
- Gimp automatically uses the same size when you open something; if you want to resize it, go to Image> Scale Image.
- To rotate an image, go to Image> Transform Tools. Then click on the rectangle with a curving arrow.
- To crop your picture, go to layer> Transforms > Crop Image or click on the dotted box in your Layers dialog box.
Final Words:
To conclude, there are several ways in which gimps can be used to change eye color. This is just one example, and we hope you found it informative! This blog post has provided you with a quick intro to how to change eye color in gimp.
If you enjoy this kind of article, please don’t forget to share to help others also, We are always looking for new content ideas and feedback from our readers. Have any thoughts or questions? Let us know in the comments below!
Jane Hubbard
Jane has always been passionate about hair and beauty. After many years of working as a hairdresser specialist, she decided to start her own consultancy business. She is an experienced haircare and beauty consultant, and she loves helping others find the perfect look for them. She has been writing articles for DIY quickly for over 3 years. In her free time she enjoys keeping up with the latest news in the industry, practicing yoga, and spending time with her friends and family.


