
How to Check Brake Pads Thickness Without Removing Wheel
Brake pad thickness is an essential consideration for drivers. If your brake pads are too thin, you will need to replace them soon. On the other hand, if your brake pads are too thick, it could mean that they have worn down unevenly and may be causing other problems with the car’s braking system. But how do you know if your brakes need work without removing the wheel?
You can check the thickness of your brake pads by using a few simple steps that only take a minute or two out of your day! This blog post tells you how to check brake pads thickness without removing wheel so you don’t have to go through all that trouble just for one little thing like this!
10 Ways on How to Check Brake Pads Thickness Without Removing Wheel:
1. Squeeze Brake Pads:
Squeeze the brake pads with your fingers to see if they feel stiff and hard. The harder and stiffer, the thinner it is. If they feel spongy and squishy, it’s thicker.
2. Insert a Flat-head Screwdriver:
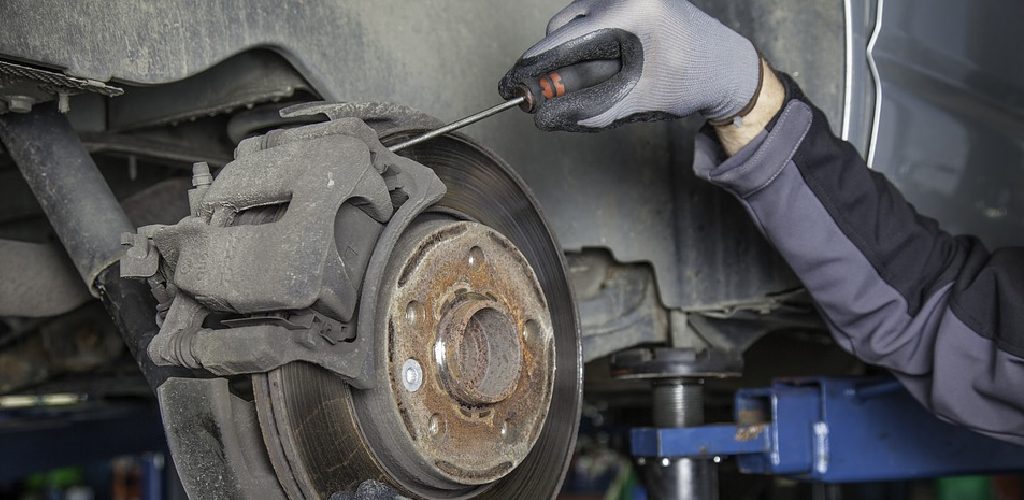
Insert a flat-head screwdriver into the gap between your brake pads and rotor. If you can insert more than 1/4″ (6mm), your brake pads are worn out and need to be changed.
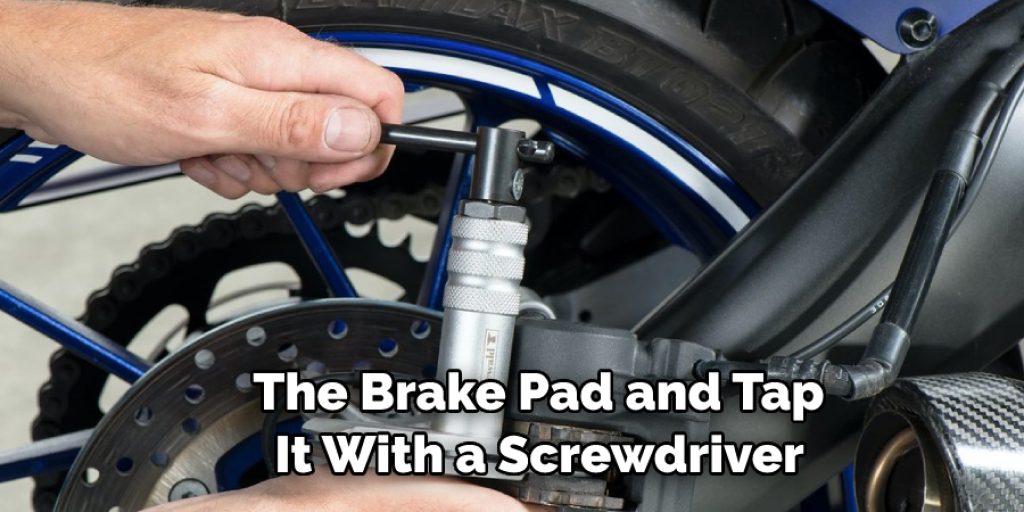
3. Brake Pads Tick:
Place your ear next to the brake pad and tap it with a screwdriver or other percussion tool that creates a ticking sound. Change them if you can hear the sound at all times while you’re driving. If only heard while braking, change your pads once they reach around 1/8″ (3mm).
4. Spin Brake Rotors:
Place a screwdriver or Allen wrench (the wrench that came with your bike) on the brake rotor and spin the back wheel to see if it feels smooth and has a vibration. If it is rough and makes noise, it means the pads are thin. Also, you can compare how smooth it is to another wheel that has been recently changed to determine how thin your pads are.
5. Count Thickness:
Count the number of mm between the brake pads when double-checking against your last measurement. Some mechanics use this method, especially when working on a new vehicle that they have been servicing every week.
6. Check Gaps:
Another method is by checking the gap between your brake pads and rotor using a caliper or feeler gauge. If it’s less than 1mm, then you need to change them. If it’s between 1-2mm, the thickness of your brake pads are at about 50% or average. If it’s more than 2mm, then your brake pads are relatively thick, and you should only need to replace them when they reach 1/8″.
7. Measure Using Vernier Gauge:
Use a vernier gauge (it looks like calipers) which has gradations of 0.01 mm to measure the brake pads thickness, but it’s a tedious and time-consuming process so most mechanics won’t bother with this method.
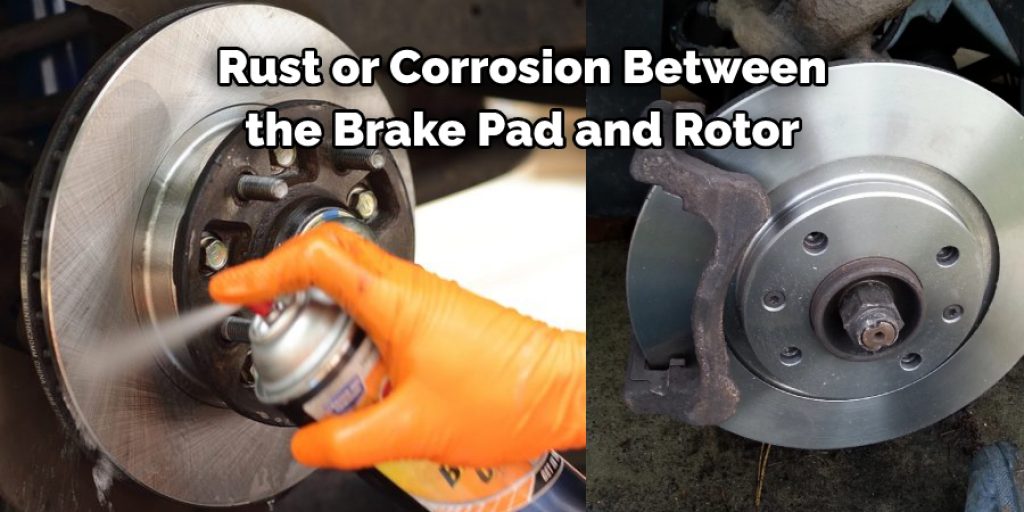
8. Magnetic Gauge:
Put a magnet on brake pads and move it along the surface to find metal particles from brake pad thickness. If the magnet is stuck, then you have a metal-on-metal contact between your rotor and brake pads. This can also happen if there’s rust or corrosion between the brake pad and rotor.
9. Scribe a Line:
Another method is to scribe a line on the brake pad, which will tell you when they are worn down to the metal, or essentially only one layer of material left, as seen in the picture above. However, most professionals do not recommend this method because they believe it’s hard to do and will cause more harm than good if done incorrectly.
10. Jack up the vehicle and turn wheels:
If the brake pads are worn out and cause excessive brake rotor wear, you can remove them from the caliper. However, if your brakes squeak when applied, you might have to replace rotors, too, because this means they are unevenly worn down.
Jack up the car or raise your vehicle so that all wheels are off the ground. Then, have someone turn the wheels one by at a time. If you hear any squeaking sounds when the wheel is turned, this means your brakes are out of alignment, and you need to check it with your local repair shop.
Some Tips and Suggestions:
1. When testing the thickness of your brake pads, you should consider that the thickness may vary depending on several factors.
2. Before buying new brake pads, it may be necessary to determine what is causing excessive wear and tear of these items. To do so, check if all components of your braking system are in optimum conditions.

3. In case of emergency, if you had to remove your front wheel due to a flat tire or another form of obstruction on the road or trail, there is no need for you to check the thickness of your brake pads at that moment. This is because new brake pads have a protective film on the surface that must be removed before they are installed.
4. If you are testing brake pads on a motorcycle or scooter, you need to check the thickness of both the front and rear pads. This is because brake pads on these vehicles are applied simultaneously.
5. Do not try to test the thickness of your front and rear brake pads simultaneously unless you have two more wheel balancing weights. Otherwise, this may lead to errors in your readings or even damage to your wheel’s surface or other components.
Conclusion:
Knowing how to check brake pads thickness without removing the wheel is a handy skill. Brake pad wear can be difficult to notice just by looking at your vehicle, but it does affect stopping distance, so knowing when you need new ones is essential. The best way to see if you are due for new brakes or not? Get out that ruler and measure!
There are two spots where you should measure from the center of the rotor face (in inches) and the outside edge of the caliper piston closest to the ground. Most vehicles with drum brakes measured 3″ in these areas will give you accurate results about whether or not it’s time for a replacement.
We hope this blog post on how to check brake pads thickness without removing wheel has been helpful. Let us know your thoughts in the comments below!


