How to Clean a Heating Pad
Do you want to keep your heating pad in the best condition? Then you need to take proper care of it. Cleaning a heating pad properly can help extend its life and ensure that you don’t suffer from any skin irritation when using it.
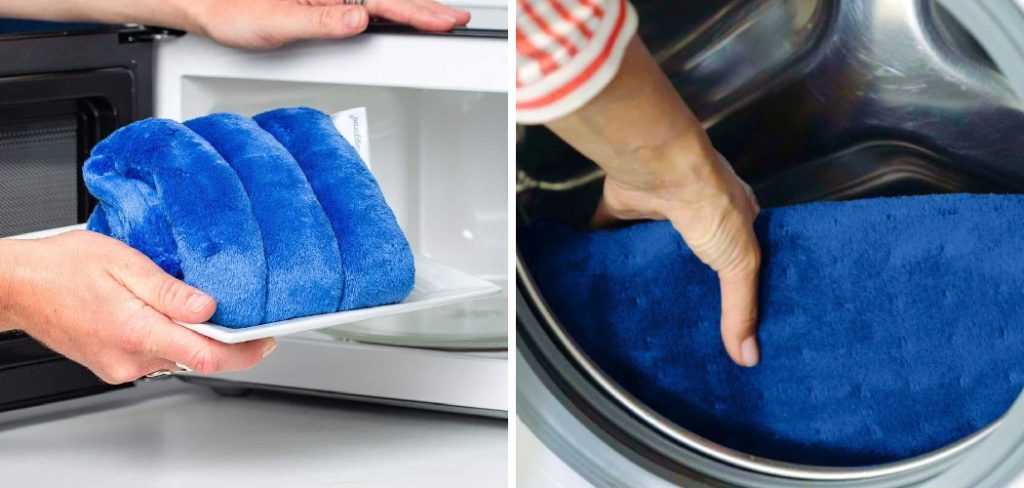
In this blog post, we’ll look at how to clean a heating pad safely and effectively so that it will stay in great shape for years to come. Keep reading as we discuss why cleaning is important, what materials are necessary, and step-by-step instructions on how to make sure your device gets thoroughly cleaned for optimal performance!
What Happens if a Heating Pad Gets Wet?
If a heating pad gets wet, it can be dangerous to use. Moisture inside the heating pad can cause short circuits and lead to electric shocks or even fires in some cases. To avoid any safety issues, never use a damp heating pad. If your heating pad gets wet, take the necessary steps to ensure that it is completely dry before using it again.
It is important to immediately remove the heating pad from its power source after a spill. Unplugging the device will prevent any short circuits from occurring due to moisture inside the pad. If you can see that liquid has penetrated into the wiring, it is best to replace your heating pad with a new one. It is not worth the risk of electric shock or fire.
To remove any moisture from a wet heating pad, allow it to air dry for at least 24 hours. If possible, place the heating pad in an area with good airflow to speed up the drying process. After 24 hours have passed, check the pad to make sure that it is completely dry before plugging it in and using it.
It is important to take precautions when using a heating pad. Always follow the manufacturer’s instructions for usage, and never operate any electrical device that has been exposed to water or moisture. Taking the necessary steps to ensure your safety will help you enjoy a safe and comfortable experience with your heating pad.
10 Methods How to Clean a Heating Pad
1. Unplug the Heating Pad
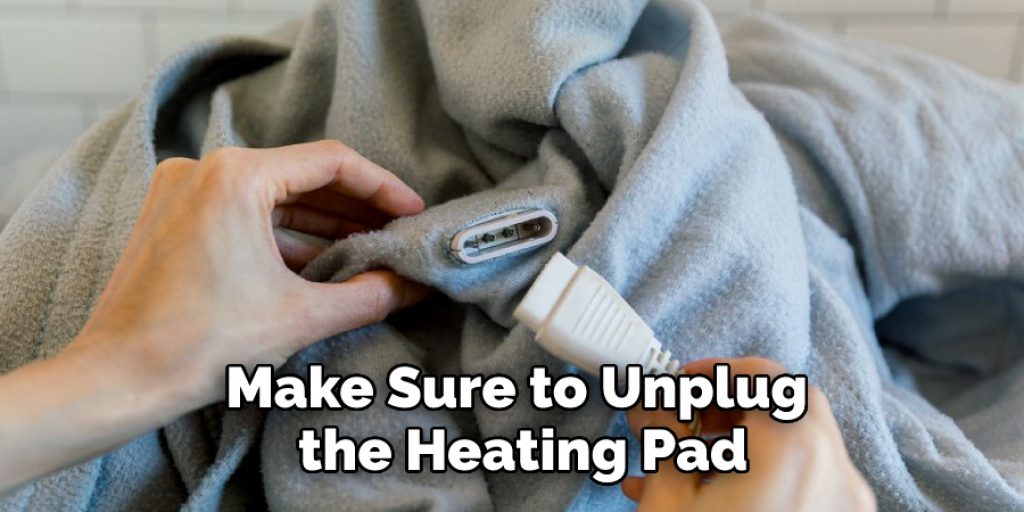
Make sure to unplug the heating pad from its power source before cleaning it. This will help prevent any potential electrical hazards. If the heating pad is wired to a wall outlet, make sure to turn off the main power switch. Though it is highly unlikely, there may be a small risk of electric shock by not doing so.
2. Prepare a Cleaning Solution
Mix together a solution of warm water, dish soap, and white vinegar in equal parts. This will help to cut through built-up dirt and grime, as well as eliminate any bacteria that may have found its way onto the heating pad.
Make sure to use a non-abrasive cleaner and avoid using bleach. However, you can add a small amount of bleach to the solution if your heating pad is particularly dirty. Try to avoid using too much bleach, as it can damage the material of the pad.
3. Soak The Heating Pad
Place the heating pad into the cleaning solution and allow it to soak for several minutes. This will help loosen any dirt or residue stuck on the surface of the pad. You may want to gently swish the pad around in the solution, but do not scrub it or wring it out.
If the heating pad is electric, check the manufacturer’s recommended cleaning instructions first. Once the pad is finished soaking, give it a rinse with cold water and allow it to dry.
4. Use an Old Toothbrush
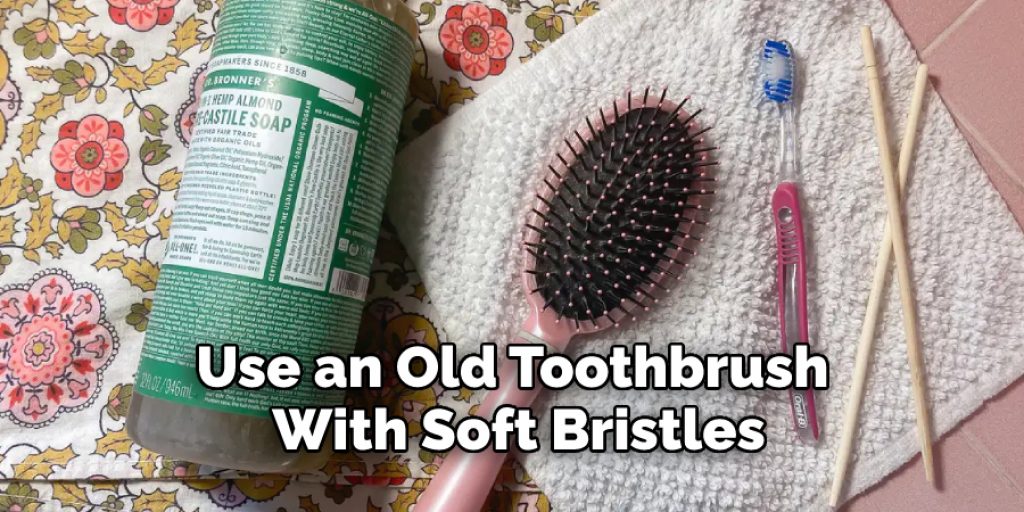
Use an old toothbrush with soft bristles to gently scrub away any dirt and debris on the heating pad’s surface. Make sure not to press too hard as you do this, as you may damage the fabric covering the device. To get into hard-to-reach spots, you can use the bristle end of the toothbrush.
After scrubbing, wipe away any remaining dirt with a damp cloth. However, be aware that some heating pads may not be able to handle being wet, in which case you should avoid using liquids. Make sure to thoroughly dry the heating pad after cleaning to prevent any water damage.
5. Rinse the Heating Pad
Once you have finished scrubbing the heating pad, rinse it off to remove any soap residue. For electric heating pads, make sure to completely unplug the pad before rinsing. Check over the pad for any signs of damage or water seepage before plugging it back in.
For a microwavable heating pad, fill the sink with cold water and place the heating pad inside to soak for a few minutes. Gently squeeze the pad to help remove any soap residue and then rinse it off with warm water. Allow the heating pad to air dry before using it again.
6. Apply Baking Soda
Sprinkle a generous amount of baking soda onto the heating pad and let it sit for 10-15 minutes. This will help eliminate odors from the device. Then, take a damp cloth and gently scrub the pad in circular motions to ensure that all of the baking soda is removed.
Once done, cover the pad with a towel and let it air dry. After drying, make sure to check the heating pad for any remaining debris or residue before use. Make sure to use caution when cleaning to avoid any potential damage.
7. Wipe Down with a Damp Cloth
After allowing the baking soda to sit on the surface of the heating pad, use a damp cloth to wipe down the device in order to remove any remaining debris or dust particles. Be sure to use a soft cloth so that you don’t damage the surface of your heating pad. Although it’s important to be thorough in your cleaning, don’t scrub too hard, as you do not want to damage the heating element.
It is also important to use a cloth that is not too wet so as to avoid any excess moisture getting in contact with the heating element. Once you have wiped down the surface of the heating pad, you can then move on to the next step.
8. Dry with a Towel
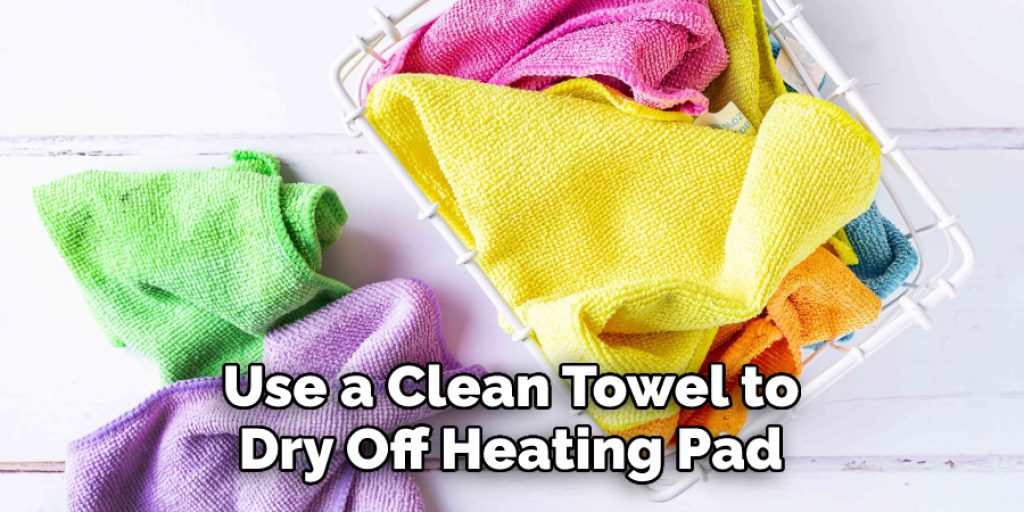
Use a clean towel to dry off your heating pad after wiping it down with a damp cloth. Be gentle while doing this, as too much pressure can damage the fabric covering. Make sure to dry the heating pad completely before using it again. This step is especially important if you’ve used a cleaning solution on your heating pad, as the residue from the solution can damage the heating element if it’s exposed to heat.
Once your heating pad is dry, you’re ready to put it back to use! Additionally, make sure to store your heating pad in a cool, dry place when not in use. This will help it last longer and perform better for years to come.
9. Apply Essential Oils
After your heating pad is dry, you can apply a few drops of essential oils to help bring out its natural aroma. Essential oils can also help to keep it smelling fresh and clean. Simply add a few drops of your favorite essential oil to the heating pad, allow it to sit for a few minutes, and then use a soft cloth to rub it in.
You don’t need to use too much–a little goes a long way. Be sure to check the manufacturer’s instructions before applying essential oils, as some heating pads may not be compatible with them. After you have applied the essential oils, your heating pad should be good to go and ready for use.
10. Re-plug the Heating Pad
Once your heating pad is completely dry, re-plug it into its power source and start using it again! Make sure to use a timer and never leave the heating pad on for too long. If you find yourself needing longer heat times, switch off the heating pad for a few minutes to allow it to cool down, then turn it back on and repeat. Following these easy steps will guarantee you many years of heating pad use.
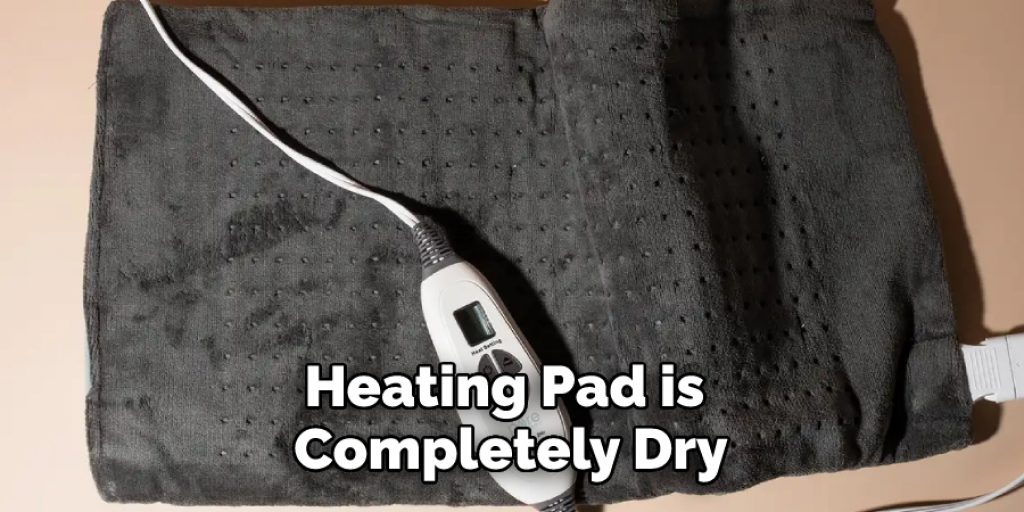
And there you have it – 10 methods of how to clean a heating pad! Remember to always unplug the device before cleaning in order to avoid any potential accidents or damage. Taking proper care of your heating pad will help ensure that it lasts for many years to come.
Conclusion
If you Clean your heating pad regularly, it will stay in good condition and last longer. You should unplug it before cleaning to avoid any accidents. Use a damp cloth or brush attachment on your vacuum cleaner to remove any loose dirt or debris. For tougher stains, you can use vinegar or rubbing alcohol.
Just be sure to rinse the area afterward with water to remove any residue from these products. Thanks for reading our blog post on how to clean a heating pad! We hope you found it helpful and informative. Happy cleaning!

