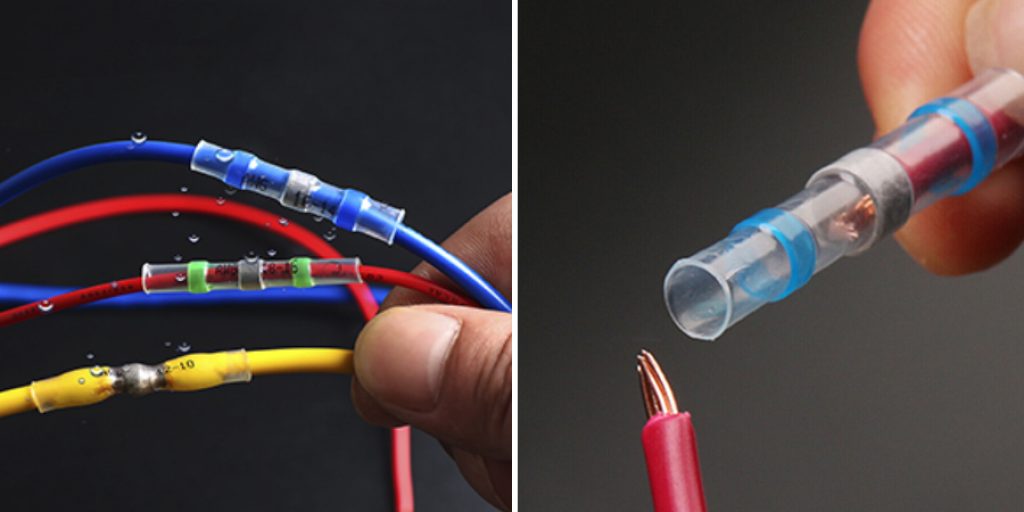
How to Use Heat Shrink Butt Connector
Are you looking for an easy and inexpensive way to add a bit of flair to your hobbies or projects? Heat shrink butt connectors are just the thing! These simple yet effective devices can be used on anything from jewelry pieces to electronics, allowing you to customize and decorate items however you wish.
If you want to give your electrical wiring installations a neat, professional finish that will stand the test of time, heat shrink butt connectors are an excellent option. Suitable for connecting cables and wires in both indoor and outdoor applications, this simple yet effective type of connector comes in handy when undertaking various tasks.
From electrical repairs to circuit building to automotive wiring projects – if you want a secure connection with attractive visuals, here’s all you need to know about how to use heat shrink butt connector!
What are the Benefits of Using a Heat Shrink Butt Connector?
Using a heat shrink butt connector offers several benefits, including:
• Improved Conductivity: The connectors provide a secure and snug fit, allowing for improved electrical currents’ conductivity. This ensures your wiring is always in good condition.
• Simple to Use: These connectors are incredibly easy to use – simply insert the wire into the butt connector and apply heat using a soldering iron or other suitable devices.
• Durable: Heat-shrink butt connectors offer excellent insulation and protection against all types of weather, making them perfect for outdoor applications, such as automotive wiring tasks.
• Attractive Aesthetics: The heat-shrink material wraps around the connection point, providing a neat, tidy finish that looks great! Plus it comes in various colors, so you can customize the appearance of your projects to your heart’s content.
What Will You Need?
Before you begin, make sure that you have the following items:
- Heat Shrink Butt Connector
- Wire Stripper
- Soldering Iron
- Heat gun (optional)
Once you have all of your supplies ready, you can follow the steps outlined below to use the heat shrink butt connector.
10 Easy Steps on How to Use Heat Shrink Butt Connector
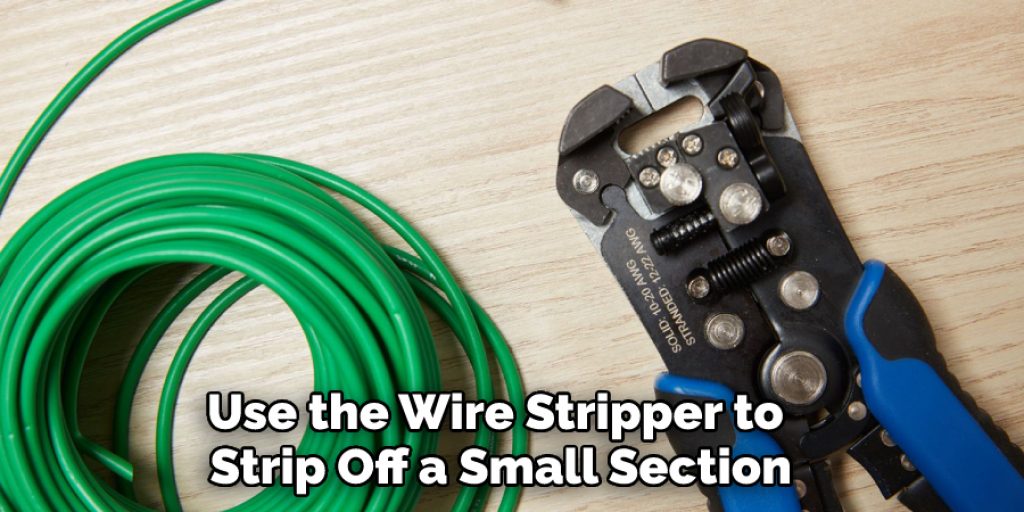
Step 1. Strip Off:
Use the wire stripper to strip off a small section of insulation from both wires. Make sure that you leave enough exposed wire so that it can be easily inserted into the connector. If the wires are of different gauges, use the appropriate size strip for each one.
Step 2. Insert:
Carefully insert both exposed ends of the wires into the heat shrink butt connector. Push them in until they’re snug and secure. You can use a pair of pliers to help with this step if necessary.
Step 3. Solder:
Using a soldering iron or other suitable devices, carefully solder the connection point, ensuring all exposed wire is covered in solder. This will ensure strong and reliable contact between the two pieces of wire. You can then trim any excess solder away.
Step 4. Cover with Heat Shrink:
Once the soldering is complete, slide a piece of heat shrink tubing over the connector and wire, covering the entire connection point. Make sure that it’s snug and secure on all sides. Don’t forget to leave a few millimeters of tubing extending past the end of the connector.
Step 5. Shrink:
Use your heat gun or other devices to apply heat to the heat shrink tubing. As you do this, you should see it start to shrink and fit tightly around the connection point – creating an air-tight seal that will protect against moisture and dirt ingress. Once it has fully shrunk down, remove the heat source and allow it time to cool before moving on to step 6.
Step 6. Trim:
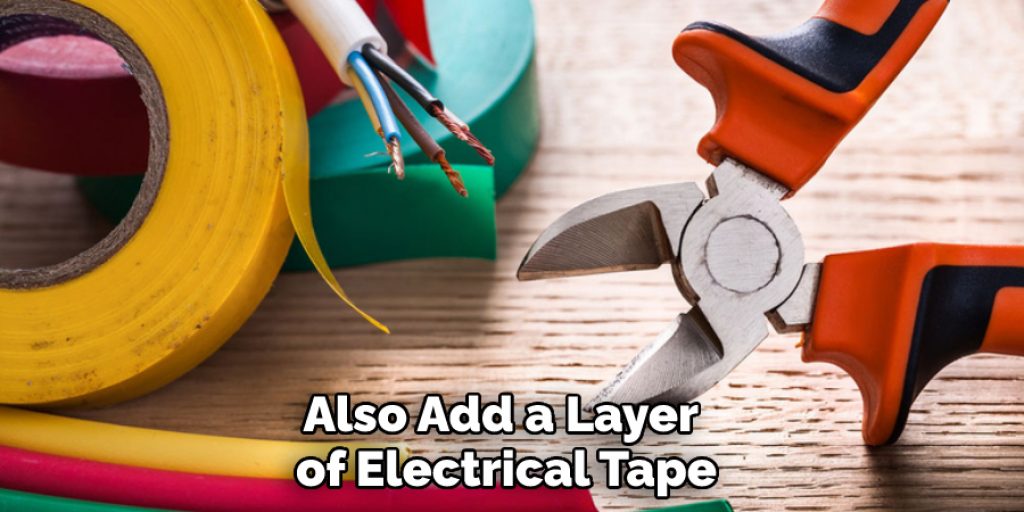
Use a pair of scissors or wire cutters to trim off any excess heat shrink tubing – leaving behind only the neat, secure connection. You can now test the connection to ensure it is working correctly. Additionally, you can also add a layer of electrical tape or heat shrink tubing to give it an extra level of protection, if required.
Step 7. Test:
To ensure that your connection is secure, you can use a multimeter to test the continuity of the wires. Make sure there’s no voltage running through them before continuing! It is important to keep safety in mind during this step.
Step 8. Heat Sealant:
For extra protection and strength, you can apply a sealant or adhesive over the heat shrink tubing once it has cooled down. This will help to prevent any dirt or moisture from entering the connection point and compromising its integrity. Moreover, it can also help to reinforce the connection and make it even more durable.
Step 9. Label:
If desired, you can also label each connection point with a permanent marker so that you know which wire goes where – especially helpful if your project involves multiple connections! Try to keep it neat and legible. Otherwise, you can use a piece of tape to attach a label onto the heat shrink tubing.
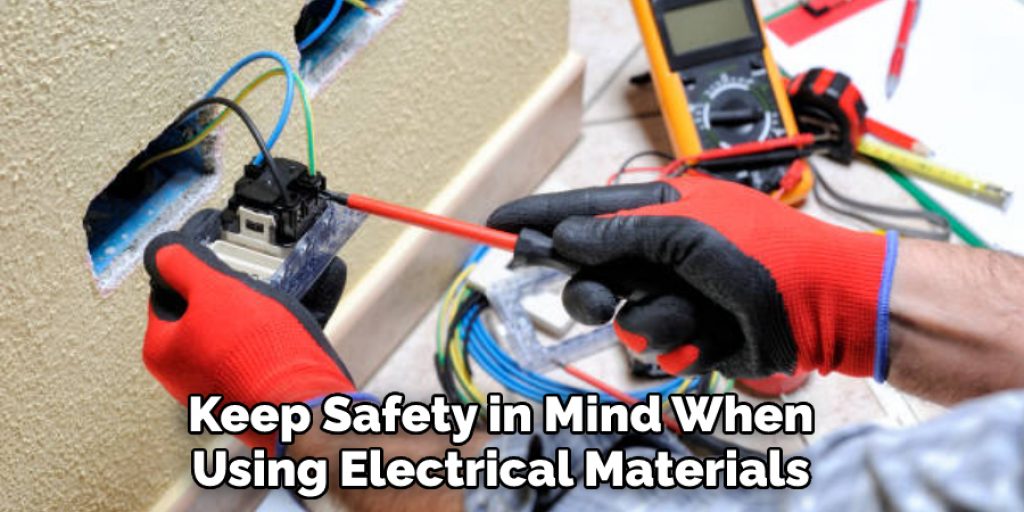
Step 10. Enjoy Your Project:
Once you’ve followed all the steps above, your connection is now complete and ready for use in whatever project you have planned. So go ahead and enjoy the fruits of your hard work! Remember always to keep safety in mind when using electrical materials.
Following these simple steps will help you to successfully use heat shrink butt connectors – ensuring a reliable and secure connection that won’t let you down. Good luck with your projects!
5 Additional Tips and Tricks
1. For maximum protection against corrosion, use a heat-shrink butt connector that is constructed with polyolefin material and includes a sealant liner.
2. When using a heat-shrink butt connector, make sure to slide the shrink tubing over one of the wires before crimping it. This will eliminate any possibility of accidental shorting out of the connection and ensure that your wiring is secure.
3. For added protection against corrosion, you can apply a dab of dielectric grease to the exposed wire ends before connecting them with a heat-shrink butt connector.
4. Make sure that you use the correct size in order to get the most secure fit possible when using a heat-shrink butt connector – if it’s too small or too large, then it won’t be as effective at sealing out moisture and providing an electrical connection between wires.
5. To ensure an air-tight seal around the connection, it’s important to apply enough heat – but not too much! If you find that the tubing is shrinking unevenly or bubbling up, then you should adjust the temperature of your heat gun.
With these tips and tricks in mind, you’ll be well on your way to creating a secure and reliable connection with a heat shrink butt connector. So don’t be afraid to give it a try – good luck!

5 Things You Should Avoid
1. Don’t use too small of a heat shrink butt connector. You want to make sure the connection is secure and that you have a good seal so it won’t be exposed to moisture or corrosion over time.
2. Don’t forget to strip your wires properly before connecting them with the heat shrink butt connector. Make sure you don’t leave any insulation on either wire, as this can cause a poor connection and reduce the effectiveness of the seal.
3. Don’t skimp on quality when selecting a heat shrink butt connector – look for one made from durable materials, so it lasts through years of use.
4. Don’t attempt to reuse a heat shrink butt connector after it has been opened. An opened connector may have become weakened, so it’s best to use a new one for each connection.
5. Don’t forget to apply heat to the heat shrink butt connector after connecting the wires – this is essential for ensuring your connection is secure and properly sealed. Be sure to follow the instructions on how long and how much heat should be used when shrinking the connector.
By following these tips, you can ensure that your heat shrink butt connector will be effective and secure for years to come. Happy wiring!
Conclusion
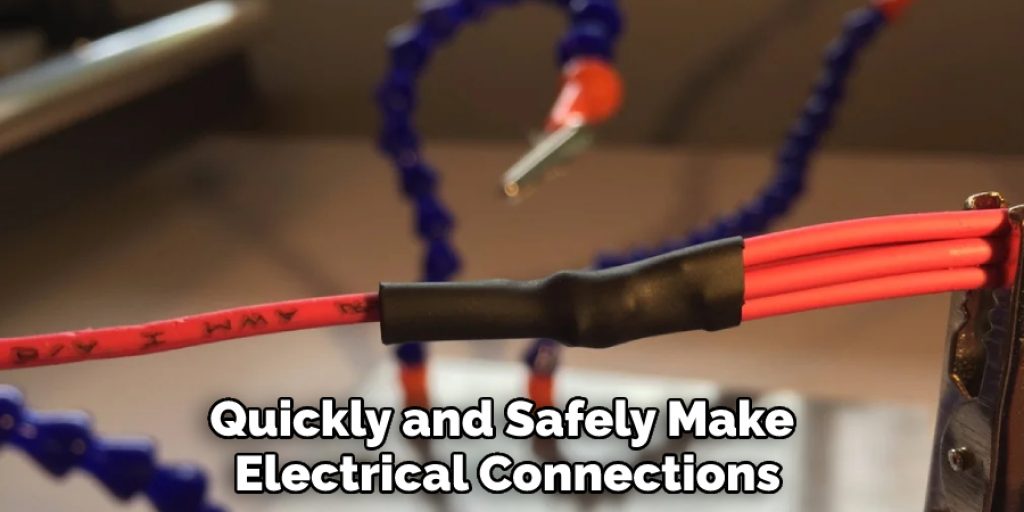
To conclude, using a heat shrink butt connector is one of the easiest ways to quickly and safely make electrical connections. With just a few simple pieces of equipment – a lighter or torch, wire strippers, and the connectors themselves – you can easily install new lights, outlets, or other components without worrying about voltage integrity or other safety concerns. Properly installed and soldered with the right kinds of insulation, these connectors are reliable and affordable solutions for countless electrical applications.
Additionally, take note that connection speeds vary among different types of heater shrink butt connectors. It is important that you read through product specifications before deciding on which kind to use in order to choose the best one that meets your needs. Above all else, though, always exercise caution when working with electricity and follow proper safety protocols whenever possible.
Hopefully, the article on how to use heat shrink butt connector was useful and you now have a better understanding of how to use them properly. Good luck with your projects!
Angela Ervin
Angela is the executive editor of DIY quickly. She began her career as an interior designer before applying her strategic and creative passion to lifestyle and home. She has close to 15 years of experience in creative writing and online content strategy for housekeeping, home decorations as well as other niche efforts. She loves her job and has the privilege of working with an extraordinary team. She lives with her husband, two sons, and daughter in Petersburg. When she's not busy working she spent time with her family.