How to Clean a Hydrocollator
Are you looking for a simple and efficient way to maintain your Hydrocollator? Look no further! Caring for this therapeutic device doesn’t have to be hard. In fact, with some basic tips and tricks, cleaning your Hydrocollator can become an easy task that will ensure it continues to run smoothly.
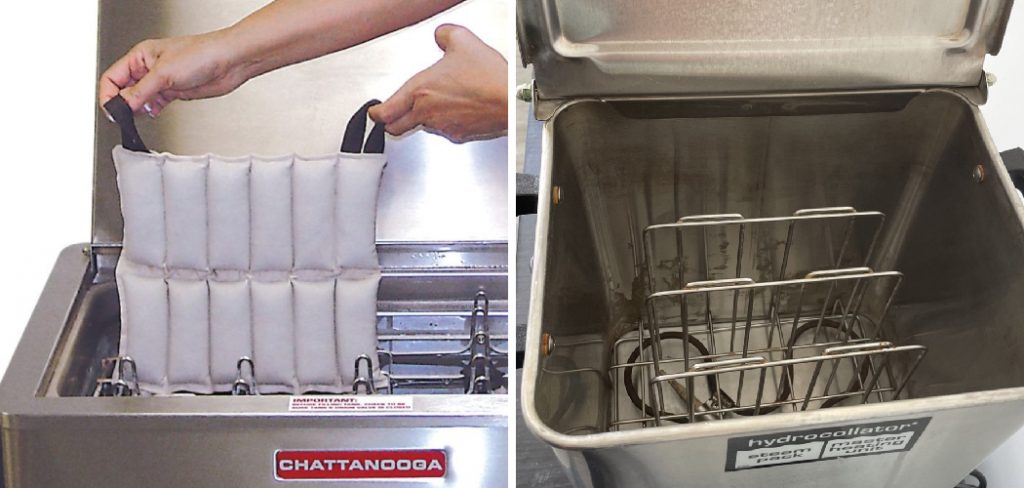
This post will offer step-by-step instructions on how to clean a Hydrocollator so you can take advantage of its benefits without any hassle or worry of future breakdowns. Read on for helpful advice about properly caring for the essential equipment in the healthcare professional’s arsenal.
Why Clean Your Hydrocollator?
Before we dive into the cleaning process, it’s important to understand why regular maintenance of your Hydrocollator is crucial. First and foremost, a clean Hydrocollator ensures that your patients receive sanitary treatments.
The device is used to heat therapeutic packs that come in close contact with the patient’s skin, making it essential for proper hygiene to be maintained. In addition, regular cleaning will prolong the life of your Hydrocollator and reduce the chances of costly repairs or replacements.
Tools and Materials You Will Need to Clean a Hydrocollator
- Mild detergent or soap
- Warm water
- Clean cloth or sponge
- Towels for drying
- White vinegar (optional)
- Baking soda (optional)
Step-by-step Guidelines on How to Clean a Hydrocollator
Step 1: Prepare the Cleaning Solution
Start by filling a large sink or tub with warm water. Add a small amount of mild detergent or soap and mix it well until it creates suds. If you prefer using natural cleaning solutions, you can substitute vinegar or baking soda for the detergent. Preparing the cleaning solution beforehand will save you time and avoid interruptions during the cleaning process.
Step 2: Disconnect the Power Supply
Before starting to clean, make sure your Hydrocollator is unplugged and completely disconnected from any power source. This is for safety reasons and to prevent any electrical damage to the machine while cleaning. While you’re at it, check for any visible debris or buildup on the exterior of the device and remove it with a clean cloth.
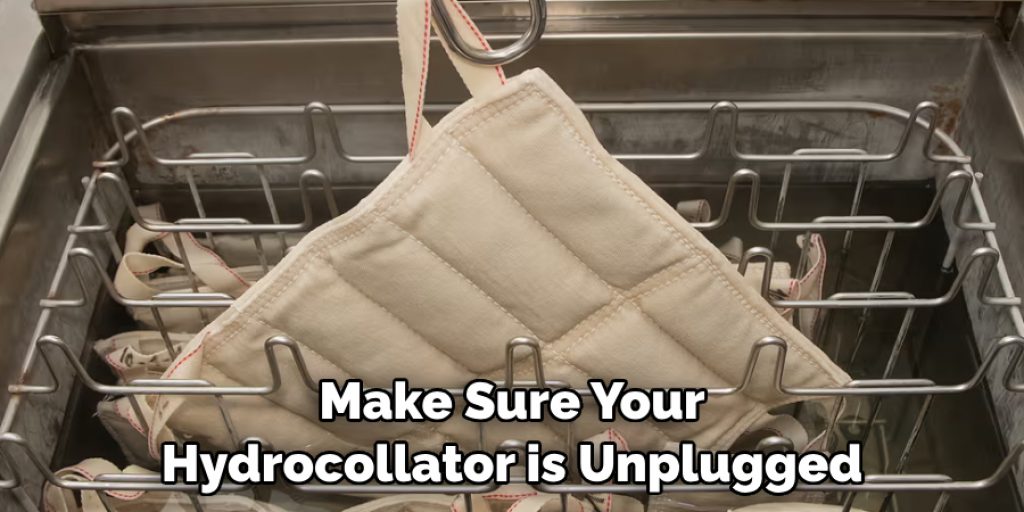
Step 3: Remove the Water from the Reservoir
To effectively clean your Hydrocollator, you need to drain all the water from its reservoir. To do this, simply open the drain valve at the bottom of the machine and let the water flow into a bucket or sink. While you’re draining the water, use a clean cloth or sponge to wipe down the interior of the reservoir. This will help remove any excess debris or buildup that may have accumulated.
Step 4: Clean the Exterior and Interior of the Hydrocollator
Using your prepared cleaning solution, dip a cloth or sponge into it and gently scrub the exterior of the machine in circular motions. Be sure to also clean the lid, handles, and any other visible parts. For the interior of the reservoir, you can use a long-handled brush or sponge to reach and scrub all areas, especially around the heating element. Remember to rinse off any soap residue with clean water.
Step 5: Rinse and Dry
Once you have thoroughly cleaned both the exterior and interior of the Hydrocollator, use clean water to rinse off any remaining soap residue. Then, use a clean towel or cloth to dry the machine completely. Ensure that there is no moisture left inside the reservoir before moving on to the next step.
Step 6: Disinfect (optional)
If you want an added layer of cleanliness, you can disinfect your Hydrocollator using white vinegar. Simply fill the reservoir with a mixture of equal parts water and white vinegar and let it sit for 10-15 minutes before draining and rinsing with clean water. This will help eliminate any bacteria or germs that may have been left behind.
Step 7: Reconnect and Test
Now that your Hydrocollator is clean and dry, plug it back in and power it on to make sure everything is working properly. Check the temperature of the water inside using a thermometer to ensure it’s within the recommended range. If everything looks good, you’re all set to use your Hydrocollator for your next treatment session.
Following these simple steps will help you maintain a clean and functioning Hydrocollator, ensuring the safety and satisfaction of your patients. Remember to clean your device regularly, especially after each use, to avoid any buildup or damage over time. With proper care, your Hydrocollator can serve as a reliable therapeutic tool for years to come.
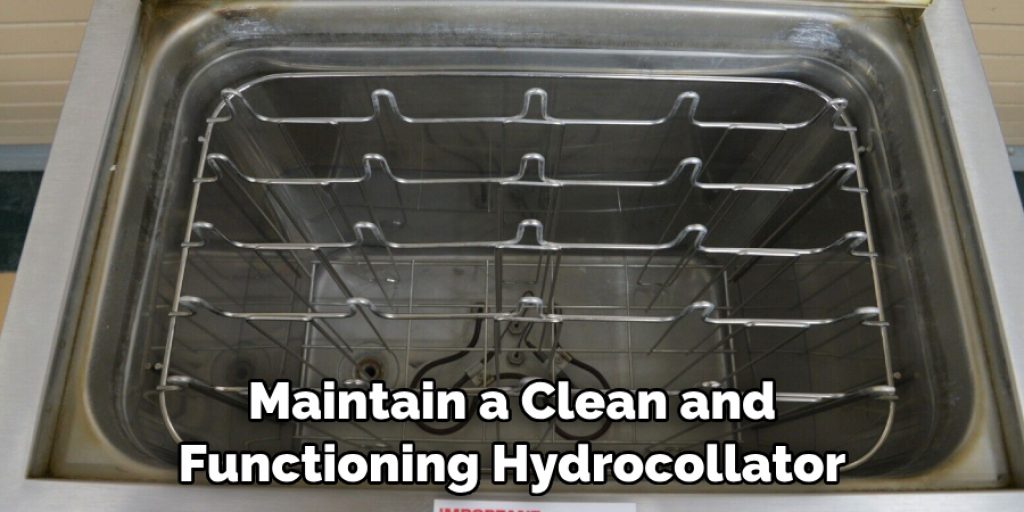
So go ahead and give it some TLC – both your patients and your device will thank you! Overall, regularly cleaning and maintaining your Hydrocollator is essential for ensuring a safe and effective treatment experience. By following these guidelines, you can keep your device in top condition and provide excellent care to your patients. Happy cleaning!
Additional Tips and Tricks to Clean a Hydrocollator
1. Always read the manufacturer’s guidelines before cleaning your hydrocollator to ensure that you are using the proper techniques and products. Each manufacturer may have specific guidelines and recommendations for cleaning their particular hydrocollator model.
2. To prevent the buildup of mineral deposits, it is recommended to use distilled water in your hydrocollator instead of tap water. Distilled water has a lower mineral content, which can prolong the life of your machine and reduce maintenance needs.
3. If you are using tap water, it is important to regularly check and maintain the water level in your hydrocollator. Adding more water as needed will help prevent mineral deposits from forming on the heating elements.
4. When cleaning your hydrocollator, always start with a clean cloth or towel to remove any excess moisture or debris. This will ensure that you are not spreading dirt or grime around while trying to clean.
5. For tougher stains and mineral deposits, you can use a mild detergent or cleaner specifically designed for cleaning medical equipment. Be sure to thoroughly rinse the hydrocollator after using any cleaning products.
6. It is recommended to clean your hydrocollator at least once a week, especially if it is used frequently. This will help maintain its functionality and prevent any potential health hazards from bacteria or mold growth.
7. If you notice a strong odor or discoloration in your hydrocollator, it may be time to replace the water and clean the machine more thoroughly. Follow the manufacturer’s guidelines for specific cleaning instructions.
Following these tips and tricks can help keep your hydrocollator clean and functioning properly, ensuring that it provides safe and effective therapy for your patients. Regular maintenance and cleaning can also extend the lifespan of your machine, saving you time and money in the long run.
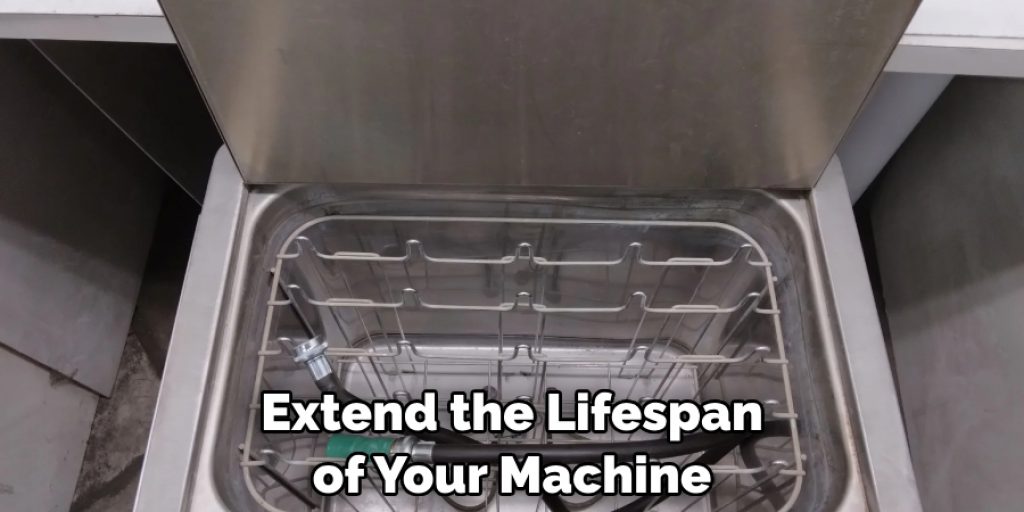
Remember to always consult the manufacturer’s guidelines for specific instructions on how to clean your particular hydrocollator model. So, it is highly recommended to follow these guidelines to ensure the proper functioning of your hydrocollator. Happy cleaning!
Frequently Asked Questions
Is There a Recommended Frequency for Cleaning the Hydrocollator?
Yes, it is recommended to clean the hydrocollator at least once a month. However, if it is used more frequently or in a busy clinic setting, it may need to be cleaned more often. This is to ensure that the unit remains in good condition and continues to function properly.
How Can I Clean the Hydrocollator?
The hydrocollator can easily be cleaned using warm water and a mild detergent. It is important to remember to always disconnect the unit from its power source before cleaning. Then, simply wipe down the exterior with a damp cloth and clean out any debris from inside the unit.
Can I Use Harsh Chemicals to Clean the Hydrocollator?
It is not recommended to use harsh chemicals, such as bleach or ammonia, to clean the hydrocollator. These can damage the unit and potentially cause harm to patients. Stick to using warm water and a mild detergent for cleaning.
What Should I Do if There is Buildup on the Inside of the Unit?
If there is buildup on the inside of the hydrocollator, you can use a small amount of white vinegar mixed with warm water to clean it. Do not use abrasive materials or harsh chemicals on the inside of the unit. If the buildup is excessive, it may be time to replace the hydrocollator.
How Often Should I Change the Water in the Hydrocollator?
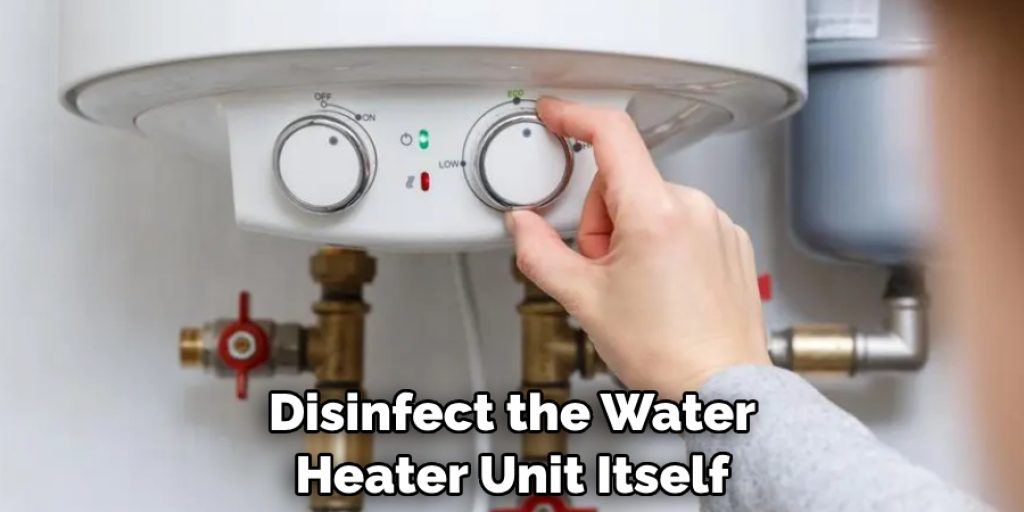
It is recommended to change the water in the hydrocollator every 2-3 weeks. This will help prevent bacteria and mold growth, which can affect the integrity of the unit and potentially cause harm to patients. It is also important to regularly clean and disinfect the water heater unit itself.
Conclusion
Taking the time to properly clean and maintain your hydrocollator is essential for its longevity, as well as for preventing damage. It’s a simple task that will prove invaluable in protecting your costly investment. With regular maintenance, you’ll keep your hydrocollator running at its peak performance levels for years to come.
By following our tips above, you can ensure regular cleaning of your hydrocollator is efficient and safe. Don’t forget the importance of protecting yourself from injury or illness when carrying out any project within the home – it’s important to use safety gloves, a face mask, and even safety glasses if necessary while attempting this task.
As long as you keep up with regular collator cleanings, you can be confident that it will last for years and remain an integral piece of equipment in any health care setting. And that is all there is to know about how to clean a hydrocollator!

