How to Clean Water Heater Thermocouple
Are you having trouble getting hot water from your water heater? The likely culprit may be a dirty thermocouple. To ensure that your heating system is working properly and providing you with hot water, it’s important to keep the thermocouple clean. Here’s how to do it.
Cleaning your water heater thermocouple is a vital part of regular maintenance that helps ensure efficient operation and long-term reliability. A dirty or corroded thermocouple can restrict the flow of natural gas or propane to the pilot light, resulting in flame loss and potential safety hazards.
By taking a few simple precautions and then following this step-by-step guide, you can easily clean your own water heater thermocouple with ease – no need for professional assistance! Keep reading to learn more about how to clean water heater thermocouple.
Why Should You Clean the Thermocouple?
It is important to clean your thermocouple regularly for two reasons.
Firstly, when a thermocouple becomes dirty or corroded, it can restrict the gas flow to the pilot light and prevent it from staying lit.
Secondly, a dirty thermocouple can lead to decreased efficiency in your water heater, resulting in longer heating times and higher energy bills.
To ensure that your water heater runs at peak performance and safety levels, it’s important to clean the thermocouple regularly.
Tools Needed to Clean Your Water Heater Thermocouple
You will need the following tools to clean your water heater thermocouple effectively:
- A Phillips head screwdriver
- Sandpaper or a wire brush
- Methanol (alcohol) cleaner or white vinegar
- Rags or paper towels
- A vacuum cleaner with hose attachment (optional).
Once you have all of the necessary items, you can begin cleaning the thermocouple.
10 Easy Steps on How to Clean Water Heater Thermocouple
Step 1. Disconnect the Power:
Begin by turning off the power to the water heater at the circuit breaker and then disconnecting it from the gas supply. Be careful not to touch any of the wires. Because there is still energy stored in the heating element, you should allow it to cool for an hour before continuing.
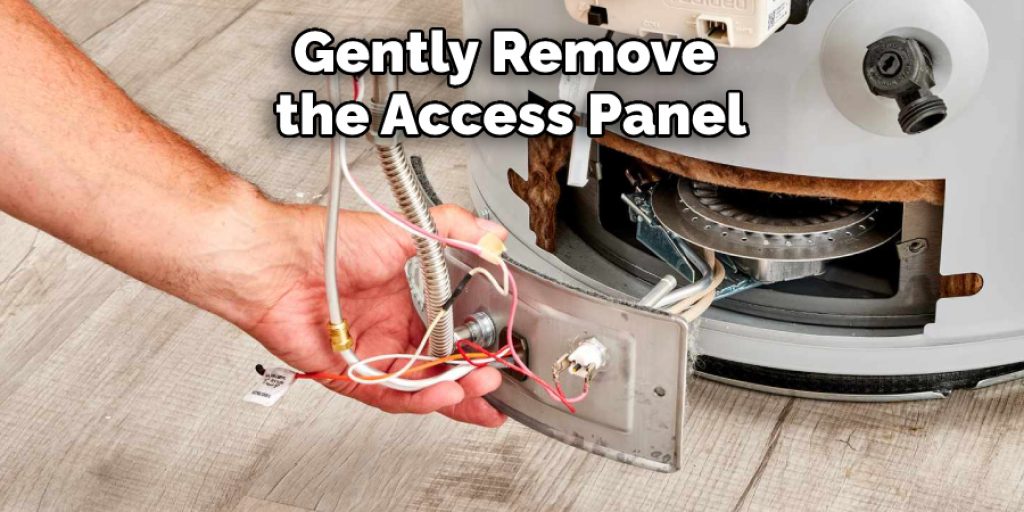
Step 2. Remove the Cover
Gently remove the access panel or cover of the water heater to expose the thermocouple. Be careful not to damage any wires or connectors. If necessary, use a Phillips head screwdriver to remove the screws holding the cover in place.
Step 3. Disconnect Wires:
Once the cover is off, carefully disconnect the wires leading to the thermocouple. It’s important to note which wire goes where for easy reassembly. Otherwise, you may damage the system.
Step 4. Clean with Alcohol:
Using a cotton swab and some methanol (alcohol) cleaner or white vinegar, clean the outside of the thermocouple as well as any exposed wiring or connectors. Be sure to wear gloves when cleaning with chemicals. You can also use a vacuum cleaner with a hose attachment to remove any dust or debris.
Step 5. Sandpaper/Wire Brush:
If there is dirt or corrosion on the surface of the thermocouple, you can use sandpaper or a wire brush to remove it. Do not use excessive force when brushing, as this could damage the part. It is important to be gentle and patient.
Step 6. Clean Interior:
Once the outside of the thermocouple has been cleaned, you can also clean the interior with a cotton swab and some methanol cleaner or white vinegar. It will also help to sand or brush the interior as well lightly. Don’t forget to wear your protective gloves.
Step 7. Reassemble
Once you are satisfied that the thermocouple is clean, carefully reconnect the wires and replace the cover. Make sure everything is secure before turning on the power again. If you notice any damaged wires or connectors, do not proceed and contact a professional for assistance.
Step 8. Test Pilot Light:
Turn on the water heater’s pilot light and ensure it stays lit for at least 15 seconds before turning off the power again. If it does not stay lit, repeat steps 1-7 until it does. You can also try adjusting the thermocouple to ensure it is in the right position.
Step 9 . Replace Filter:
If necessary, replace your water heater filter to ensure the proper operation of your system. It is recommended that you do this once a year. Once everything is in place, turn the power back on and make sure your water heater runs efficiently. Carefully inspect all wires and connections for any damage, too.
Step 10. Monitor Water Heater:
Continue to monitor your water heater’s performance in the weeks and months following your cleaning. Make sure it is running efficiently and safely. If you notice any changes, contact a professional for assistance.

Cleaning your thermocouple regularly will help improve the efficiency of your water heater and ensure a safe operation. If you have any questions about cleaning the water heater thermocouple or replacing the filter, contact a professional for assistance!
5 Additional Tips and Tricks
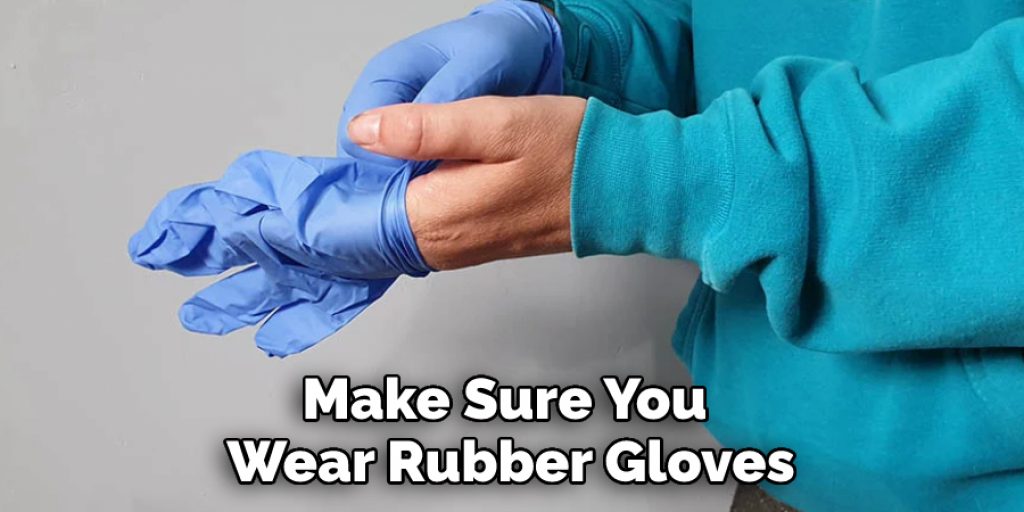
- Make sure you wear rubber gloves and safety glasses when handling the thermocouple, as it can be dangerous.
- If you are cleaning a gas-powered water heater, remember to turn off the gas before attempting to clean it.
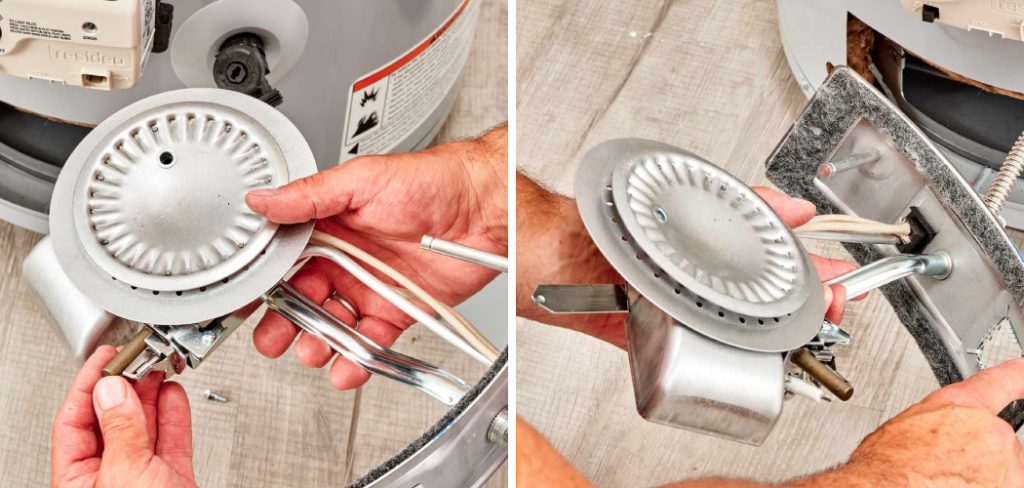
- Unscrew the thermocouple from the main burner assembly and use a soft bristled brush to remove any dirt or debris from the tip.
- Use a vacuum cleaner with an upholstery attachment to suck out dust and other particles that may have collected on or around the thermocouple.
- If you cannot clean any deposits from the thermocouple, it is best to replace it with a new one for optimal performance and safety. Make sure you get one that is of compatible size and type with your water heater model!
With these five tips and tricks, you can easily clean your water heater thermocouple and keep it operating at its best. Don’t forget to turn off the gas before cleaning, and wear protective gear! With regular maintenance, you can ensure that your water heater operates safely and efficiently.
5 Things You Should Avoid
- Never use abrasive cleaning materials to clean a water heaters thermocouple, such as wire brushes and steel wool. These materials can damage the thermocouple and reduce its effectiveness.
- Don’t attempt to completely remove the thermocouple from the gas pilot flame if it is not already loose or easy to access. This could cause a leak if you are not careful when reassembling everything.
- Avoid using harsh chemicals on your water heater thermocouple, as some can corrode the metal and disrupt how it works.
- Be sure not to leave any debris or dirt on the thermocouple that can block airflow or reduce how well it functions in keeping the pilot light lit properly.
- Don’t forget to test how the thermocouple functions after cleaning it, or you could end up with a faulty unit that won’t turn on when needed. It is best to use an ohmmeter to ensure it is working correctly.
By following these tips, you can be sure that your water heater thermocouple is clean and functioning properly, so you don’t have to worry about any problems arising from its use. Cleaning your water heater thermocouple regularly can help keep everything running smoothly and efficiently. With a bit of effort in regularly cleaning and inspecting your thermocouple, you can ensure your water heater will last a long time.
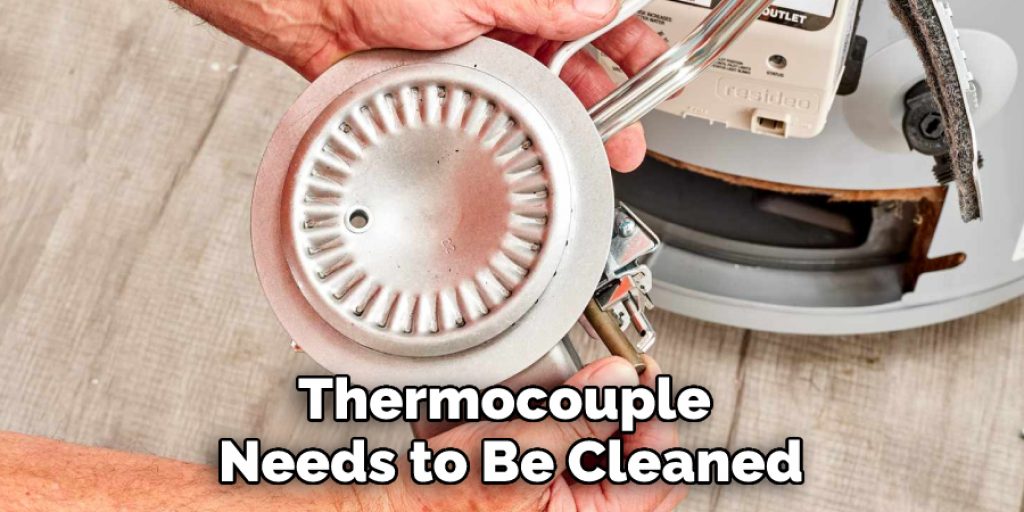
How Do You Know if Your Thermocouple is Dirty?
If your water heater is not working properly, it could be a sign that your thermocouple needs to be cleaned. If the pilot light won’t stay lit or the burner runs too long after turning off, you should check to see if there is any dirt or debris on the thermocouple and clean it off if necessary.
Additionally, you might notice corrosion forming on the thermocouple’s metal parts, indicating a need for cleaning. In all cases, use caution and make sure you turn off the power before attempting to clean your water heater thermocouple.
Following these steps ensures that your water heater thermocouple remains in good condition and runs optimally. Cleaning it regularly will help avoid costly repairs or replacements and keep your water heater working efficiently for years to come. So don’t wait until you have a problem- make sure that your thermocouple is clean and functioning correctly so you can enjoy hot water with peace of mind.
Conclusion
Cleanliness is essential for a well-maintained water heater. Understanding the importance of a thermocouple is important, but all maintenance must be done with extreme caution. Whether you are cleaning your own or hiring a professional, hiring an experienced and knowledgeable technician who can complete the job correctly is critical. Regardless of how you clean your thermocouple, remember that safety always comes first!
The steps outlined in this article provide a safe, simple, and effective guide on how to clean water heater thermocouple. Doing so regularly will help extend the life of your water heater and ensure its continued performance.
Hopefully, the article has been helpful. Now that you know how to clean it make sure to take action and keep your water heater in good condition today!
Angela Ervin
Angela is the executive editor of DIY quickly. She began her career as an interior designer before applying her strategic and creative passion to lifestyle and home. She has close to 15 years of experience in creative writing and online content strategy for housekeeping, home decorations as well as other niche efforts. She loves her job and has the privilege of working with an extraordinary team. She lives with her husband, two sons, and daughter in Petersburg. When she's not busy working she spent time with her family.