
How to Clean a Plastic Gas Tank Out
Cleaning your plastic gas tank is a great way to keep it in good condition and prevent rust build-up. In this article, we will show you how to clean a plastic gas tank out using household items. We will also share a few tips on properly maintaining your plastic gas tank. Keep reading for more information!
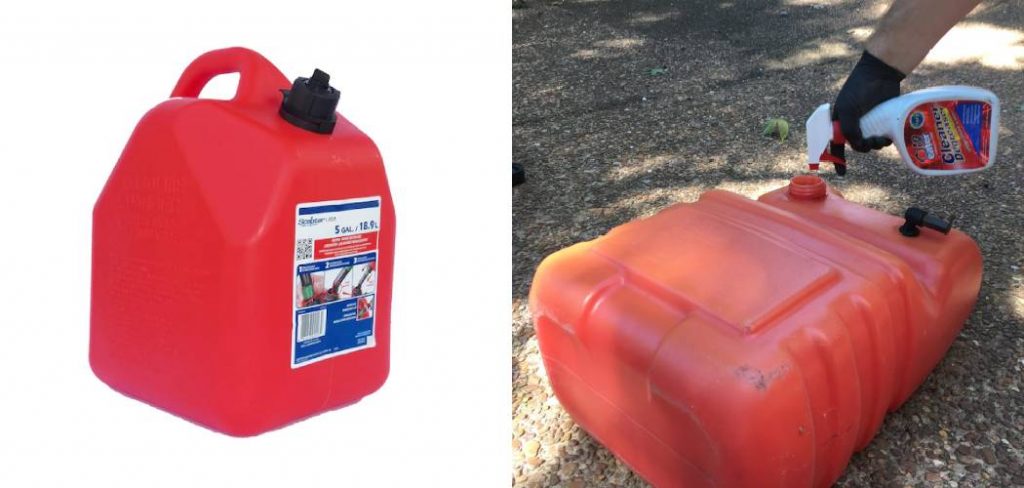
What Is a Plastic Gas Tank?
A plastic gas tank is a container used to store and transport gasoline and other petroleum-based fuels. Gas tanks are made from various materials, including steel, aluminum, and polymer-based plastics.
Plastic gas tanks offer several advantages over their metal counterparts, including lighter weight, increased durability, and corrosion resistance.
In addition, plastic gas tanks are often less expensive to produce than their metal counterparts. As a result, they have become increasingly popular in recent years.
Why It’s Important to Clean a Plastic Gas Tank Out?
A gas tank is one of the most important parts of a car. It stores the gasoline that your car needs to run. Over time, the gas tank can become dirty and full of dirt, grime, and other particles.
This can prevent the gas from flowing freely and cause the engine to run less efficiently. In some cases, it can even cause the engine to stall. For these reasons, it’s important to clean your plastic gas tank regularly.
How to Clean a Plastic Gas Tank Out Step by Step Guide
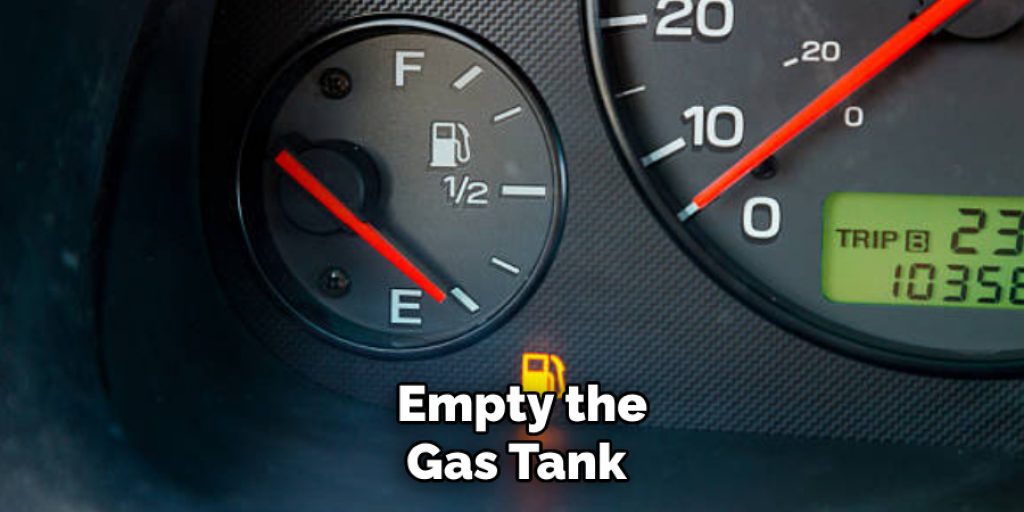
Step 1: Empty the Tank
First things first, you’ll need to empty the gas tank. The easiest way is to siphon the gas out using a hose. If you don’t have a hose, you can also use a turkey baster or straw.
Step 2: Remove any Rust
Once the tank is empty, you’ll need to remove any rust that has formed inside it. Rust can cause serious damage to your engine, so it’s important to get rid of it as soon as possible. The best way to do this is to use a wire brush or sandpaper to scrape away the rust. If the rust is particularly stubborn, you may need a chemical rust remover.
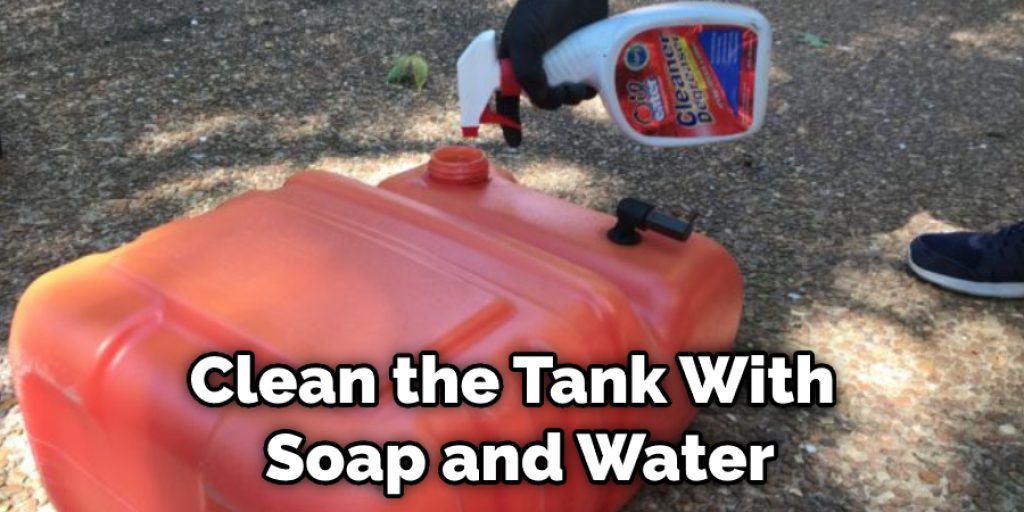
Step 3: Clean the Tank with Soap and Water
After removing the rust, it’s time to clean the tank with soap and water. Next, you can use a sponge or brush to scrub the inside of the tank, making sure to remove any dirt or debris. Finally, rinse the tank out well and dry it completely before moving on to the next step.
Step 4: Dry the Tank Completely
After you’ve washed the tank, it’s important to dry it completely. Water can cause rust, so you’ll want to make sure the tank is dry before moving on. The best way to do this is to use a hairdryer or heat gun to blow the water out of the tank.
Step 5: Add a Rust Inhibitor
Once the tank is dry, it’s time to add a rust inhibitor. This will help prevent rust and corrosion from forming on the inside of the tank. There are a variety of rust inhibitors available on the market, so be sure to choose one compatible with your particular tank.
Step 6: Inspect the Tank for Leaks
Now that the tank is clean, it’s time to inspect it for leaks. First, check all of the seams and joints to make sure that they are tight and not leaking. Also, check the fuel gauge to make sure that it is working properly. If you find any leaks, you will need to repair them before using the tank.
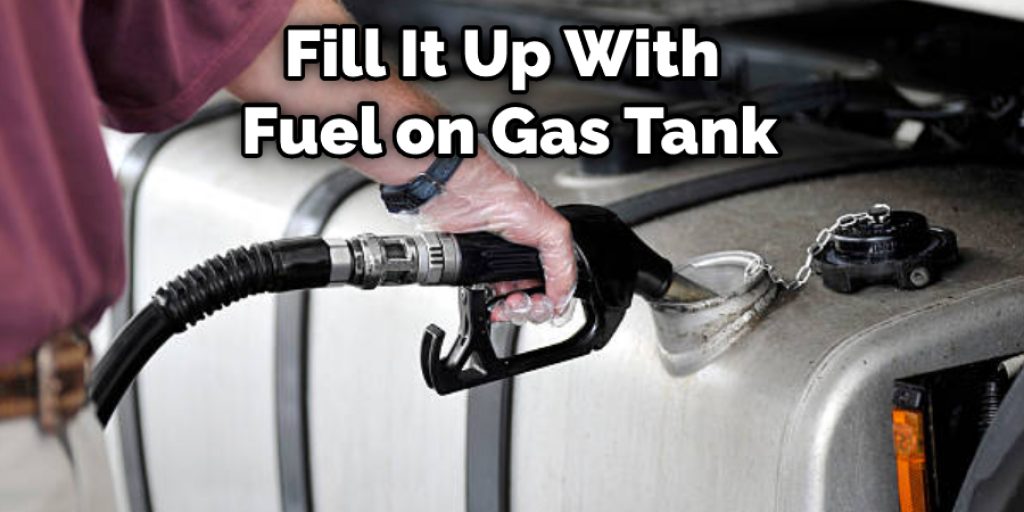
Step 7: Fill the Tank with Fuel
Once you’ve inspected the tank and made sure that it is in good working order, you can finally fill it up with fuel. But, again, be sure to use fresh, clean fuel to avoid any problems down the road. And that’s it! You’re now ready to hit the road with a clean and safe gas tank.
That’s it! You’ve now learned how to clean a plastic gas tank out. Be sure to follow these steps carefully to avoid any problems. And always remember to use fresh, clean fuel to keep your engine running smoothly.
You Can Check It Out to Open Gas Tank on Chevy Malibu
How Do You Clean a Portable Plastic Gas Tank?
Before you clean your portable plastic gas tank, it’s important to know what type of plastic it’s made from. If it’s made out of high-density polyethylene (HDPE), you can clean it with hot, soapy water. If it’s made out of low-density polyethylene (LDPE), you’ll need to use a mild detergent. Once you’ve determined the type of plastic, follow these steps:
- Rinse the tank with hot water.
- Add a mild detergent and scrub all surfaces with a soft brush.
- Rinse the tank again with hot water.
- Let the tank air dry completely before storing it away.
By following these simple steps, you can keep your portable plastic gas tank clean and in good condition for years to come. Thanks for reading!
Frequently Asked Question
Will Vinegar Clean a Gas Tank?
Yes, vinegar will clean a gas tank. Pour a gallon of white vinegar into the tank and let it sit for a few hours. Then pour out the vinegar and rinse the tank with water.
Can You Use Clr to Clean a Gas Tank?
You can use CLR to clean a gas tank, but you should be cautious. CLR is a powerful cleaner and can potentially damage the tank if it’s not used correctly. So before using CLR, please read the product’s instructions carefully to make sure you’re using it in the safest way possible.
Does Seafoam Dissolve Varnish?
Yes, Seafoam will dissolve varnish. Pour the recommended amount of Seafoam into the gas tank and let it sit for a while. The Seafoam will dissolve the varnish and clean the gas tank.
How Long Do You Leave Vinegar in Gas Tank?
You can leave the vinegar in the gas tank for two weeks. However, make sure to frequently check the level of vinegar in the tank and add more as necessary.
Conclusion
All in all, cleaning a plastic gas tank is not as difficult as it may seem. With the right tools and some know-how, you can have your tank looking and running like new again. Thanks for reading our post about how to clean a plastic gas tank out. Have you cleaned your tank before? If so, what method did you use? Let us know in the comments below!
You Can Check It Out to How to Clean Gas Can


