How to Clean a Roasting Pan
Cleaning a roasting pan is an important part of maintaining your kitchenware. It not only helps ensure that the pan can be used for many years to come, but it also helps prevent food-borne illnesses due to cross-contamination from bacteria and other germs that can get trapped in the crevices of the pan. If you don’t regularly clean your roasting pans, you may find yourself dealing with difficult-to-remove stains and odors that can be unpleasant.
Cleaning a roasting pan is a necessary part of maintaining it. Proper cleaning and maintenance will help the pan last for many years, allowing you to get the most out of your investment. Cleaning a roasting pan is essential to prevent food from sticking or absorbing odors and avoid potential health risks. In this blog post, You will learn in detail how to clean a roasting pan.
How Often Should You Clean Your Roasting Pan?
- Depending on how often you use your roasting pan, it’s recommended to clean it after each use. This will prevent the build-up of stubborn food residue and allow for easy cleaning later on.
- If you don’t use your roasting pan frequently, give the interior surface a quick scrub with hot soapy water and a non-abrasive cloth or sponge.
- For tougher stains, scour the roasting pan with baking soda or salt and hot water, then rinse it well. You can also use a paste of equal parts washing soda and warm water to scrub away tough food residue.
- Be sure to dry the roasting pan completely before storing it away. For extra protection, coat the interior with a light layer of cooking oil before storing, which will help to prevent rusting.
- If your roasting pan has become warped or discolored from high heat, you can use a specialty cleaner designed for cookware to restore its original shine.
Following these steps will help ensure that your roasting pan remains clean, rust-free, and safe for years. Take the time to properly clean your roasting pan to continue enjoying delicious meals cooked in it.
Step by Step Processes for How to Clean a Roasting Pan
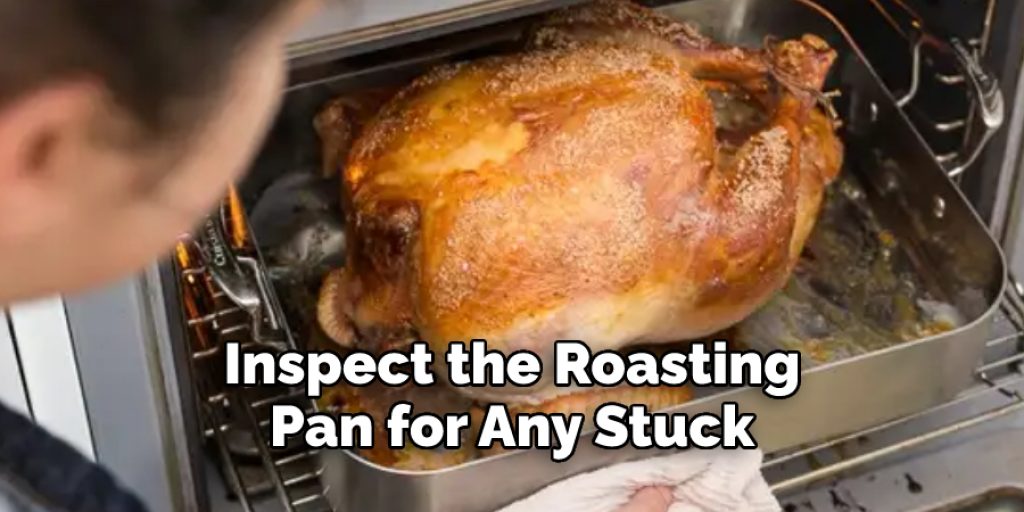
Step 1: Inspect the Roasting Pan
Thoroughly inspect the roasting pan for any stuck-on food particles, grease or debris. Using a paper towel, remove as much of the excess grease as possible from the pan. Fill the roasting pan with hot, soapy water. Let it sit for at least 10 minutes to soften the grease and food particles.
Step 2: Scrub the Roasting Pan
Once the roasting pan has soaked in warm, soapy water for at least 10 minutes, use a stiff-bristled brush to scrub away any remaining food particles and grease. Take care not to scratch or damage the pan’s surface while scrubbing. Rinse off the pan with hot water.
Step 3: Remove Grease Residue
If there is still a large amount of grease residue on the roasting pan, place an oven-safe bowl filled with equal parts baking soda and white vinegar inside the pan. Let it sit for approximately 15 minutes before scrubbing the roasting pan again. The baking soda and vinegar should help to remove any remaining grease residue. Rinse off the pan with hot water.
Step 4: Clean Tough Stains
Sprinkle a tablespoon of baking soda on any tough stains before scrubbing the roasting pan again, using the same stiff-bristled brush. This should help to remove the stubborn stains. Rinse off the pan with hot water.
Step 5: Dry the Roasting Pan
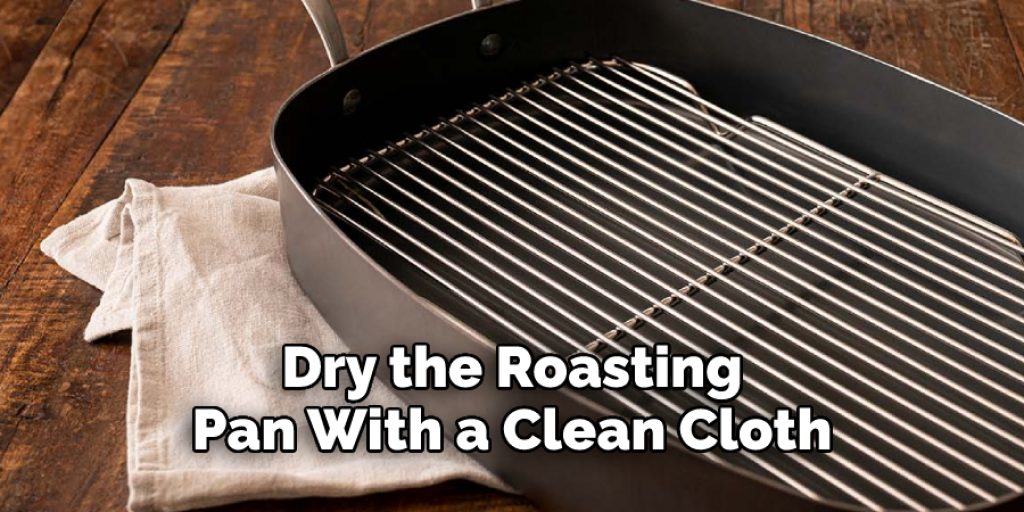
Thoroughly dry the roasting pan with a clean cloth or paper towel. Make sure all of the excess moisture has been removed before storing it away. Spray the roasting pan with a kitchen sanitizer to ensure it is clean and free from foodborne bacteria. Let the sanitizing solution sit for five minutes before wiping it off with a damp cloth.
Step 6: Deodorize a Roasting Pan
If the roasting pan has a strong odor, fill it with hot water and add one cup of white vinegar. Let the mixture sit in the pan for at least 10 minutes before pouring it out and wiping down the interior with a damp cloth.
Step 7: Store a Roasting Pan
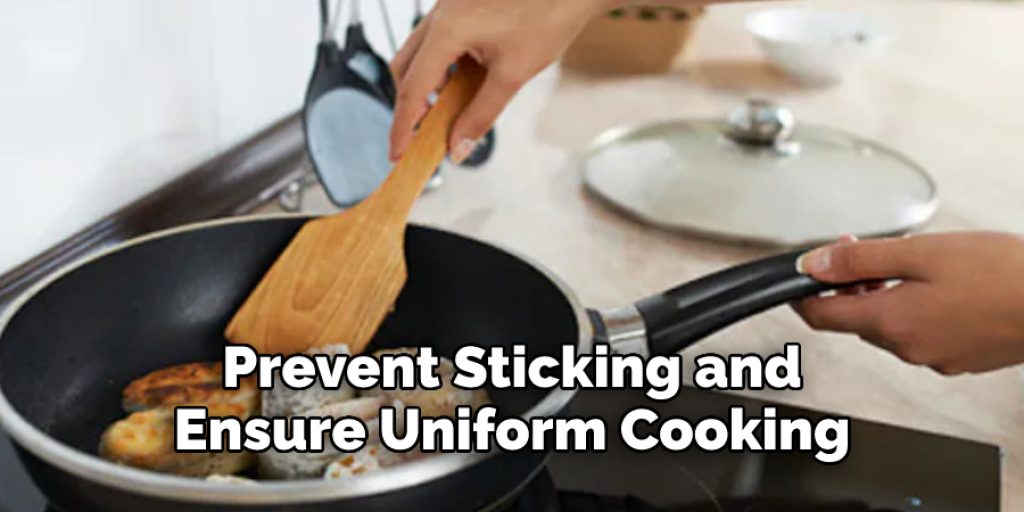
Once the roasting pan is dry and free from food debris, grease and odor, it can be stored away. Make sure the roasting pan is completely dry before storing to prevent rusting. Before each use, it’s important to grease the surface of the roasting pan with either vegetable oil or shortening. This will help to prevent sticking and ensure uniform cooking.
Step 8: Maintain a Roasting Pan
Regularly inspect the roasting pan for any signs of wear and tear, such as scratches, dents or rust. Make sure to clean it thoroughly after each use and store it away in a dry place. Properly caring for your roasting pan will ensure it lasts longer.
These are the steps for Cleaning a Roasting Pan. With these tips, you can keep your roasting pans clean, sanitized, and in top condition for years to come.
You Can Check It Out To Seal a Washing Machine Drain Hose
Precautions for How to Clean a Roasting Pan
- Wear gloves and safety glasses to protect your hands and eyes from any sharp objects or hot splatters.
- Ensure the roasting pan is cool to the touch before beginning the cleaning process, as working with hot pots can cause serious burns if precaution is not taken.
- Scrape any food particles stuck to the pan’s sides with a spatula before starting the cleaning process.
- Use hot water and soap to create suds to clean off food particles stuck on the roasting pan’s surfaces.
- If needed, use a sponge or soft cloth to scrub areas of the pan, especially those where food particles are stuck.
- Rinse the roasting pan with hot water once all food particles have been removed to remove any cleaning suds or residue from the pan’s surface.
- Dry off the roasting pan with a clean cloth to prevent rusting or spotting on the pan’s surface.
- Lastly, store the roasting pan in a dry place that is free of moisture to prevent rusting or spotting on the pan’s surface.
These precautions can help keep you safe when cleaning a roasting pan and ensure your roasting pan remains in good condition for years to come.
How Can You Prevent Food Residue From Sticking to Your Roasting Pan in the Future?
- Before you start cooking, line the roasting pan with aluminum foil. This will make cleanup much easier and will prevent food from sticking to the pan in the first place.
- Grease the bottom of the roasting pan before adding your ingredients. Sprinkle a small amount of oil or butter before putting any food into the pan.
- Use a non-stick roasting pan to prevent food from sticking in the future. Non-stick pans are specially designed with coatings that allow food to slide off easily, making it much easier to clean up after you’re done cooking.
- Avoid using high heat when roasting food. High heat can cause food to stick and char, making it more difficult to remove from the pan after cooking.
- Remove any cooked food from the roasting pan as soon as possible. Leaving food in a hot pan for too long can cause it to stick and become harder to clean up later.
By following these tips, you can keep your roasting pans looking new and avoid scrubbing off cooked-on food residue. You can enjoy many years of delicious meals cooked in your favorite roasting pan with proper care.
How Do You Properly Season Your Roasting Pan?
Seasoning a roasting pan is an important part of using it properly. It helps prevent food from sticking and makes cleaning up easier. To season your roasting pan, the first step is to preheat your oven to 350 degrees Fahrenheit. Then, spread a thin layer of oil over the entire surface of the pan, inside and out. Place the pan on a baking sheet and put it in the preheated oven for about an hour. Allow the roasting pan to cool before using it; you’re ready to start cooking.
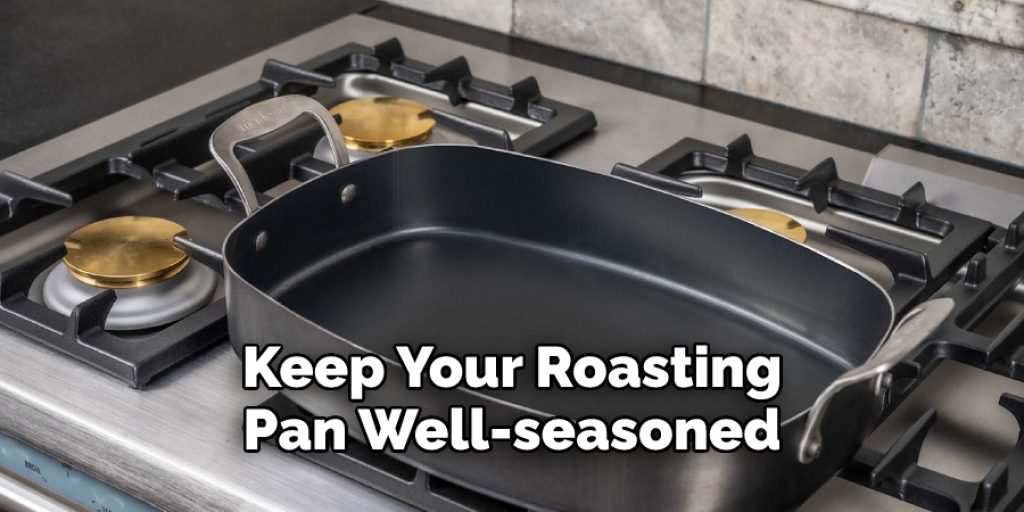
To keep your roasting pan well-seasoned, when using oil or fat while cooking, clean the inside with a paper towel after each use. If the seasoning is beginning to wear off, repeat the seasoning process. With proper care and maintenance, your roasting pan will keep its nonstick properties for a long time.
You Can Check It Out to Season Hexclad Pan
How Do You Clean the Inside and Outside of a Roasting Pan?
- Start by scraping off any food particles or bits of debris from the inside and outside of the pan with a kitchen spatula.
- Fill the pan with hot water and add a few dish soap or baking soda tablespoons. Allow it to sit for 10 minutes until all baked food has come loose from the sides and bottom of the pan.
- Rinse the roasting pan with warm, running water to remove all soap residue.
- Take a damp paper towel or sponge and use it to scrub off any remaining food particles or bits of debris from the inside and outside of the pan.
- Use an abrasive scrubbing pad to remove any stubborn spots or stains. Rinse the pan with warm, running water and dry it with a clean kitchen towel.
- To prevent rusting and discoloration, store the roasting pan in a cool, dry place after each use.
Follow these steps to easily clean your roasting pan and keep it in pristine condition for years.
Conclusion
One of the main disadvantages of cleaning a roasting pan is that it can take quite a bit of time and effort. It is not always easy to remove stubborn, stuck-on residue from the bottom or sides of the pan. Also, depending on the material your roasting pan is made from (such as cast iron or stainless steel), it can be difficult to clean without damaging the material.
In conclusion, cleaning a roasting pan is not as intimidating as it may seem. It requires some elbow grease and patience, but the end result of having a spotless pan is worth the effort! There are numerous tips and tricks for cleaning stainless steel pans and cast iron pans that you can use to make the process easier. I hope this article has been beneficial for learning how to clean a roasting pan. Make Sure the precautionary measures are followed chronologically.
Angela Ervin
Angela is the executive editor of DIY quickly. She began her career as an interior designer before applying her strategic and creative passion to lifestyle and home. She has close to 15 years of experience in creative writing and online content strategy for housekeeping, home decorations as well as other niche efforts. She loves her job and has the privilege of working with an extraordinary team. She lives with her husband, two sons, and daughter in Petersburg. When she's not busy working she spent time with her family.