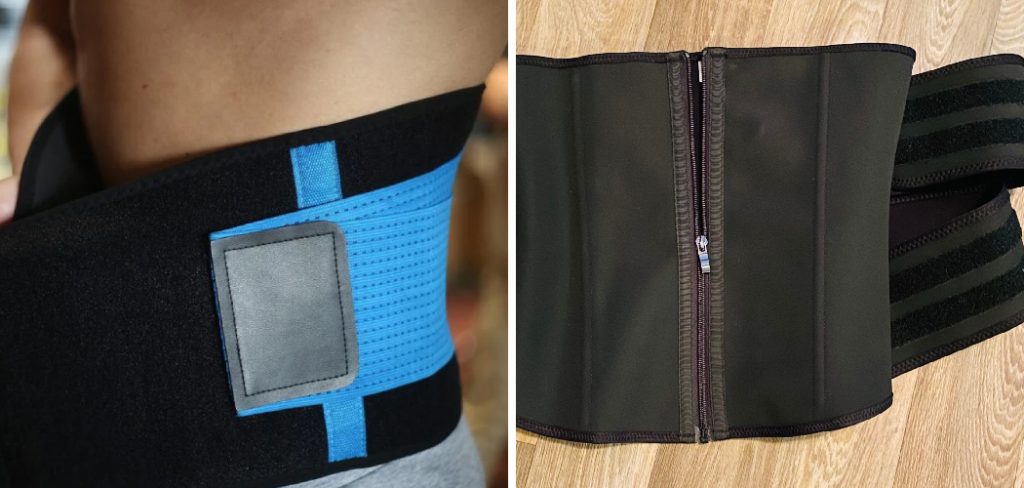
How to Clean a Waist Trainer
Corsets and waist trainers have become increasingly popular over the last few years, but do you know how to clean them properly? Unlike regular clothing, a waist trainer requires extra special care due to its delicate structure and materials. That’s why it’s essential to understand the proper techniques for caring for your corset or waist trainer to ensure maximum longevity and effectiveness.
In this blog post, we’ll give you all the tips for cleaning your favorite body shaper – from hand washing or machine washing instructions to safe storage advice! You can keep your beloved piece looking as good as new with just a little maintenance and effort.
Let’s dive into how to clean a waist trainer together!
What Will You Need?
Before delving into the specifics of cleaning your waist trainer, let’s walk through some basic items that you’ll need:
- A mild detergent or special corset cleaner
- A soft cloth or sponge
- Warm water
- A drying rack (optional)
You may also want to have a dedicated laundry basin or tub for hand washing and a mesh lingerie bag for machine washing, which will prevent any damage to the waist trainer.
10 Easy Steps on How to Clean a Waist Trainer
Step 1. Preparation:
Begin by filling your basin or tub with warm water and add a small amount of mild detergent. Stir the water gently to make sure the detergent is well-dissolved. Avoid using harsh chemicals or bleach, as they can damage the fabric of your waist trainer.
Step 2. Submersion:
Take your waist trainer and fully submerge it in the prepared soapy water. Ensure it is completely soaked. This soaking process helps to loosen any dirt or sweat accumulated on the fabric. Avoid scrubbing or twisting the waist trainer, as aggressive handling could harm its structure. Let it soak for at least 15-30 minutes.
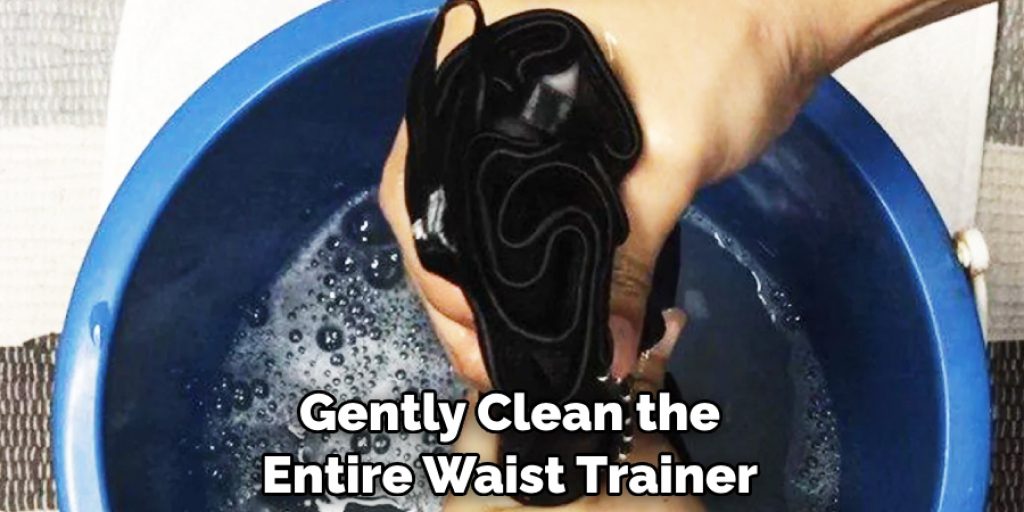
Step 3. Gentle Cleaning:
After soaking, take a soft cloth or sponge and gently clean the entire waist trainer, paying particular attention to any dirty or stained areas. Use the cloth or sponge to brush the fabric lightly, following the direction of the boning—if your waist trainer has it. This will help preserve the garment’s structure while ensuring a thorough cleaning. Remember not to scrub or wring, which can warp the trainer’s shape and damage its materials.
Step 4. Rinsing:
Once you’ve gently cleaned the waist trainer, it’s time to rinse it. Empty out the soapy water from your basin or tub, and then refill it with clean, warm water. Submerge the waist trainer in clean water and gently agitate it to rinse off the soap. You may need to change the water and repeat this process several times until all the soap is thoroughly washed off. Be careful not to twist or wring the waist trainer during this process, as it could damage its structure.
Step 5. Drying:
Once all the soap has been thoroughly rinsed off, you need to dry the waist trainer properly. Do not wring out the water, as it can damage the waist trainer. Instead, use a clean towel to absorb as much excess water as possible. After blotting, lay the waist trainer flat on a clean, dry towel and roll it up to absorb more water.
Unroll the towel and leave the waist trainer to air dry on a flat surface or a drying rack. Avoid direct sunlight or heat, as these can fade the color and weaken the material of the waist trainer. Remember, never put the waist trainer in a dryer, as the heat can warp its shape and damage the material.
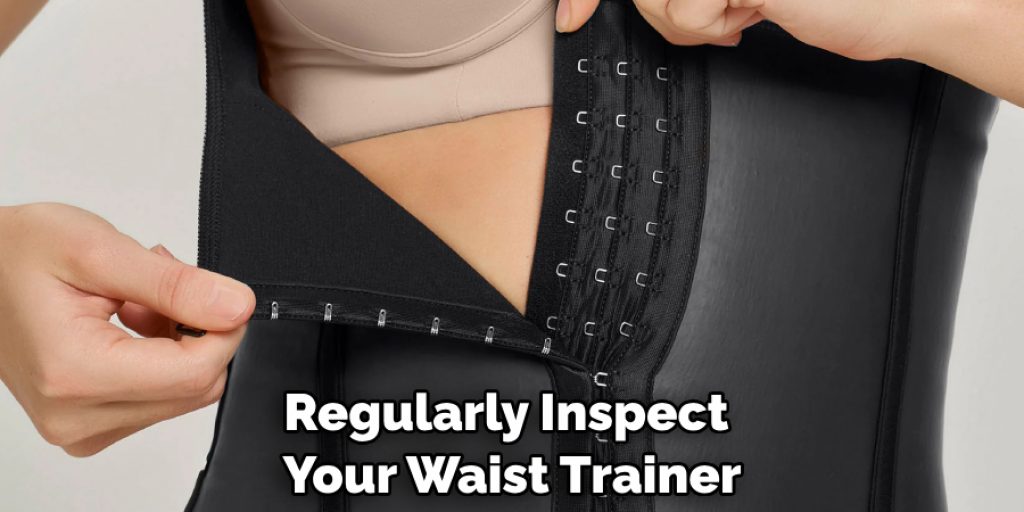
Step 6. Inspection:
After the waist trainer has completely dried, inspecting it for any remaining dirt or stains is essential. If any are found, you might need to repeat the cleaning process. Also, check the waist trainer’s structure and stitching to ensure no signs of damage or wear. If everything looks good, you can move on to storing the waist trainer.
Step 7. Storing:
Storing your waist trainer properly is equally as important as cleaning it. Once your waist trainer is dry, it should be stored in a superb, dry location away from direct sunlight. This would be an ideal spot if you have a closet dedicated to your clothes. It’s best to hang the waist trainer using a hanger designed for delicate garments to help maintain its shape.
Avoid folding or creasing the waist trainer, as this could damage it. If you have multiple waist trainers, ensure they are not pressing against each other in storage. Proper storage will help extend the life of your waist trainer and ensure its effectiveness.
Step 8. Regular Maintenance:
A crucial aspect of taking care of your waist trainer is regular maintenance. Depending on how frequently you use your waist trainer, you should clean it as often as once a week or at least once every two weeks.

This will help keep it clean and fresh and extend its lifespan. Consider cleaning it more frequently if you sweat heavily or use the waist trainer for workout sessions. Remember, proper care and maintenance can dramatically enhance the longevity and effectiveness of your waist trainer.
Step 9. Refreshing:
Now and then, your waist trainer may need a little freshening up in between washes. One way to do this is using a fabric freshener spray, which can help eliminate unwanted odors. It’s essential that the spray is mild and free from harsh chemicals that could damage the waist trainer.
After spraying, allow the waist trainer to air dry. Avoid using the waist trainer while wet, as this could damage its structure. Remember, refreshing is just a quick fix and does not replace the need for regular washing and maintenance.
Step 10. Long-term Care:
Over time, your waist trainer may show signs of wear and tear. This is a normal part of the lifespan of any garment. However, there are steps you can take to extend its usability. Rotate between several waist trainers to avoid overusing a single one.
Also, consider replacing your waist trainer when it starts to feel loose and no longer provides the support it once did. Returning your waist trainer every 6-12 months is recommended, but this can vary depending on usage and care. Always remember proper care and maintenance can significantly extend the life of your waist trainer, providing you with a comfortable and effective tool to achieve your fitness goals.
By following these steps, you can effectively clean and care for your waist trainer, ensuring it remains a valuable tool in achieving your desired results.
5 Additional Tips and Tricks
- Avoid Harsh Detergents: Avoid using harsh or overly fragrant detergents when cleaning your waist trainer. They can be detrimental to the fabric and may cause skin irritation when you wear the trainer next.
- Rotate Your Waist Trainers: If you have more than one waist trainer, it’s good practice to rotate between them. This allows each of them time to restore their shapes after use and reduces the frequency of washes needed.
- Spot Cleaning: For minor stains or dirt, consider spot cleaning. Using a small amount of mild detergent and a soft cloth, gently clean the affected area and let it air dry. This method can help maintain the longevity of the waist trainer.
- Use a Protective Cover: Consider wearing a protective cover or a thin garment under your waist trainer. This can help absorb sweat and reduce the direct contact between the waist trainer and your skin, reducing the frequency of deep cleaning required.
- Regular Inspection: Regularly inspect your waist trainer for signs of wear and tear. Early detection of any damage can prevent further deterioration, extending the lifespan of your waist trainer.
With these tips and tricks, you can ensure a clean waist trainer and its extended use and effectiveness.
5 Things You Should Avoid
- Avoid Bleach and Fabric Softeners: These can degrade the materials in your waist trainer and cause it to lose its elasticity, reducing its effectiveness. They can also generate color fading and even damage to the stitching.
- Avoid Wringing or Twisting: Twisting or wringing your waist trainer to remove excess water can warp its shape and damage the boning structure. Always blot it dry with a towel instead.
- Avoid Direct Heat and Sunlight: Never dry your waist trainer in direct sunlight or use a dryer. High heat can distort the shape, cause shrinkage, and weaken the material.
- Avoid Wearing a Damp or Wet Waist Trainer: Always thoroughly dry your waist trainer before wearing it. A wet waist trainer can breed bacteria and may feel uncomfortable against your skin.
- Avoid Using Perfumes or Deodorants Directly on Your Waist Trainer: These products can stain the fabric and may cause skin irritation. If you need to use them, apply them before you put on your waist trainer and let the product dry completely.
By avoiding these common pitfalls, you can extend the lifespan of your waist trainer and maintain its effectiveness over time.

Conclusion
Taking the time to care for your waist trainer properly is essential for it to last for a long time. It’s about enjoying its features and preserving its condition to help you take advantage of its full benefits and support your lifestyle goals. Proper cleaning will make your waist trainer part of your wardrobe for years.
So make sure to add regular cleanings to your weekly routine, and you won’t have to worry about having a lousy odor or bacteria lingering on it. Cleaning can even improve the effectiveness of your waist training program and give you results more quickly. If you need help with the best techniques, find an experienced cleaner who can provide personalized advice.
There you have it! how to clean a waist trainer may seem like a hassle, but if done correctly, you’ll be able to extend the life of your waist trainer and get all the possible benefits while keeping it smelling great, too!
Angela Ervin
Angela is the executive editor of DIY quickly. She began her career as an interior designer before applying her strategic and creative passion to lifestyle and home. She has close to 15 years of experience in creative writing and online content strategy for housekeeping, home decorations as well as other niche efforts. She loves her job and has the privilege of working with an extraordinary team. She lives with her husband, two sons, and daughter in Petersburg. When she's not busy working she spent time with her family.