How to Clean a Walk in Freezer Floor
Are you trying to keep your walk in freezer clean and organized but need help knowing where to start? Don’t feel overwhelmed – how to clean a walk in freezer floor doesn’t have to be an intimidating or daunting task.
Freezer floors can become dirty and slippery due to spills, leaks, and general foot traffic. Keeping the floor clean improves safety and helps maintain the overall cleanliness of your freezer.
In fact, by following these tips and tricks for proper maintenance of a walk-in freezer floor, you will be able to ensure that not only are you well prepared for health inspections – but, more importantly, that the food storage area remains free from dirt buildup and potential contamination so if you’re looking for an easy step-by-step guide on how to effectively clean a walk-in freezer floor like a pro – read on!
What Will You Need?
Before starting the cleaning process, gather all necessary supplies. This will help save time and avoid interruptions during the cleaning process. Here are some essential tools you will need:
- Broom or vacuum cleaner
- Mop and bucket
- Cleaning solution (choose one that is safe for food storage areas)
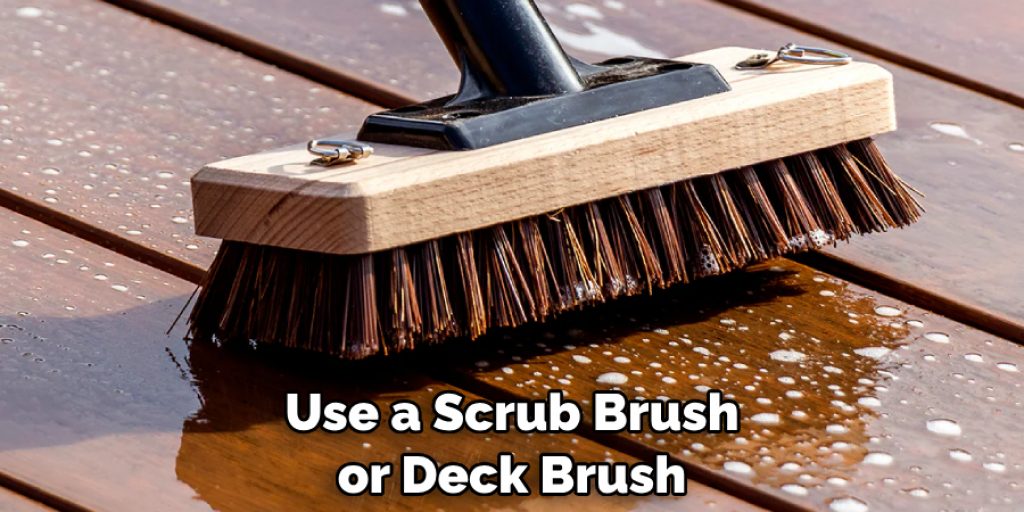
- Scrub brush or deck brush
- Squeegee (optional)
- Safety gear (rubber gloves, non-slip shoes, etc.)
Once you have all the supplies ready, it’s time to start cleaning your walk in freezer floor.
10 Easy Steps on How to Clean a Walk in Freezer Floor
Step 1. Pre-Clean the Floor:
Start by removing any visible debris or dirt from the freezer floor using a broom or vacuum cleaner. This helps prevent the mop from pushing dirt around the floor during wet cleaning. If there are any spills, clean them immediately to avoid potential slips or falls.
Step 2. Apply Cleaning Solution:
After pre-cleaning the floor, prepare your cleaning solution per the manufacturer’s instructions. Ensure the solution is safe for use in food storage areas. Then, spread the cleaning solution evenly across the freezer floor. Allow it to sit briefly to break down any stubborn dirt or grime. Be careful not to let the solution freeze on the floor.
Step 3. Scrub the Floor:
Once the cleaning solution has had time to work magic, use a scrub brush or deck brush to scrub the freezer floor vigorously. Focus mainly on those areas that are heavily soiled or stained. Scrubbing helps to dislodge any stubborn dirt, ensuring a thorough clean. Remember, the goal is to leave no trace of dirt, which could cause health and safety issues.
Step 4. Rinse the Floor:
After thoroughly scrubbing the floor, it’s time to rinse away the loosened dirt and cleaning solution. Fill your mop bucket with clean, hot water and mop the floor to remove the cleaning solution and dislodged dirt. Change the water in your bucket as often as necessary to ensure you’re not spreading dirt around. Once the floor is clean, it will be ready for the next step.
Step 5. Dry the Floor:
Next, it’s essential to dry the floor thoroughly to prevent slips and falls. If available, use a squeegee to remove excess water. You can also use clean, dry mops or towels to absorb any remaining moisture. The freezing temperature inside the walk-in freezer can quickly turn any leftover water into ice, creating a potential hazard. Ensure the floor is completely dry before moving on to the next step.
Step 6. Inspect the Floor:
After drying, perform a thorough inspection of the floor. Look for any signs of remaining grime or stains. If you spot anything, repeat the scrubbing, rinsing, and drying process as necessary. Ensuring that the freezer floor is impeccably clean is crucial to prevent contamination. Remember, a clean freezer floor is vital to maintaining a safe and sanitary food storage environment.
Step 7. Deodorize the Floor:
It’s time to deodorize after ensuring the floor is clean and dry. Although deodorizing may not always be necessary, it’s a good practice to follow, especially if you’ve had issues with odors in the past. Use a freezer-safe, food-grade deodorizer and follow the manufacturer’s instructions for application.
Let the deodorizer sit for the recommended time, then rinse thoroughly with clean hot water and dry the floor completely. Deodorizing helps to keep your freezer fresh and prevents any unpleasant smells from tainting your stored food.
Step 8. Perform Regular Maintenance:
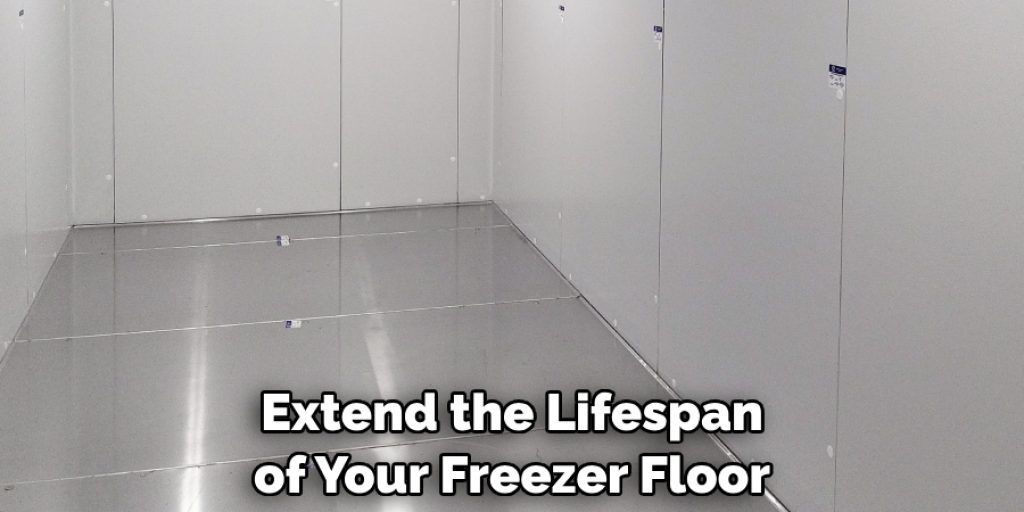
Regular maintenance is vital to keeping your walk-in freezer floor in excellent condition. This includes sweeping or vacuuming the floor daily to remove loose debris and promptly cleaning up spills. It’s also a good practice to schedule a deep cleaning at least once a month or more often if your freezer sees heavy use.
Regular maintenance helps extend the lifespan of your freezer floor, ensures it stays safe to walk on, and maintains the cleanliness necessary for food safety regulations.
Step 9. Check Freezer Temperature:
After the cleaning process, it’s essential to ensure that the freezer’s temperature is at an appropriate level for food storage. The temperature should be maintained at 0°F or below. Use a reliable freezer thermometer to check the temperature. If the temperature is higher, adjust the freezer settings accordingly. This step ensures the safety and quality of the food stored in your walk-in freezer.
Step 10. Organize Your Freezer:
Finally, reorganize your freezer. Place items in a way that allows easy access and ensures good airflow. Keep a record of the items stored, including their expiry dates. This will help maintain the organization of your freezer and make future cleaning and maintenance tasks more manageable. Remember, an organized freezer is not only easier to clean, but it also operates more efficiently.
By following these ten simple steps, you can clean a walk-in freezer floor effectively and maintain a safe and healthy food storage environment.
5 Additional Tips and Tricks
Tip 1. Use Freezer-Safe Cleaning Products:
Always ensure the cleaning products you use are suitable for freezers. Some chemicals can become ineffective or even potentially harmful at freezing temperatures. Opt for cleaning solutions intended explicitly for freezer use.
Tip 2. Schedule Regular Cleaning:
Before cleaning, don’t wait for grime and dirt to build up on your freezer floor. Schedule regular cleaning and maintenance tasks to prevent any potential health hazards and ensure the longevity of your walk-in freezer.
Tip 3. Use Proper Protective Gear:
When cleaning a walk-in freezer, it’s essential to use appropriate protective gear such as gloves, goggles, and non-slip shoes. These items will help protect you from accidents and keep you safe while working in freezing temperatures.
Tip 4. Check for Leaks:
Regularly check for any signs of leaks on your freezer floor. A leaking freezer can cause water to freeze and create hazardous conditions. If you notice any leaks, immediately repair them to prevent further damage.

Tip 5. Train Employees on Proper Cleaning Procedures:
If you have employees who also work in the walk-in freezer, training them on proper cleaning procedures is crucial. This ensures consistency and helps maintain a safe and sanitary environment for food storage.
With these additional tips and tricks, you can confidently keep your walk-in freezer floor clean and safe for optimal food storage.
5 Things You Should Avoid
Avoid 1. Using Hot Water on the Freezer Floor:
Never use hot water to clean your walk-in freezer floor. The sudden temperature change can damage the flooring and cause cracks or peeling. Instead, use warm or room-temperature water.
Avoid 2. Ignoring Small Spills:
Even small spills can become a big problem in a freezer environment. They can freeze quickly and become a slipping hazard or cause contamination. Always clean up spills promptly, no matter how small.
Avoid 3. Leaving the Freezer Door Open:
While cleaning, avoid leaving the freezer door open longer than necessary. This can cause an unnecessary rise in temperature, making your freezer work harder and increasing your energy costs.
Avoid 4. Using Abrasive Cleaners or Tools:
Steer clear of using abrasive cleaners or tools that can scratch the freezer floor. Scratches can harbor bacteria and make cleaning more difficult in the future. Always opt for soft brushes, cloths, and freezer-safe cleaning agents.
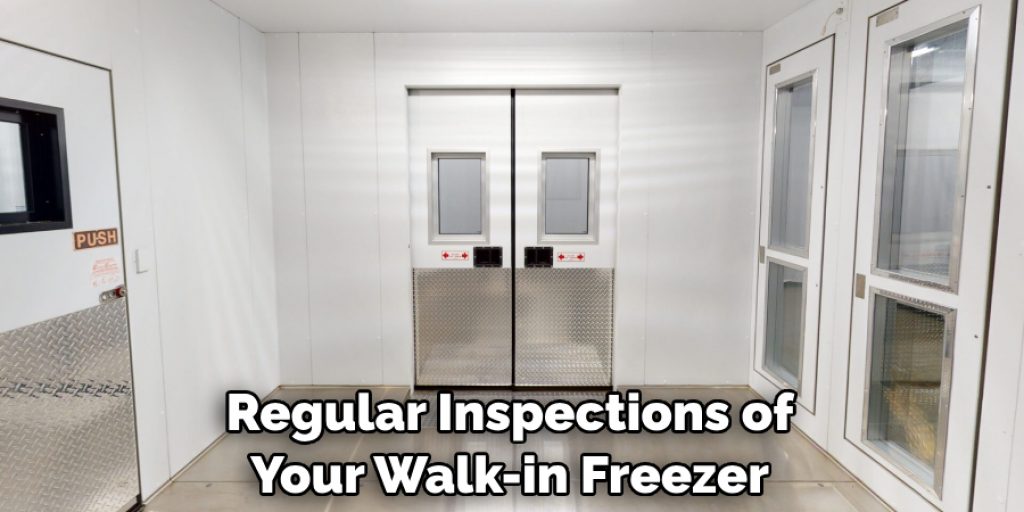
Avoid 5. Neglecting Regular Inspections:
Pay attention to regular inspections of your walk-in freezer. Regular check-ups will help you spot any issues (like leaks, uneven temperature, or mechanical problems) before they become major problems.
By avoiding these common mistakes, you can ensure a longer lifespan for your walk-in freezer and maintain a safe and sanitary environment for food storage.
Conclusion
How to clean a walk in freezer floor requires preparation, the right supplies, and attention to detail. Safety should be your priority for any task involving hot or cold temperatures and slippery surfaces. Wear gloves to protect your hands from extreme temperatures, wear slip-resistant shoes for added traction, and wear proper clothing. With suitable precautions, cleaning a walk-in freezer floor can be completed quickly and effectively.
So don’t wait; take the necessary steps to guarantee that your walk-in freezer is always ready. Your staff will thank you as they use this well-maintained space daily! Plus, regular cleanings can help prevent more significant future costs due to potential damage from nutrients left behind by spilled food. So get out there today—and clean safe!
Angela Ervin
Angela is the executive editor of DIY quickly. She began her career as an interior designer before applying her strategic and creative passion to lifestyle and home. She has close to 15 years of experience in creative writing and online content strategy for housekeeping, home decorations as well as other niche efforts. She loves her job and has the privilege of working with an extraordinary team. She lives with her husband, two sons, and daughter in Petersburg. When she's not busy working she spent time with her family.