How to Clean a Water Distiller
Are you looking to save money on your monthly water bill? Is it essential for you to keep your well-clean and running smoothly? Are you worried about the maintenance of a well, or do you need help knowing where to start when cleaning one? Don’t worry – we have all the tips and tricks to help.
Water distiller cleaning is essential to ensure that your water distiller runs smoothly and efficiently. Regular cleaning can also help prolong the lifespan of your water distiller. This guide will discuss how to clean a water distiller and the importance of doing so regularly.
In this blog post, we’ll cover all the steps needed, from cleaning to maintenance, to keep your water distiller in top shape. Let’s dive in!
What Will You Need?
Gathering all the necessary materials is important before we start cleaning your water distiller. Here are the items you’ll need for a thorough cleaning:
- White vinegar
- Water
- Cleaning brush or cloth
- Distilled water (optional)
Once you have all the materials ready, let’s move on to cleaning.
9 Easy Steps on How to Clean a Water Distiller
Step 2: Clean the Boiling Chamber
After disassembling your water distiller, the next step is to clean the boiling chamber. Begin by emptying any water remaining in the chamber. Then, fill the chamber with white vinegar and warm water (a 1:2 ratio should work well).
Let this mixture sit in the boiling chamber for 1-2 hours. This will help in breaking down any mineral deposits or residue. After the wait, scrub off the loosened deposits using a cleaning brush or cloth. Rinse thoroughly with clean water. If any stubborn deposits remain, repeat the process.
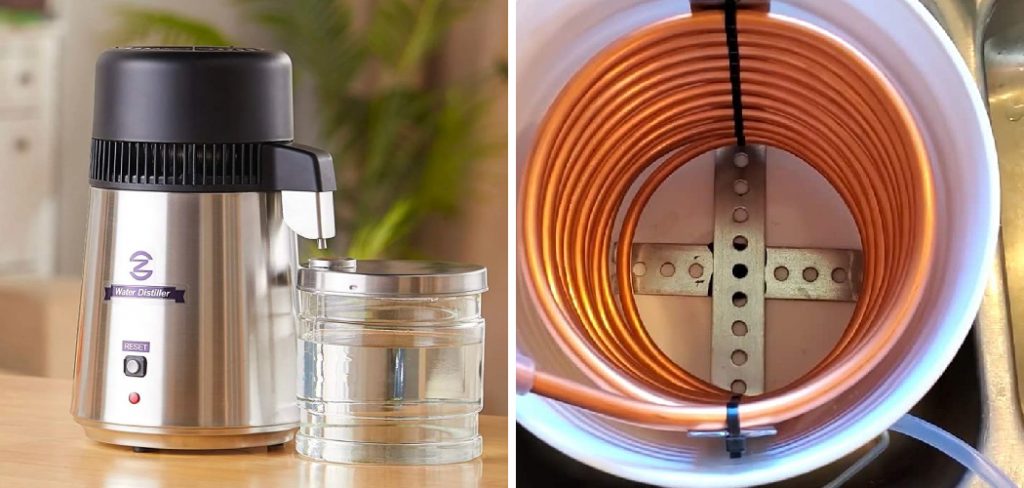
Step 3: Clean the Condenser Coil
The condenser coil is another critical part of your water distiller that should be cleaned regularly to maintain efficiency. First, ensure the distiller is unplugged and completely cooled down to clean the condenser coil.
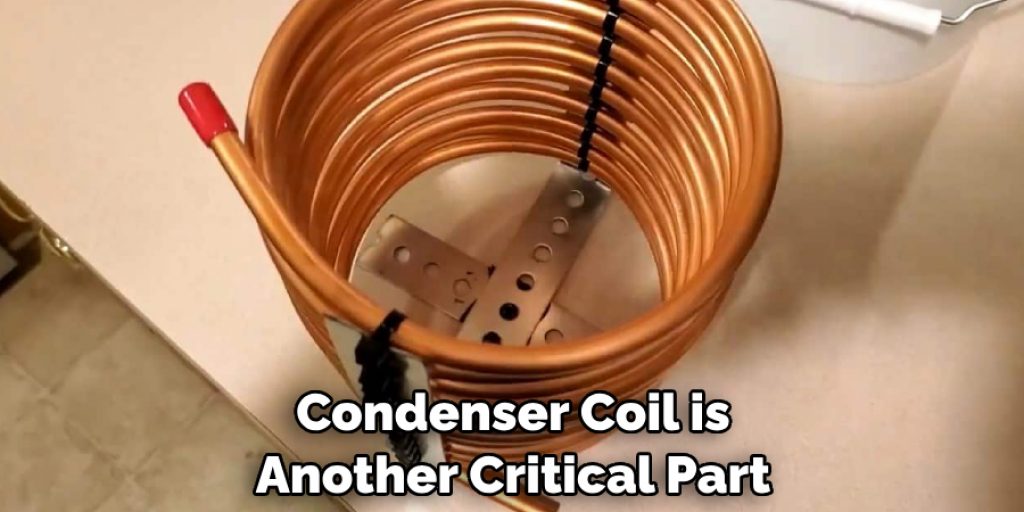
Then, using a small brush (an old toothbrush works well), gently brush away any visible dust or dirt from the coils, making sure to reach all the crevices. Be careful not to apply too much force, which could damage the coil.
After brushing, the vacuum cleaner removes any remaining dust or debris. Never use water or any other liquid to clean the condenser coil, as it can lead to potential damage. Once you’re done cleaning, your condenser coil should be dust-free and ready for efficient operation.
Step 4: Clean the Glass Carafe
The distilled water is collected in the glass carafe, making it essential to cleaning. To do this, fill the carafe with white vinegar and warm water (a 1:2 ratio) and let it soak for 1-2 hours. This will help dissolve any leftover mineral deposits or stains.
After washing, gently scrub the inside of the carafe with a non-abrasive brush or sponge. Rinse thoroughly with clean water until all the vinegar solution is gone. Dry the carafe thoroughly before using it again to prevent water spots or bacterial growth. Repeat this cleaning process as part of your regular maintenance to ensure the highest quality of distilled water.
Step 5: Reassemble and Run a Cleaning Cycle
Once you have cleaned all the parts, it’s time to reassemble your water distiller. Make sure all the parts are arid before reassembly. After putting everything back together, fill the boiling chamber with white vinegar and water (use the same 1:2 ratio as before) and run a full distillation cycle. This will help further clean the interior parts of the distiller that may have been missed during the cleaning process. Once the cycle is complete, discard the distilled water.
Step 6: Rinse and Run a Fresh Water Cycle
After you have discarded the distilled water from the cleaning cycle, it’s essential to rinse the boiling chamber one more time with clean water to ensure any vinegar residue is completely removed. Fill the boiling chamber with clean water and run a complete distillation cycle again.
This will help rinse any lingering vinegar solution within the distiller’s internal system. Discard this batch of distilled water. Your water distiller is thoroughly cleaned and ready to provide you with pure, filtered water again.
Step 7: Regular Maintenance and Precautions
Regular maintenance of your water distiller will ensure its longevity and optimal performance. It is recommended to follow the cleaning procedure once every 1-2 weeks, depending on the hardness of your water and frequency of use. Always ensure that the distiller is unplugged and completely cooled down before starting the cleaning process.
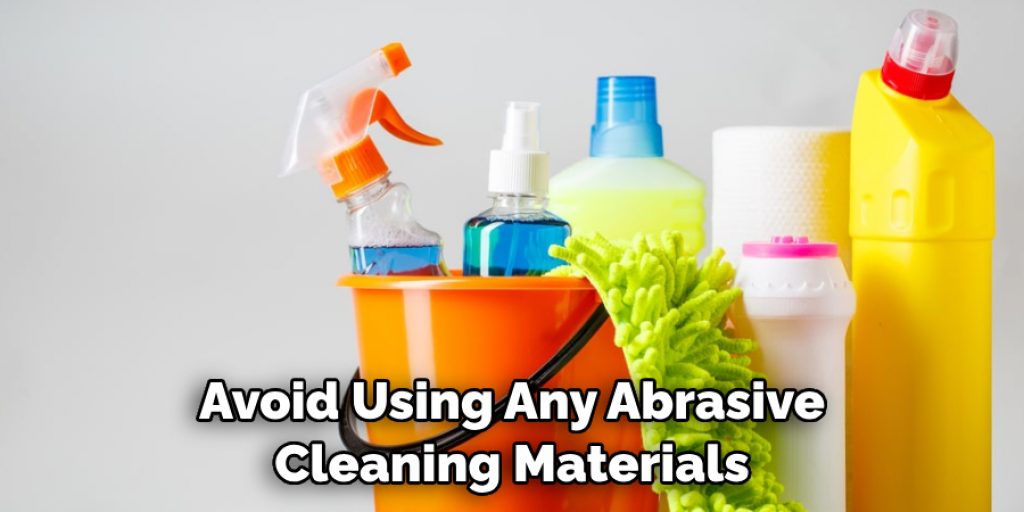
When cleaning, be careful not to damage or scratch any parts of the distiller. Avoid using any abrasive cleaning materials, and always rinse thoroughly to ensure no cleaning solution residue remains. Following these steps will help to maintain the quality of your distilled water and the efficiency of your water distiller.
Step 8: Storage and Care
If you’re not planning to use your water distiller for an extended period, it’s essential to store it correctly. Always ensure the distiller is empty and completely dry before storing it to prevent bacteria or mold growth. Store it in a cool, dry place away from direct sunlight. Cover the distiller to keep dust and dirt from settling in.
Before using it again, run a cleaning cycle as described in the previous steps to ensure the distiller is clean and ready for use. With proper storage and care, your water distiller will continue functioning efficiently and provide pure, clean water for many years.
Step 9: Troubleshooting Common Issues
Despite regular maintenance, you might occasionally encounter issues with your water distiller. If the distiller stops working, check the power cord and the outlet to ensure they function usually. If the distiller is not producing distilled water at its usual rate, this might be due to a scale or mineral deposits buildup in the boiling chamber.
Follow the cleaning steps outlined above to address this issue. If you notice an unusual taste or smell in the distilled water, it might be due to the collection container or the water source. Clean the collection container regularly and consider changing the water source if necessary. Remember, if you cannot resolve an issue, it’s best to consult with a professional or contact the manufacturer’s customer service.
By following these steps, you know how to clean a water distiller effectively and maintain its performance for years.
5 Additional Tips and Tricks
- Use Distilled Water for Cleaning: If possible, use distilled water for the final rinsing of your distiller’s components. Tap water may contain minerals that can build up over time and affect the performance of your device.
- Natural Cleaning Agents: If you prefer a more natural cleaning method, use a mixture of lemon juice and water instead of vinegar. The acidity of the lemon juice helps to dissolve mineral buildup effectively.
- Avoid Harsh Chemicals: Never use bleach or harsh chemicals to clean your water distiller. These can damage the distiller’s components and leave harmful residues.
- Regular Inspection: Make it a habit to inspect your distiller’s components regularly. Look for any signs of wear and tear or damage that might affect its performance.
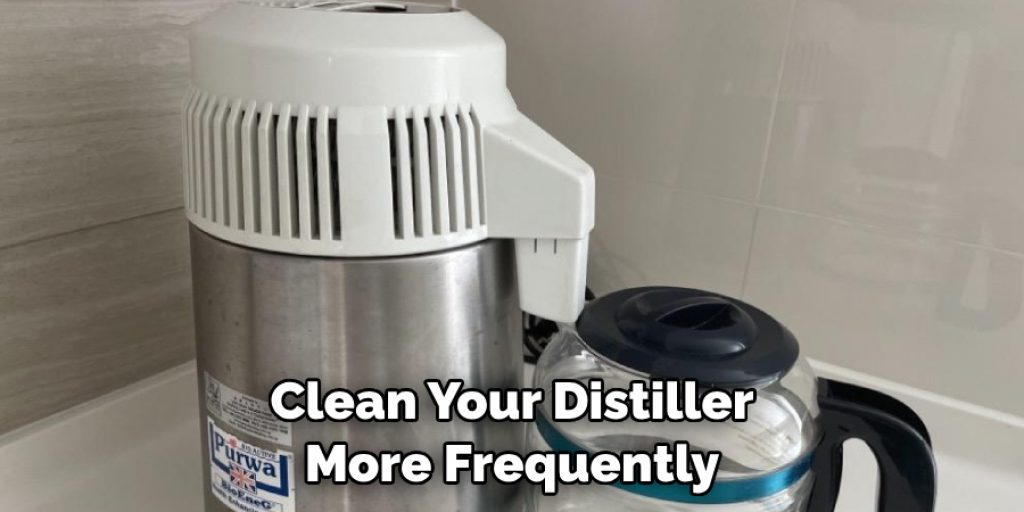
- Understanding Your Water: The frequency of cleaning your water distiller depends on tap water quality. If tap water has a high mineral content (hard water), you should clean your distiller more frequently.
By following these additional tips and tricks, you can ensure that your water distiller continues to function optimally, providing pure, clean water.
5 Things You Should Avoid
- Avoid Neglecting Regular Maintenance: Regular maintenance is critical to the longevity and functionality of your water distiller. Failing to clean your distiller regularly can lead to the build-up of mineral deposits, affecting its performance and water quality.
- Don’t Use Abrasive Cleaning Tools: Avoid using abrasive cleaning tools or materials, such as steel wool or scouring pads. These can scratch the surfaces of your distiller and may cause long-term damage.
- Avoid Spilling Water on Electrical Parts: Always be careful not to spill any water on the electrical parts of the distiller during the cleaning process. This could lead to electrical short circuits or other damage.
- Never Overfill the Boiling Chamber: Overfilling the boiling chamber can result in spillage or leakage, and it might also affect the quality of the distilled water. Always adhere to the manufacturer’s fill line or instructions.
- Avoid Storing in Damp or Humid Places: Keep your distiller in a dry, cool place if you’re storing it. Storing in damp or humid areas can lead to mold and bacteria growth.
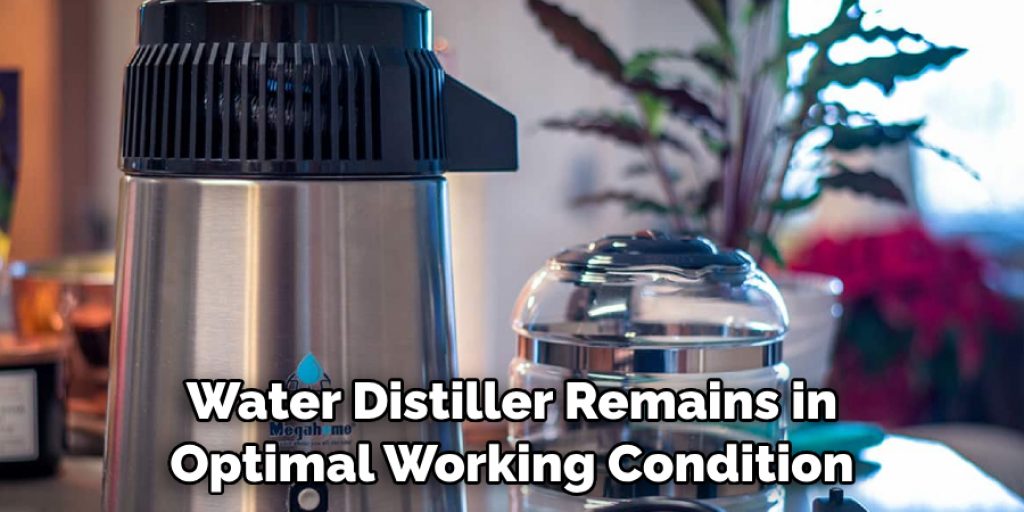
By avoiding these common mistakes, you can ensure your water distiller remains in optimal working condition, providing you with clean, pure water for many years.
Conclusion
How to clean a water distiller is a breeze, but it can be overwhelming to get started if you don’t know what to do. Now that you are informed and educated about the cleaning and maintenance tips and tricks for a water distiller unit, it’s time to put these things into use.
Regularly maintain the distilled water system to keep it in its best condition so you can always serve pure, clean drinking water- on demand! For added convenience, consider getting an additional filter kit to extend the life of your system and guarantee peak performance all year round.
The benefits of having a reliable source of fresh water are undeniable- clean your distiller often and return to enjoying fresh, crystal-clear drinking water immediately!
You Can Also Check This Out to Use Steel Wool on Painted Furniture
Angela Ervin
Angela is the executive editor of DIY quickly. She began her career as an interior designer before applying her strategic and creative passion to lifestyle and home. She has close to 15 years of experience in creative writing and online content strategy for housekeeping, home decorations as well as other niche efforts. She loves her job and has the privilege of working with an extraordinary team. She lives with her husband, two sons, and daughter in Petersburg. When she's not busy working she spent time with her family.