
How to Clean an Old Steamer Trunk
If you are someone who loves to collect antique and old items, then you may have heard or even won an old steamer trunk. The steamer trunks used to be so famous in ancient times. People who love to go traveling would have a steamer trunk to keep all the valuable belongings safe. Here we are going to tell you ways on how to clean an old steamer trunk.
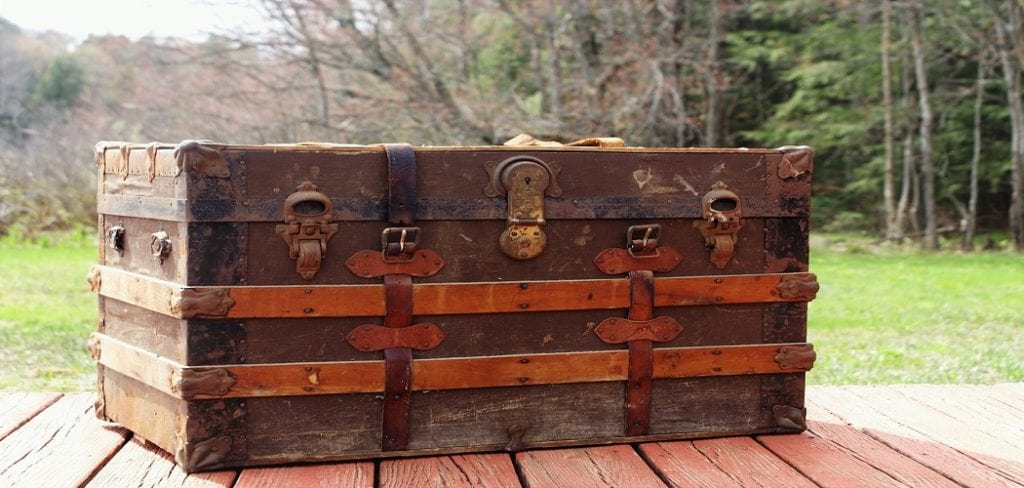
The steamer trunks are very heavy and thick. They are made in a way to keep things inside safe. So, they are tough to breakthrough. Not only that, the designs on the steamer trunk has its unique patterns. There are wood, metal, wallpaper, canvas, and many other things. So, when you think about how to clean an old steamer trunk, you know it is not going to be an easy task, but we will tell you what you need to know.
Learn: How to Clean an Old Steamer Trunk
If you are ready with your old steamer trunk, let’s get started.
Step One: Inspect everything around the steamer trunk for dust and wipe it off with a dry cloth if necessary.
Step Two: To give your trunk an elegant makeover, cover the inside with wallpaper. First, scrape off the old paper with a putty knife. Be careful not to damage anything else in the process. There will be some glue residue remaining. To remove it, mix vinegar and water together and apply them to the affected areas.
Step Three: There are going to be some molds on the trunk. To remove the mold, you can use bleach and water solution. Be careful not to use too much bleach as it could ruin the wood or steel. After using the mixture, you can let the trunk dry in the sun for a few hours.
Step Four: There will likely be some damaged nails and pliers on them. You will need to replace them with new ones. Be sure to clean the inside of the nail holes.
Step Five:
As for cleaning the wooden part, you can use some oil-based soap to wash it and afterward use varnish to make them look clean and shiny. If the steamer trunk is way too old and has some wooden parts damaged beyond repair, you can replace them. Though this might be a lot of work, it will save the trunk from further damage.
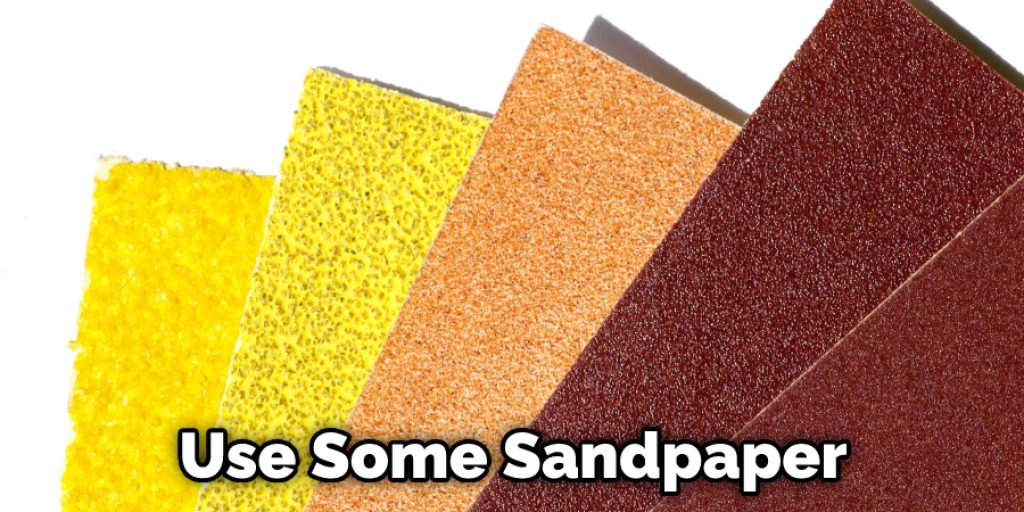
Step Six : As for the steel, you can use some sandpaper and then buff them properly with steel wood. To make the steel part shine, you can use a polyurethane coat to prevent it from rusting further. And again, if something is damaged beyond repair, make sure to replace them.
Step Seven: You can now add the wallpaper inside the back. Buy a similar pattern. You may find them easily in an antique craft store. Cut them out according to the right shape of the inside of the trunk. Glue them using some right adhesive.
Step Eight: As you know, the steamer trunk is covered in canvas. You have already scraped the old canvas off, so now you need to put a new one on. To do that, you need to use some good glue. Also, make sure that you use waterproof canvas to help the trunk stop getting any damage in the future.
Step Nine:
As for the final step of how to clean an old steamer trunk, you have to buy some painting color close to the previous color the steam trunk had. When you are cleaning, you may be restoring the trunk as well. That is why you would want to use everything that will stay similar. Otherwise, the whole trunk will become something new and loose its antique feeling. And there will be no meaning left by collecting them. That is why you need to select everything properly.
Final Thoughts
That was all for how to clean an old steamer trunk. We can only hope that our tips and tricks will help you clean the item properly and restore them to life. Buying antique items will require luck and lots of money. That is why you should be careful when you are working with them. If you think you have chances to mess up, always look for help from the professional in this field, and they will keep your antique item safe and make it look good for your collection.
You May Also Read – How to Clean Brush After Polyurethane
Elizabeth Davis
Elizabeth is a creative writer and digital editor based in the United States. She has a passion for the arts and crafts, which she developed from a young age. Elizabeth has always loved experimenting with new mediums and sharing her work with others. When she started blogging, she knew that DIYquickly would be the perfect platform to share her tutorials and tips. She's been writing for the blog from the beginning, and her readers love her helpful advice and easy-to-follow instructions. When she's not writing or editing, Elizabeth enjoys spending time with her family and friends.


