How to Close a Magic Ring
Closing a magic ring is an essential technique for crocheters and knitters alike, particularly when starting projects in the round. This method allows you to create a tight and secure center for various patterns, such as amigurumi, hats, or any circular designs. Understanding how to properly close a magic ring not only enhances the appearance of your finished piece but also improves its overall structure.
In this guide, we will walk you through how to close a magic ring, ensuring your projects start off on the right foot.
Understanding the Magic Ring
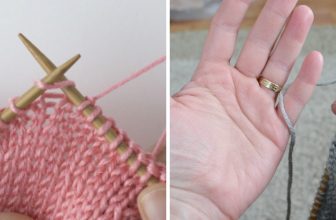
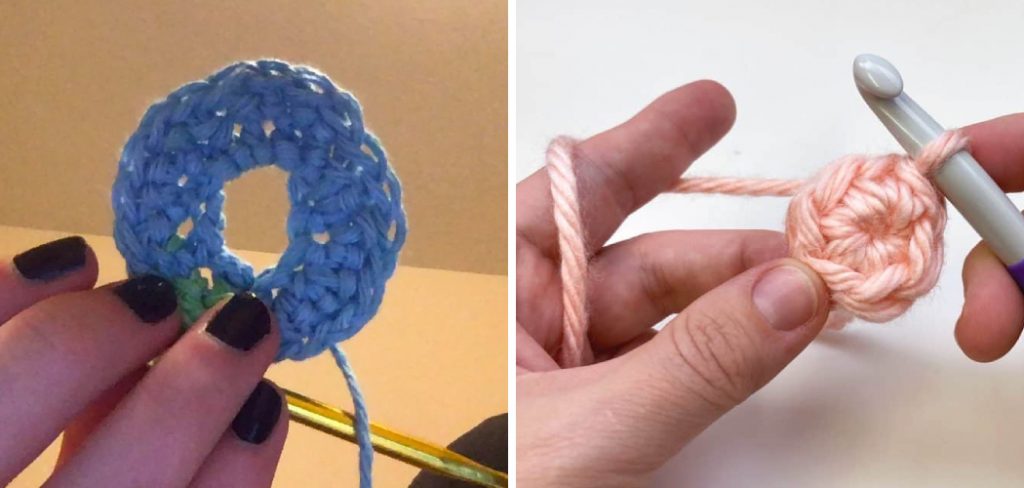
The magic ring, often referred to as the adjustable ring, is a versatile technique used in crochet and knitting to create a seamless start for projects worked in the round. Unlike the traditional method of chaining and joining to form a loop, the magic ring allows for a tighter and more secure beginning that prevents any gaps. This technique is particularly beneficial for small projects or patterns where a close-knit center is essential, such as in amigurumi or beanies.
By mastering the magic ring, crafters can achieve a polished look while ensuring that their stitches remain uniform and neatly contained within the circular foundation. As you delve deeper into crochet and knitting, understanding the magic ring will greatly enhance your creative possibilities.
10 Methods How to Close a Magic Ring
1. Traditional Pull Tight Method
The traditional pull tight method is one of the most common and straightforward ways to close a magic ring. After you have created the initial ring and worked the required stitches into it, you will have a tail end and the working yarn. Gently pull on the tail end to close the ring. This action tightens the stitches and eliminates any gaps in the center. Ensure the ring is completely closed by tugging firmly but carefully on the tail.
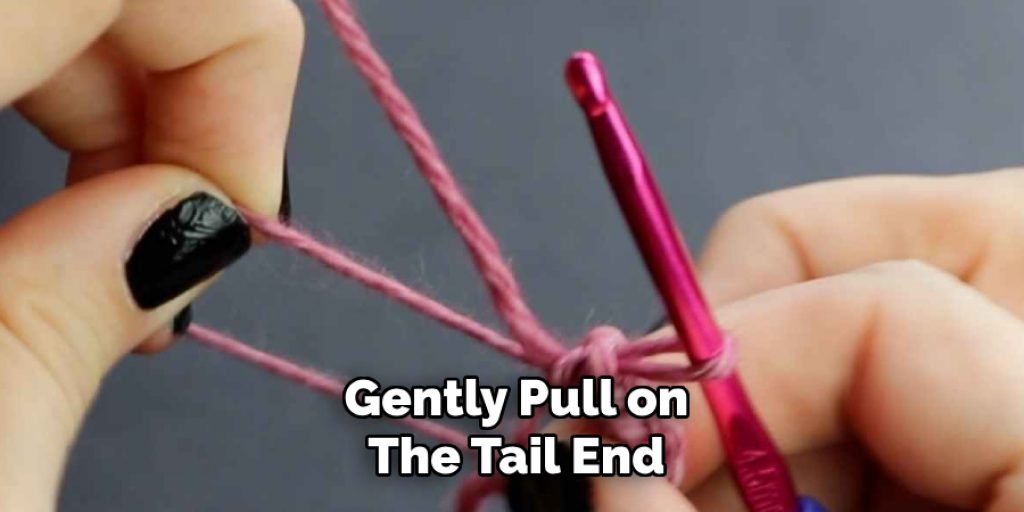
Once the ring is closed, weave the tail end securely into the surrounding stitches to prevent it from loosening. This method is ideal for beginners and works well for most crochet projects.
2. Double Knot Technique
The double knot technique provides an extra level of security to ensure that the magic ring remains tightly closed. Begin by creating your magic ring and working the required stitches into it. Pull the tail end to close the ring as usual. Once the ring is closed, tie a double knot with the tail end and the working yarn close to the base of the stitches.
This knot helps to lock the ring in place, preventing it from loosening over time. After tying the knot, weave the tail end into the surrounding stitches for a neat finish. The double knot technique is particularly useful for projects that will experience a lot of handling or stretching.
3. Invisible Join Method
The invisible join method creates a seamless finish, making it ideal for projects where appearance is crucial. After closing the magic ring by pulling the tail end, thread the tail onto a yarn needle. Insert the needle under the first stitch of the round, pulling the yarn through to create a false stitch.
Then, insert the needle back into the last stitch of the round, mimicking the path of the yarn as if you were completing the stitch normally. This technique creates an invisible join, blending seamlessly with the surrounding stitches. Weave the tail end into the stitches to secure it. The invisible join method is perfect for amigurumi and other detailed crochet work.
4. Slip Stitch Closure
The slip stitch closure method is a quick and easy way to secure a magic ring. After you have worked the required stitches into the magic ring, pull the tail end to close the ring. Insert your hook into the first stitch of the round and make a slip stitch with the working yarn. This slip stitch closes the ring and connects the first and last stitches, creating a continuous round.
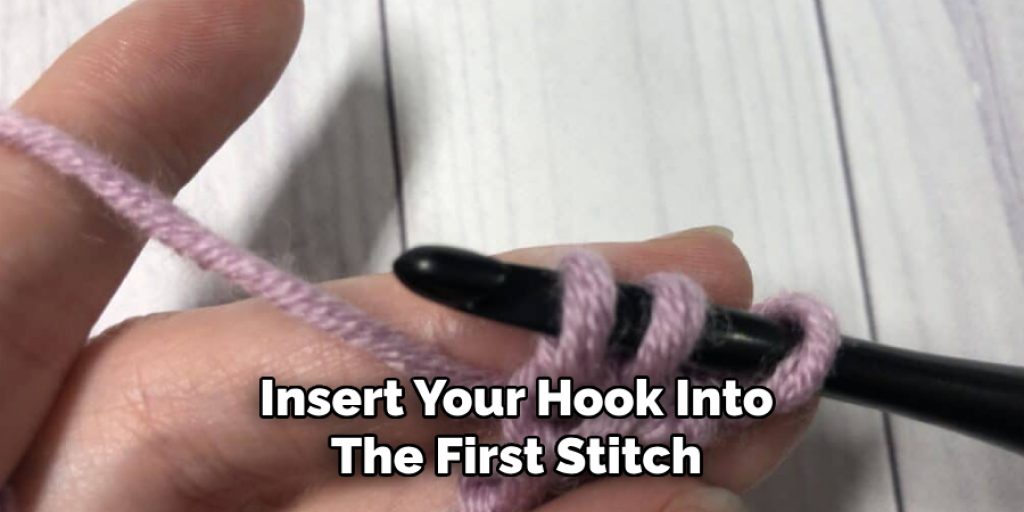
Pull the tail end firmly to ensure the ring is tightly closed, then weave it into the surrounding stitches to secure. The slip stitch closure method is suitable for most round crochet projects and provides a clean, secure finish.
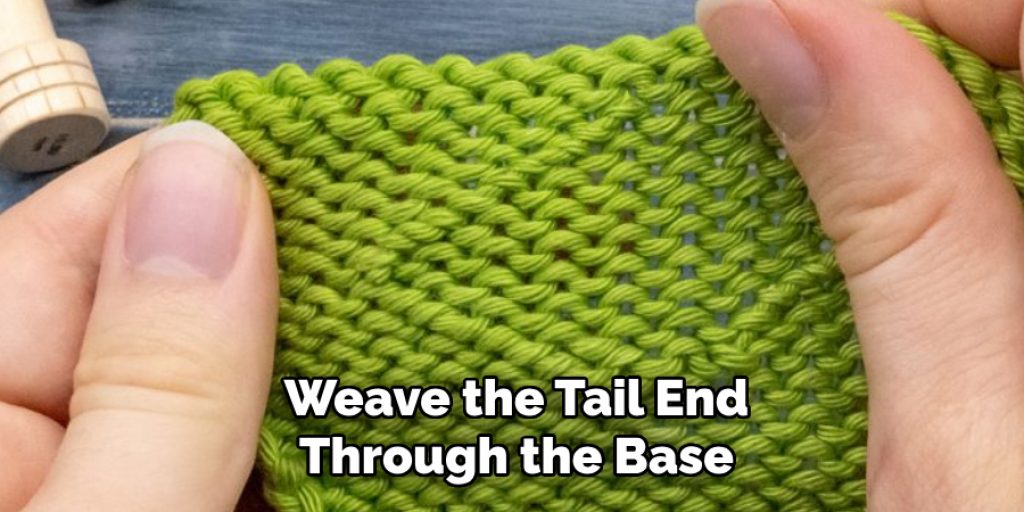
5. Weaving Tail Through Base of Stitches
Weaving the tail through the base of the stitches provides an extra layer of security for your magic ring. After pulling the tail end to close the ring, thread the tail onto a yarn needle. Insert the needle through the base of each stitch around the ring, effectively weaving the tail through the stitches. Once you have gone around the entire ring, pull the tail end firmly to ensure the ring is tightly closed.
This method helps to distribute the tension evenly and prevents the ring from loosening. Weave the remaining tail into the surrounding stitches for a tidy finish. This technique is particularly useful for projects that will undergo a lot of wear and tear.
6. Single Crochet Join
The single crochet join method creates a smooth and continuous finish for your magic ring. After closing the ring by pulling the tail end, insert your hook into the first stitch of the round. Yarn over and pull up a loop, then yarn over and pull through both loops on the hook, completing a single crochet stitch.
This stitch closes the ring and begins the next round seamlessly. Pull the tail end firmly to ensure the ring is tightly closed, then weave it into the surrounding stitches to secure. The single crochet join method is excellent for projects where a smooth transition between rounds is desired.
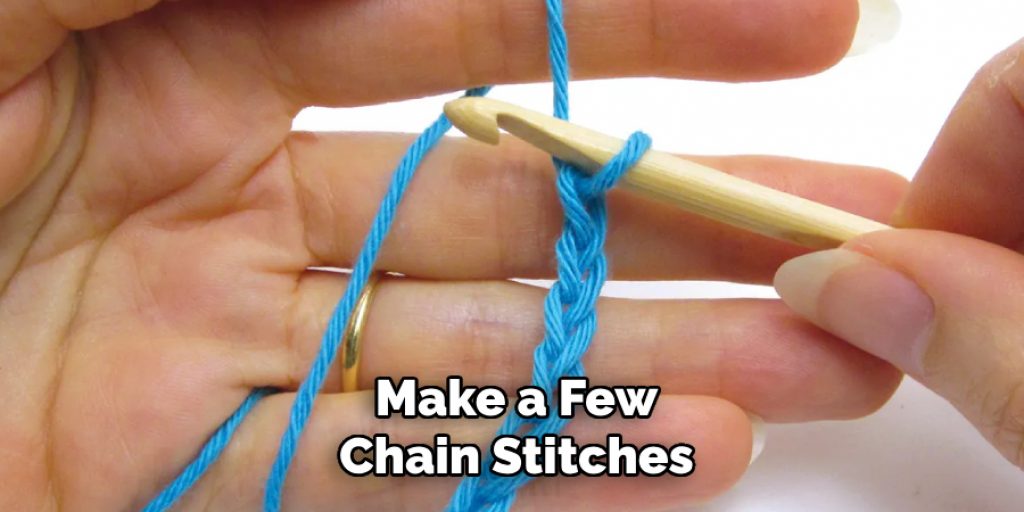
7. Chain Stitch Reinforcement
The chain stitch reinforcement method adds an extra level of security by incorporating chain stitches. After pulling the tail end to close the ring, make a few chain stitches with the tail end and the working yarn. These chain stitches help to lock the ring in place and prevent it from loosening.
Once you have made the chain stitches, weave the tail end into the surrounding stitches to secure it. This method is particularly useful for projects that will experience a lot of handling or stretching, providing additional reinforcement to the magic ring.
8. Secure Knot and Sew In
The secure knot and sew-in method combines a knot with careful sewing to ensure the magic ring stays closed. After pulling the tail end to close the ring, tie a secure knot close to the base of the stitches. Thread the tail onto a yarn needle and sew the tail end through the surrounding stitches, ensuring it is securely anchored.
This combination of knotting and sewing provides a high level of security, preventing the ring from loosening over time. The secure knot and sew-in method is ideal for projects that will be subjected to a lot of wear and tear, such as toys or garments.
9. Reinforced Slip Stitch
The reinforced slip stitch method combines a slip stitch with additional reinforcement to secure the magic ring. After pulling the tail end to close the ring, insert your hook into the first stitch of the round and make a slip stitch with the working yarn. To reinforce the closure, make a second slip stitch in the same stitch.
This double slip stitch provides extra security, ensuring the ring stays tightly closed. Pull the tail end firmly to ensure the ring is tight, then weave it into the surrounding stitches to secure. The reinforced slip stitch method is suitable for projects where a secure and neat finish is desired.
10. Cross-Weaving Tail Method
The cross-weaving tail method involves weaving the tail end in a cross pattern through the base of the stitches for added security. After closing the ring by pulling the tail end, thread the tail onto a yarn needle. Weave the tail end through the base of the stitches in one direction, then reverse direction and weave it back through in a cross pattern.
This method helps to lock the stitches in place, preventing the ring from loosening. Pull the tail end firmly to ensure the ring is tightly closed, then weave the remaining tail into the surrounding stitches for a neat finish. The cross-weaving tail method is particularly useful for projects that require a high level of durability.
Conclusion
Closing a magic ring properly is essential for ensuring the stability and appearance of your crochet projects. Each of these ten methods offers a unique approach to achieving a tight and secure closure, catering to different types of projects and personal preferences. From the traditional pull tight method to more advanced techniques like the invisible join and cross-weaving tail method, these detailed approaches provide a comprehensive guide to closing a magic ring effectively.
By mastering these techniques, you can enhance the quality of your crochet work, ensuring that your projects are both beautiful and durable. Hopefully, this article gave you some helpful tips about how to close a magic ring successfully, so now that you have the proper knowledge on how to get the job done, why not give it a try today?