How to Bind off Last Stitch
Whether you’re a beginner knitter just starting out or an experienced expert looking for tips on how to perfect your skills, we all know that binding off last stitch can be tricky. For those unfamiliar with the technique, it involves taking the unfinished piece of knitting and creating a finished edge.
It is important to keep in mind when binding off last stitches as this could lead to frayed edges if done incorrectly. However, have no fear! In this blog post, we will break down how to bind off last stitch step-by-step so that you can confidently bind off your last stitch like a pro!
The Importance of Properly Binding off the Last Stitch in Crochet
The last stitch in a crochet project is just as important as any other stitch. A proper binding off of the last stitch helps ensure that your finished piece maintains its shape and stays sturdy. Knowing how to bind off the last stitch also gives your project a neat and professional-looking finish.
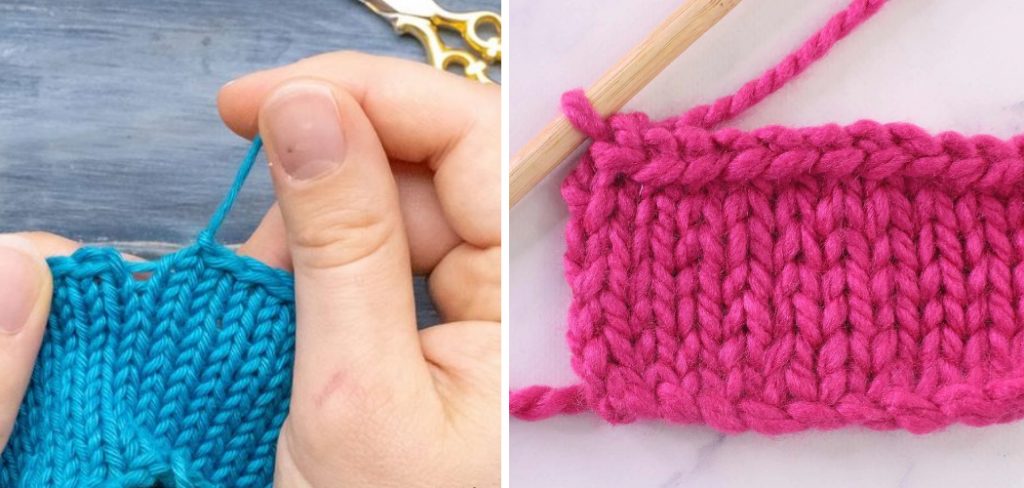
To properly bind off the last stitch, use the same yarn used for the project and thread it onto a yarn needle or blunt tapestry needle. Pull the yarn through the loop on the hook, then draw up gently on both ends of yarn to tighten it securely. This will create a knot at the end of your work, securing all of your stitches in place and preventing them from unraveling over time.
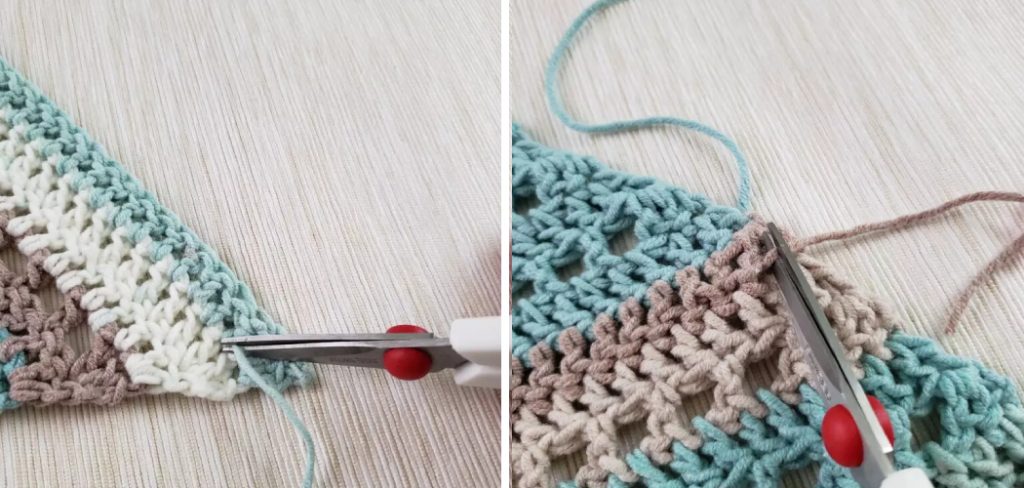
After securing this knot, you can weave in any loose ends. To do this, thread the yarn needle with the same yarn used for your project. Then weave the end of the yarn in and out of a few stitches near where your loop is located so that it’s well-hidden. Cut off any excess yarn close to the work, ensuring that there are no long strands left.
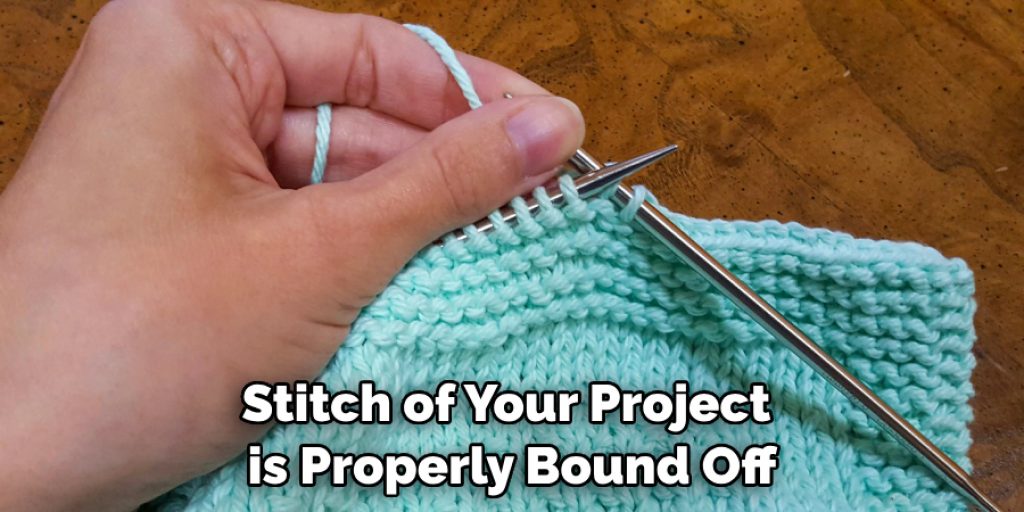
By following these steps, you can ensure that the last stitch of your project is properly bound off and looks neat. This will give your work a professional finish and keep it looking good for years to come. With some practice, binding off the last stitch will become second nature and you’ll be able to do it with ease. So grab some yarn and get started on your next crochet project!
Achieving a Clean and Secure Edge for Your Projects
Once you have knitted the last stitch of your project, it is important to secure the edge so that your work does not unravel. This process is known as binding off, and it gives your project a polished and professional look. There are several methods for binding off the last stitch which can be used depending on the desired look of your work.
The most basic method of binding off is to knit two stitches together, then pass the first stitch over the second. This results in one reduced side stitch each time it is done. This process should be repeated until there is only one stitch remaining on the needle. Then you can pull the yarn through this last stitch to secure it in place and prevent unraveling.
If a more decorative look is desired, try using the cable cast off method. First, knit two stitches together as before, but do not pass the first stitch over the second. Instead, knit an additional stitch and then pass the first stitch over both of these stitches. Repeat this in succession until you have one stitch left on your needle and then pull the yarn through that last stitch to bind it off securely.
The large loop cast-off is another simple yet stylish way to close off projects with a clean edge. The first step is to knit two stitches together and pass the first stitch over the second as usual. Then, take the yarn that was just pulled through the last stitch and flip it around your needle beneath all of the other stitches on the needle. This forms a large loop which can be used to secure your project’s edge.
10 Steps How to Bind off Last Stitch
Step 1: Prepare Your Working Yarn
Before binding off the last stitch, make sure you have enough yarn to complete the process. Leave a tail that is at least six inches long to allow for weaving in the end later. Cut the yarn, leaving a generous amount to work with. However, make sure the tail is not too long; otherwise, it will get in your way. Although it may seem like an excessive amount of yarn, you will need the extra length to complete all the steps.
Step 2: Knit or Crochet the Second-to-Last Stitch
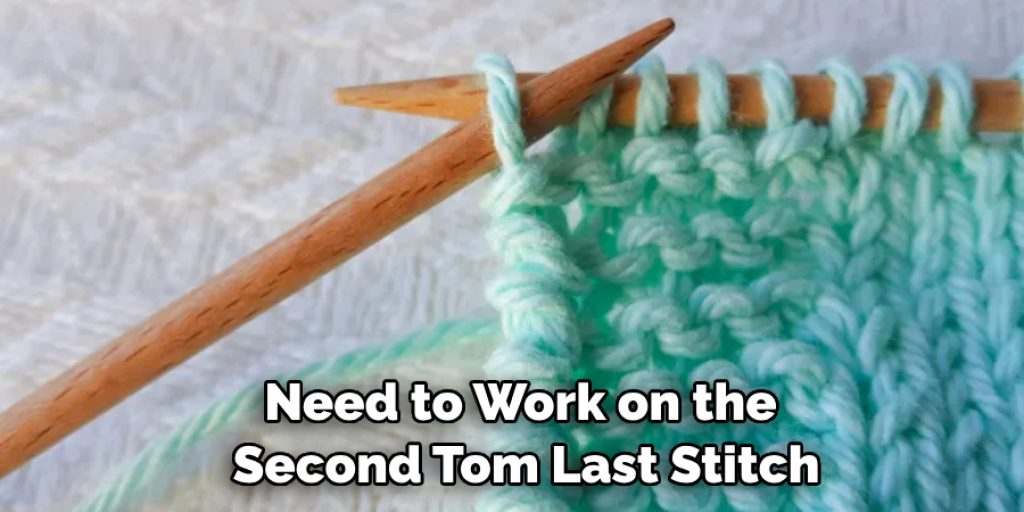
To bind off the last stitch, you need to work on the second-to-last stitch. If you are knitting, insert your right-hand needle into the second-to-last stitch as if to knit. For crocheters, work the stitch before the last one as usual. While keeping the stitch on the left-hand needle, make sure that both loops are still on the right-hand needle.
Step 3: Transfer the Second-to-Last Stitch
For knitters, bring the second-to-last stitch over the last stitch on the right-hand needle, so it sits on top. For crocheters, complete the stitch as usual, but do not pull the loop through the last stitch. If you have a combination of stitches, knit or crochet each stitch as usual up until the second-to-last stitch. Try to keep the tension even throughout.
Step 4: Tighten the Stitch
To secure the second-to-last stitch, gently pull on the working yarn. Ensure that the stitch is snug but not too tight, allowing for a neat and even bind-off edge. Try to match the tension of the stitches on either side for a polished finish. Additionally, if the working yarn is too large or too small in comparison to the stitches it binds off, it can cause your bind-off edge to become wavy. If this happens, adjust the amount of yarn you leave for binding off in Step 2.
Step 5: Knit or Crochet the Last Stitch
Now, knit the last stitch for knitters or crochet the final stitch as usual for crocheters. This step is critical to securing the edge of your knitting or crochet project. Once this stitch is completed, snip off the yarn leaving a 4-inch tail end, then thread the tail end onto a tapestry needle. This yarn can then be used to hide it in the fabric of your project.
Step 6: Transfer the Second-to-Last Stitch over the Last Stitch
For both knitters and crocheters, take the second-to-last stitch and pass it over the last stitch on your working needle or hook. This step is similar to a regular bind-off, but it is done only with the second-to-last stitch. This will ensure that all of your stitches are securely bound off. To do this, slide the second-to-last stitch over the last stitch and off the needle or hook. The last stitch should now be the only stitch left on your needle or hook.
Step 7: Tighten the Last Stitch
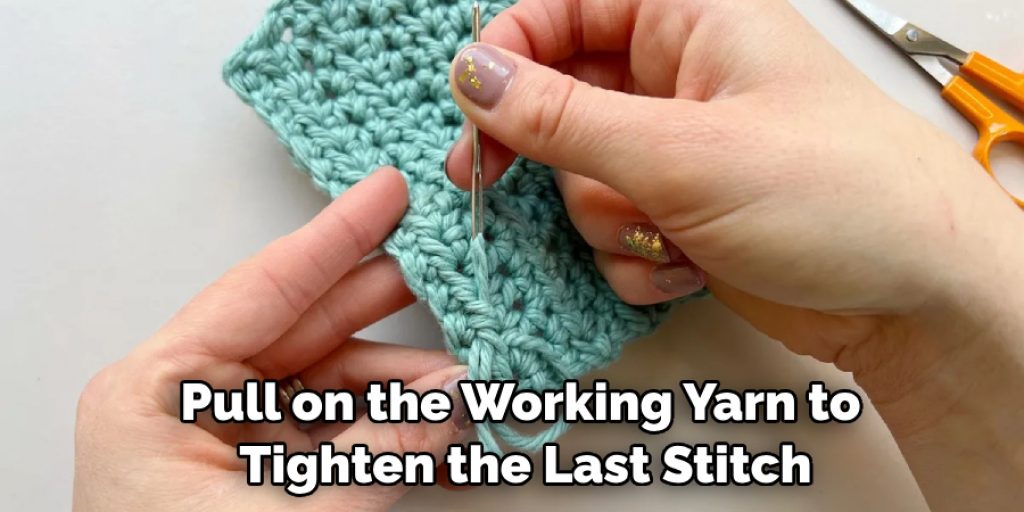
Gently pull on the working yarn to tighten the last stitch. Again, ensure that the stitch is snug but not overly tight. The last stitch should not be too loose, as it will affect the integrity of your finished work. Once you have tightened the last stitch, you can cut the yarn leaving about a 4-5 inch tail. While the tail is still attached, thread it through a tapestry needle and weave it in and out of the last couple stitches, then cut off any remaining yarn. Your last stitch is now complete!
Step 8: Cut the Working Yarn
With the last stitch successfully bound off, cut the working yarn, leaving a tail of around six inches. This tail will be used for weaving in the end later. Pull the tail through the last loop to secure it. Lastly, gently pull on both tails of yarn to close up any remaining gaps in the bound off edge.
Step 9: Secure the Last Stitch
To secure the last stitch, thread the tail end through the last loop and pull it tight. This step ensures that the last stitch doesn’t unravel. You can either cut the yarn or weave it through the edge of your knitting. If you decide to cut the yarn, cut it close to the knot and work any ends in. Now you’ve finished binding off your last stitch!
Step 10: Weave in the End
To complete the bind-off process, thread the tail end onto a yarn needle. Weave the needle through the nearby stitches or the edge of your project, concealing the tail within the fabric. This step ensures a clean and finished look to your work.
Conclusion
To conclude, binding off the last stitch of a knitting project is an important part of ensuring that your piece looks professional and stays in shape. There are generally two steps to binding off – casting off or binding off. Casting off involves slipping a loop off a needle and passing it over an already knitted stitch in order to stabilize it, whereas binding off involves creating a chain of loops at the end of your knitting project.
It’s important to be deliberate and slow while you are binding off the last stitches, as this will ensure an even tension throughout. This process can be made easier with the right amount of practice and patience; with enough determination, anyone can master how to bind off last stitch like a pro!
Nancy Behan
Nancy is an embroidery artist, fashion blogger and a full time editor at DIY quickly. Nancy edits the fashion section on DIY quickly, focusing on the embroidery and cross stitch articles, alongside with fabric and other costume design elements. She graduated from the University of Michigan with a Bachelor of Arts in Art History. She loves to work on her own projects, read books and watch romantic movies in her spare time.