
How to Connect Wireless Microphone Receiver to Mixer
If you’re looking to start live music setup or expand on an existing one, you’ll need to know how to connect a wireless microphone receiver to a mixer. This can seem daunting at first, but with the correct information, it’s quite simple.
In this article, we’ll walk you through how to connect wireless microphone receiver to mixer. So whether you’re a beginner or an experienced audio engineer, you’ll be able to get your system up and running in no time. Let’s get started!
Wireless devices are a great way to add mobility and flexibility to your audio setup. For example, you can quickly move around the stage or venue with a wireless microphone receiver while still having a powerful connection to your mixer. This is a huge advantage for live performances, as it allows you to interact with your audience more freely.
What is a Wireless Microphone Receiver
A wireless microphone receiver is a device that captures the audio signal from a wireless microphone transmitter and outputs it as an electrical signal. This device is commonly used in live sound reinforcement applications, such as concerts, speeches, and other events where the audio must be transmitted wirelessly.
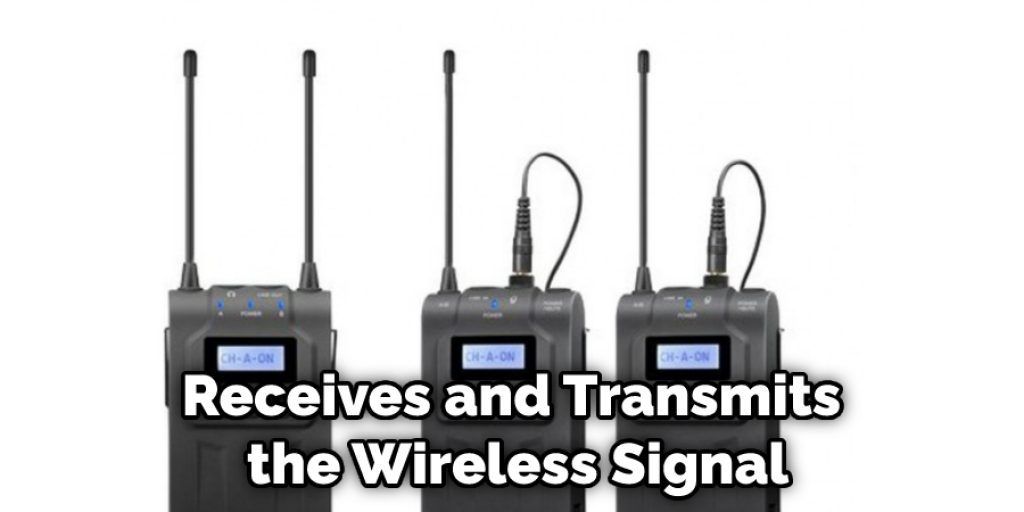
A wireless microphone system consists of three main components: the transmitter, the receiver, and the antenna.
Transmitter
The transmitter is the device that sends the audio signal wirelessly to the receiver. It typically consists of a microphone cartridge, a battery, and a transmitter module. The transmitter module converts the audio signal from the microphone into an electrical signal that can be transmitted wirelessly.
Receiver
The receiver is the device that receives the wireless signal from the transmitter and outputs it as an audio signal. It typically consists of a power supply, a receiver module, and an antenna. The receiver module converts the electrical signal from the antenna into an audio signal that the audience can hear.
Antenna
The antenna is the component of the wireless system that receives and transmits the wireless signal. It is typically a metal rod or whip antenna mounted on the receiver or transmitter.
Choosing and Using Batteries in Wireless Microphone Systems
When it comes to wireless microphone systems, batteries are one of the most important components. Without batteries, the system will not work. This article will discuss the different types of batteries used in wireless microphone systems and how to choose the correct battery for your needs.
The two primary batteries used in wireless microphones are alkaline and nickel-cadmium (NiCd). Alkaline batteries are more common than NiCd batteries and are less expensive.
They also have a longer life span than NiCd batteries. However, NiCd batteries have a higher power capacity than alkaline batteries and can handle the more current draw. This makes them ideal for use in high-powered wireless microphone systems.
When choosing a battery for your wireless microphone system, you need to consider the type of system you are using and the power requirements of the transmitter and receiver. Any standard alkaline battery-powered system will work if you are using an alkaline battery-powered system.
However, if you are using a NiCd battery-powered system, use a NiCd battery. Please do not use an alkaline battery in a NiCd system, as it will not provide enough power and could damage the equipment.
It is also essential to choose the right size battery for your system. Most wireless microphone transmitters and receivers use either AA or AAA batteries. Make sure to check the specifications of your equipment to see which type of battery it uses.
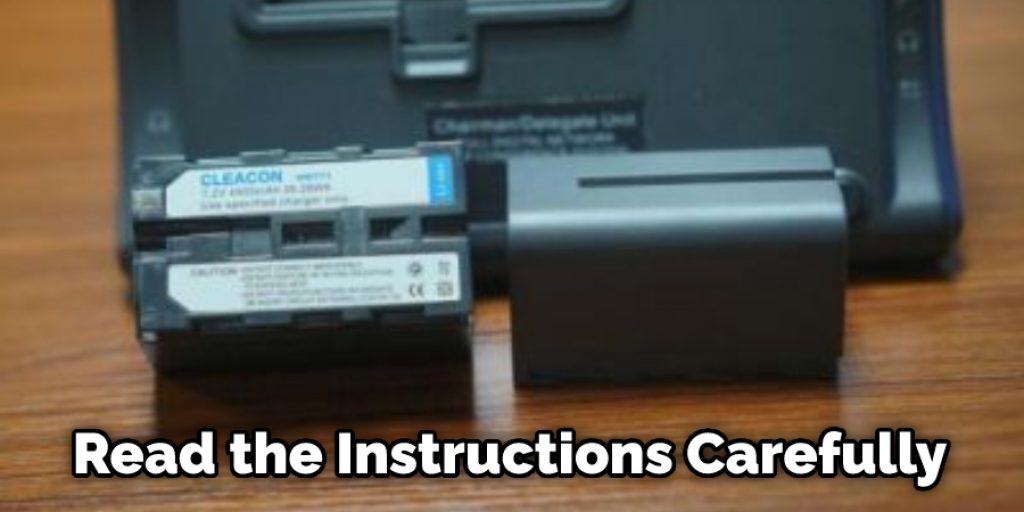
When using a wireless microphone system battery, always follow the manufacturer’s instructions for installation and use. Improper use of batteries can damage the equipment and cause a fire hazard. So be sure to read the instructions carefully before using your battery-powered wireless microphone system.
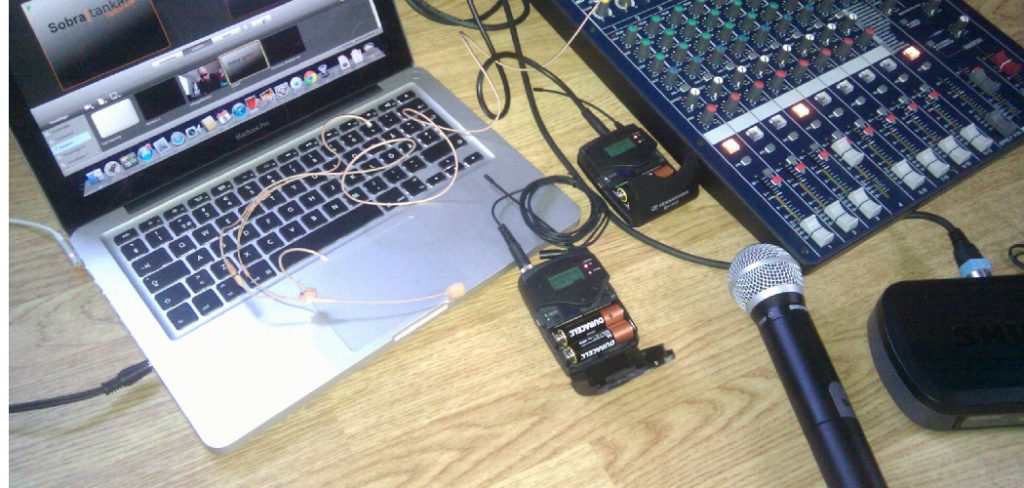
Required Tools and Materials
- Wireless microphone receiver
- Mixer
- Speaker cables
- XLR cables
- Mic clip
- Windscreen
A Step by Step Guide on How to Connect Wireless Microphone Receiver to Mixer
Step 1: Determine the Type of Input Connectors on the Mixer.
The mixer likely has either XLR or ¼” TRS inputs. Likewise, the wireless microphone receiver will have one of these same connectors.
XLR cables have three pins and are commonly used in professional audio applications. ¼” TRS cables have three contacts but are typically used in consumer electronics. For example, if the wireless microphone receiver has an XLR connector, you need to use an XLR cable to connect it to the mixer.
Likewise, if the wireless microphone receiver has a ¼” TRS connector, you will need to use a ¼” TRS cable to connect it to the mixer.
If you are not sure which type of input your mixer has, consult the owner’s manual or look for the connector on the back of the mixer.
Step 2: Connect the Wireless Microphone Receiver to the Mixer.
Once you have determined the type of input connectors on the mixer, connect the wireless microphone receiver to the mixer using the appropriate cable.
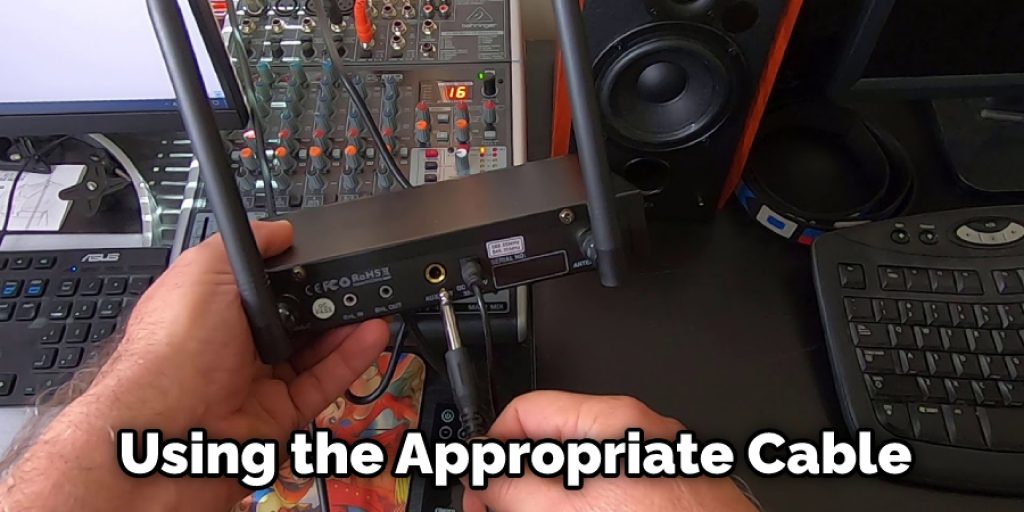
If the wireless microphone receiver has an XLR connector, connect it to an XLR input on the mixer using an XLR cable.
If the wireless microphone receiver has a ¼” TRS connector, connect it to a ¼” TRS input on the mixer using a ¼” TRS cable.
Step 3: Connect the Speakers to the Mixer.
Next, you’ll need to connect the speakers to the mixer. This will allow the audio from the microphones to be heard through the speakers. There are usually three sets of speaker outputs on a mixer: left, right, and center. You’ll need to use the left and right outputs for most applications.
To do this, find the corresponding speaker outputs on the back of the mixer and plug in the cables. Ensure that the wires are correctly connected and that each connector is fully seated in its port.
If you’re using a subwoofer, you’ll also need to connect it to the mixer. The subwoofer output is typically located near the speaker outputs on the back of the mixer. Just like with the speakers, make sure that the connector is fully seated in its port and that the cable is connected correctly.
Step 4: Turn on the Mixer and the Wireless Receiver.
Now it’s time to turn on the mixer and the wireless receiver. To do this, locate the power switches on each device and flip them to the on position. The power switches are usually located on the back of the devices.
Once both devices are turned on, you should see some lights illuminate on the front of the mixer. These lights will let you know that the device is powered on and functioning correctly. If you don’t see any lights, make sure that both devices are plugged in correctly and try again.
Step 5: Adjust the Levels on the Mixer.
The last step is to adjust the levels on the mixer. This will ensure that the microphone audio is appropriately balanced with the rest of the mix.
To do this, locate the volume knobs on the front of the mixer and turn them until the level indicator bars are in the middle of the meter. You may need to adjust the levels for each input depending on how loud or soft they are.
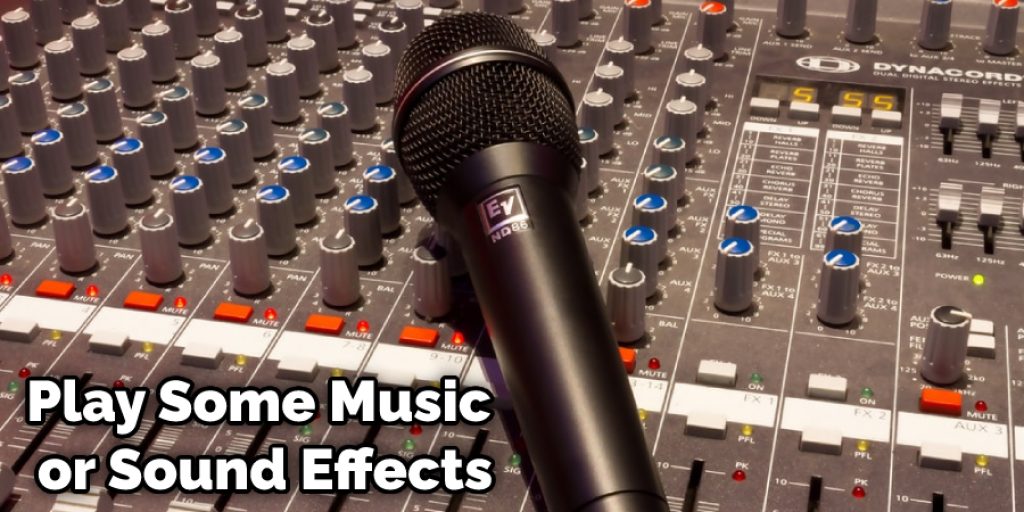
Once you have adjusted the levels, play some music or sound effects through the mixer to make sure everything sounds good. If you hear any distortion or feedback, lower the levels until it disappears. These steps will help in how to connect wireless microphone receiver to mixer.
Connect a Wireless Microphone Receiver to an Amplifier or Mixer
Wireless microphones are a great way to capture sound without worrying about cables. However, when it comes time to connect the receiver to an amplifier or mixer, things can get confusing. So here is a guide on how to make the connection.
The first step is to determine what type of connector your wireless microphone receiver has. The most common type is a 1/4″ jack, compatible with most amplifiers and mixers. If your receiver has a different kind of connector, you will need to purchase the appropriate adapter.
Next, locate the input jack on your amplifier or mixer. This is where you will plug in the receiver. If there are multiple input jacks, be sure to select the designated one for microphones.
Once the receiver is plugged in, you will need to turn on the amplifier or mixer and the wireless microphone. The microphone should have a power switch located on the body. Set the volume level on both the amplifier or mixer and the wireless microphone to desired levels. You can then start using your wireless microphone system!
If you are having trouble connecting your wireless microphone receiver to an amplifier or mixer, consult your instruction manual or contact the manufacturer for assistance.
What Are the Benefits of a Wireless Microphone
There are many benefits to using a wireless microphone. Perhaps the most obvious benefit is that it allows you to move around freely while performing or speaking. This can be especially helpful when you need to walk around the stage or room while presenting.
Another advantage of using a wireless microphone is that it reduces the amount of noise and feedback in the audio signal. In addition, there is no cable connecting the microphone to the receiver, so there is less opportunity for interference.
Lastly, a wireless microphone can make setup and teardown easier and faster. You don’t have to worry about running cables across the stage or room, which can be difficult and time-consuming.
Conclusion
By following the steps in this article on how to connect wireless microphone receiver to mixer, you should be able to connect a wireless microphone receiver to a mixer without any problems. If you are still experiencing difficulties after completing these steps, ensure that all of your equipment is turned on and properly connected. Contact the manufacturer or your local audio specialist for assistance.
You Can Check It Out to: Connect Dj Mixer to Amplifier


