
How to Crochet a Carrot
Crocheting a carrot is not only a fun and creative project, but it also allows you to explore the versatility of yarn and the art of amigurumi. This delightful piece can brighten up your home decor, serve as a playful toy for children, or even be a unique addition to a seasonal display.
In this guide, we will walk you through how to crochet a carrot, from selecting the right materials to mastering the stitches necessary to bring your carrot to life. Whether you are a seasoned crocheter or a beginner, this project is sure to provide a rewarding and enjoyable crafting experience.
Why Crochet a Carrot?
Crocheting a carrot offers a plethora of benefits that go beyond mere aesthetics. Firstly, it fosters creativity and enhances your crafting skills, as you’ll have the opportunity to experiment with different yarn colours and textures. Additionally, this project is relatively quick and straightforward, making it an ideal choice for beginners who wish to build their confidence in crocheting.
The finished carrot can serve various purposes—from an eye-catching decoration in a kitchen to a whimsical toy for kids or even a unique gift for gardening enthusiasts. Each crocheted carrot carries a personal touch, allowing you to express your own style and artistic flair, making it a joyful project that can be cherished for years to come.
Materials and Tools
Before you begin crocheting your carrot, gather the following materials and tools to ensure a smooth crafting experience:
- Yarn: Choose a worsted weight yarn in vibrant orange for the carrot body and green for the leaves. You’ll need approximately 100 yards of orange yarn and 30 yards of green yarn.
- Crochet Hook: A size G (4.0 mm) crochet hook is ideal for this project, but you may choose a different size based on your tension and yarn choice.
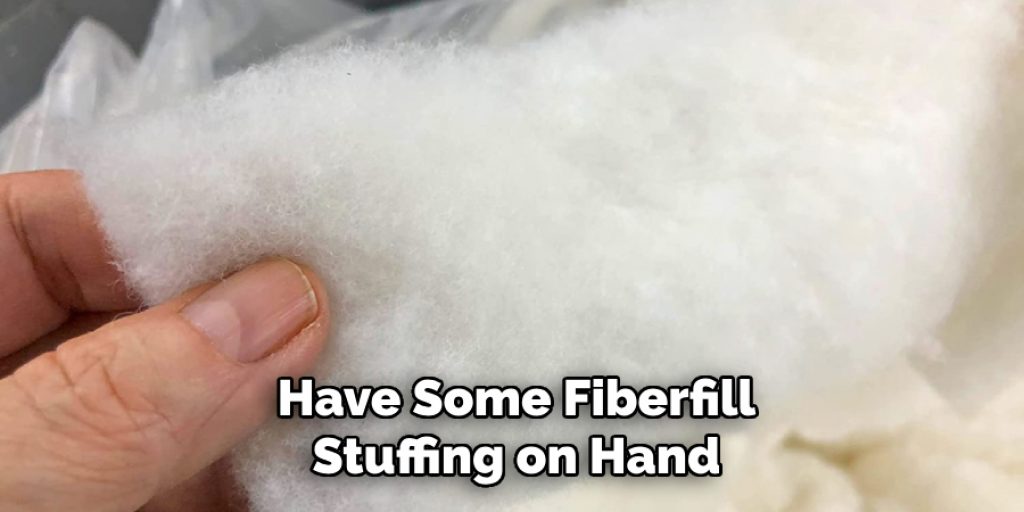
- Fiberfill Stuffing: For a plush and full carrot, have some fiberfill stuffing on hand to give it shape.
- Stitch Markers: These will help keep track of your rounds and stitches, ensuring even and precise work.
- Yarn Needle: A tapestry needle will be needed for weaving in the ends and finishing your project.
- Scissors: A sharp pair of scissors will help you trim your yarn ends neatly.
Once you have all these materials ready, you’ll be set to bring your crocheted carrot to life!
10 Methods How to Crochet a Carrot
1.Basic Carrot Shape:
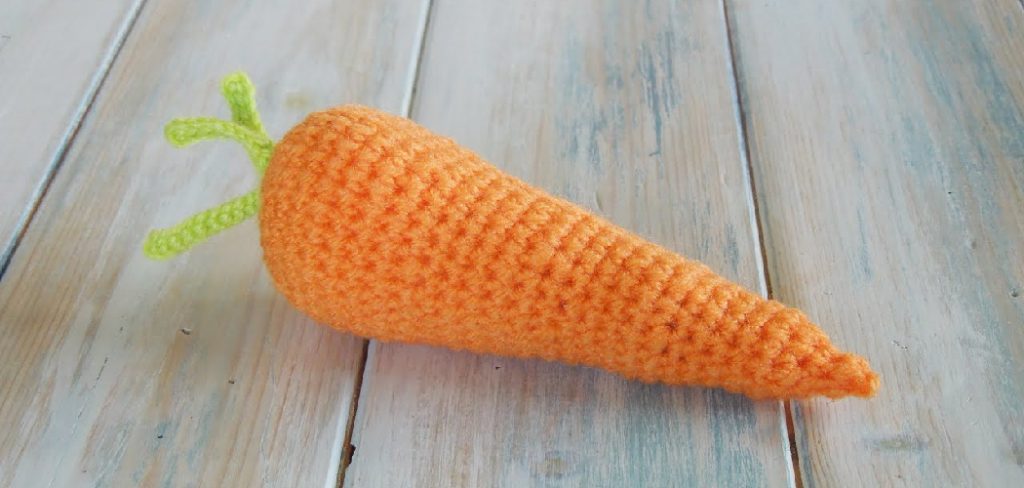
To start with a basic carrot shape, use an orange yarn and a suitable crochet hook. Begin by making a magic ring and crocheting single crochet stitches (sc) into the ring. Pull the ring tight to form a small, tight circle. Increase the number of stitches in each round to gradually form a cone shape, mimicking the tapered end of a carrot. Continue crocheting in rounds until you reach the desired length and shape.
To finish, decrease the number of stitches to close the tip of the carrot. This basic method results in a simple, classic carrot that can be used as a decorative item or a toy.
2.Textured Carrot with Post Stitches:
For a textured carrot, incorporate post stitches into your design. Begin with a magic ring and work single crochet stitches as usual. Once you have the initial rounds completed, introduce front post double crochet (FPDC) and back post double crochet (BPDC) stitches to create a ribbed texture on the carrot. Alternate between FPDC and BPDC in subsequent rounds to achieve a bumpy, realistic look. This method adds depth and interest to the carrot, giving it a more lifelike appearance that mimics the texture of a real carrot.
3.Carrot with Leafy Top:
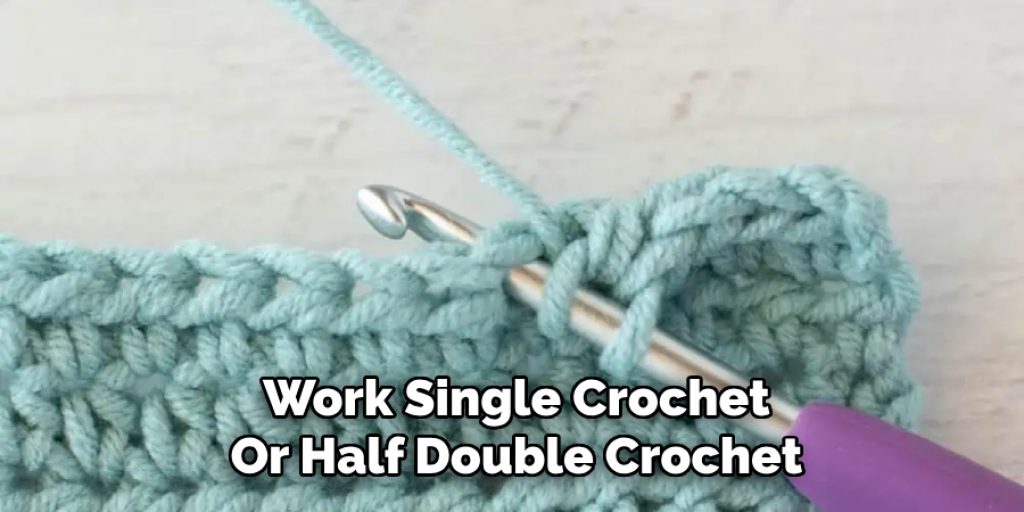
Adding a leafy top to your carrot enhances its visual appeal and makes it look more realistic. Start by crocheting the basic carrot shape as described above. Once the carrot is complete, switch to green yarn and create the leafy top. To do this, crochet several chains and then work single crochet or half double crochet stitches into the chains to form leaves. Attach these leaves to the top of the carrot by sewing or slip-stitching them in place. The result is a charming, fully realized carrot with a vibrant, leafy top that adds a fresh touch to your crochet project.
4.Striped Carrot:
A striped carrot adds a playful twist to the classic design. Begin by crocheting the base carrot shape using an orange yarn. After completing a few rounds, switch to a contrasting color like green or white and crochet several rounds to create stripes. Alternate between the colors in consistent intervals to achieve a striped pattern. This method introduces color variety into your carrot, making it visually appealing and adding a fun element to your crochet project.
5.Carrot with Textured Leaves:
For a more intricate carrot, focus on creating detailed, textured leaves. Begin with the basic carrot shape and complete it as usual. For the leaves, use green yarn and create multiple layers of leaves using various crochet stitches such as treble crochet (TRC) or double crochet (DC) to add texture and volume. Experiment with different leaf shapes and sizes to create a more realistic and detailed foliage. This method results in a carrot with a richly detailed top, showcasing your skill and adding sophistication to your finished piece.
6.Miniature Carrot:
Crocheting a miniature carrot is perfect for adding small, adorable touches to your projects. Use a fine yarn and a small crochet hook to create a tiny carrot. Start with a magic ring and work single crochet stitches in the round, decreasing as you shape the carrot. The smaller scale allows for greater precision in shaping and detail. Once finished, you can use the miniature carrot as a keychain charm, a decorative element in a larger project, or as a part of a collection of tiny crocheted vegetables.
7.Carrot Keychain:
To turn your carrot into a functional keychain, follow the basic carrot pattern and ensure it is small enough to fit on a keyring. Complete the carrot shape and leave a small loop at the top where you can attach a keychain ring. Use a slip stitch or sewing technique to securely attach the ring. This method not only creates a cute and functional accessory but also allows you to carry a piece of crochet art with you wherever you go.

8.Carrot with Ruffled Leaves:
Adding ruffled leaves to your carrot can give it a whimsical and textured appearance. After completing the basic carrot shape, switch to green yarn for the leaves. Crochet several chains and then work in various stitches to create a ruffled effect, such as puff stitches or shell stitches. Attach these ruffled leaves to the top of the carrot, ensuring they are well-secured. This method creates a playful, decorative carrot with a distinctive, eye-catching top.
9.Stuffed Carrot Toy:
Creating a stuffed carrot toy involves adding a bit of extra padding to make the carrot more plush and cuddly. Follow the basic carrot pattern and stuff it with fiberfill or cotton batting as you crochet. Ensure that the stuffing is evenly distributed to maintain the carrot’s shape. Once the carrot is fully stuffed and shaped, close the opening with a few final stitches. This method results in a soft, huggable carrot that can serve as a toy or a decorative item for children’s rooms.
10.Carrot with Embellishments:
To add extra flair to your carrot, incorporate embellishments such as buttons, beads, or embroidered details. Start by crocheting the basic carrot shape and completing the leafy top. Once finished, sew on small buttons as “eyes,” use beads to add texture, or embroider additional details like veins on the leaves. This method allows for creative personalization and adds a unique touch to each carrot you make, transforming a simple crochet piece into a more intricate and personalized creation.
Common Mistakes to Avoid
When crocheting carrots, there are a few common mistakes that can diminish the overall quality of your project.
- Inconsistent Tension: Maintaining even tension in your stitches is crucial for a uniform appearance. Often, beginners may pull yarn too tightly or leave it too loose, leading to uneven shapes. Practice finding a comfortable tension to ensure your stitches are consistent throughout.
- Skipping Stitches: It’s easy to lose track of your stitches, especially when switching between techniques or yarns. Always count your stitches at the end of each round, particularly after making significant changes, to avoid inadvertently skipping stitches that can alter the design.
- Neglecting Measurement: Not measuring the size at various stages can result in a carrot that is too large or too small for your intended purpose. Keep a measuring tape handy, and periodically check your progress against the desired dimensions.
- Improper Stuffing: For stuffed carrot toys, using too much or too little stuffing can lead to a misshapen finished product. Aim for a balance—enough stuffing to give it structure without overstuffing that makes it hard or bulky.

Conclusion
Crocheting a carrot offers a range of creative possibilities, from simple and classic designs to more elaborate and textured variations. Whether you’re crafting a basic carrot, adding striped patterns, creating a miniature version, or incorporating textured leaves, each method provides unique opportunities to showcase your crochet skills. Thanks for reading, and we hope this has given you some inspiration on how to crochet a carrot!
Elizabeth Davis
Elizabeth is a creative writer and digital editor based in the United States. She has a passion for the arts and crafts, which she developed from a young age. Elizabeth has always loved experimenting with new mediums and sharing her work with others. When she started blogging, she knew that DIYquickly would be the perfect platform to share her tutorials and tips. She's been writing for the blog from the beginning, and her readers love her helpful advice and easy-to-follow instructions. When she's not writing or editing, Elizabeth enjoys spending time with her family and friends.


