
How to Crochet a Circle Coaster
Crocheting a circle coaster is a delightful and practical project that is perfect for both beginners and experienced crafters alike. Not only do these coasters add a touch of personal flair to your home decor, but they also serve a functional purpose by protecting surfaces from moisture and heat.
This guide on how to crochet a circle coaster will walk you through the simple steps required to create your very own circle coaster using basic crochet techniques. Whether you’re looking to make a single coaster or a matching set for your dining table, this project allows for customization in color and design, making it an enjoyable way to express your creativity.
Why Crochet?
Before diving into the steps, let’s take a moment to appreciate why crocheting is such a popular and beloved craft. Crocheting has been around for centuries and has evolved from humble beginnings to become a modern and versatile form of art. It allows for endless possibilities in terms of design, texture, and functionality. Plus, it’s a great way to relax and unwind while creating something beautiful with your own hands.
It’s also a relatively affordable hobby, with basic supplies like yarn and crochet hooks being widely available at affordable prices. Crocheting is also a great way to destress and can even have therapeutic benefits, making it an ideal activity for those looking to take a break from the hustle and bustle of daily life.
Materials Needed
To get started on your crochet circle coaster project, you will need some basic materials:
Yarn in Desired Colour(S):
Choose a yarn in the colour(s) of your choice. You can opt for a single colour or a combination of colours, depending on your preference.
Crochet Hook:
Select a crochet hook size that is appropriate for the weight of your chosen yarn. The packaging of the yarn should indicate which hook size is recommended.
Scissors:
A pair of sharp scissors will come in handy when cutting off excess yarn and weaving in loose ends.

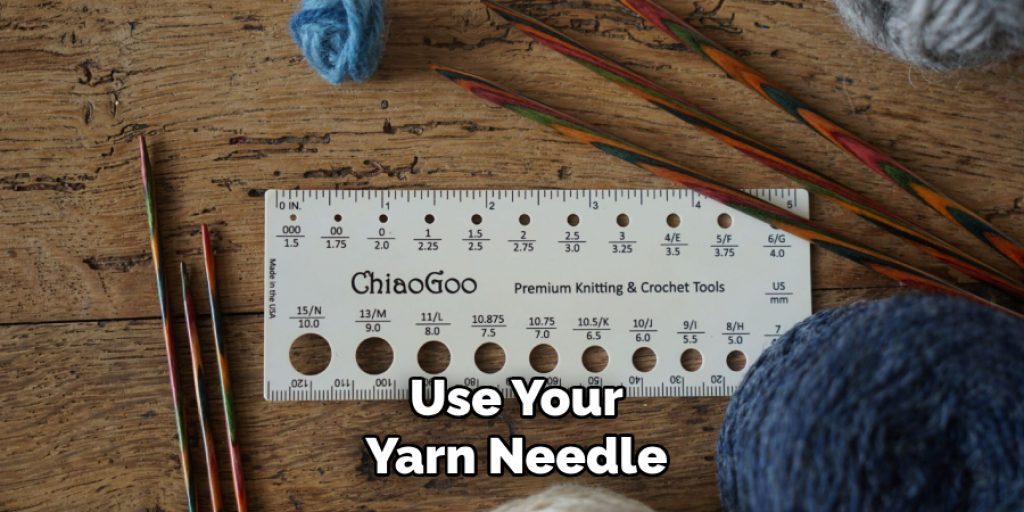
Yarn Needle:
A yarn needle with a large eye will be used to weave in any loose ends and finish off your project.
8 Step-by-step Guidelines on How to Crochet a Circle Coaster
Step 1: Start with a Slip Knot
To begin your circle coaster, create a slip knot with your yarn. This is the first stitch you’ll make and serves as the foundation for your project. To make a slip knot, take a length of yarn and form a loop, leaving a tail on one side. Then, pull the other end of the yarn through the loop to create a knot that can be easily adjusted.
Once you have your slip knot, place it onto your crochet hook and tighten it gently, making sure it’s secure but not too tight, allowing for easy movement as you crochet. This slip knot will be counted as your first stitch.
Step 2: Make a Chain Stitch
Now that you have your slip knot on the crochet hook, it’s time to make your first chain stitch. Yarn over the hook by wrapping the yarn from back to front around the hook. Then, pull the hooked yarn through the slip knot on the hook.
Congratulations, you’ve created your first chain stitch! Continue making chain stitches until you have a total of six chain stitches. This will form the initial ring for your circle coaster. Remember to keep your tension even to ensure a uniform look in your finished project.
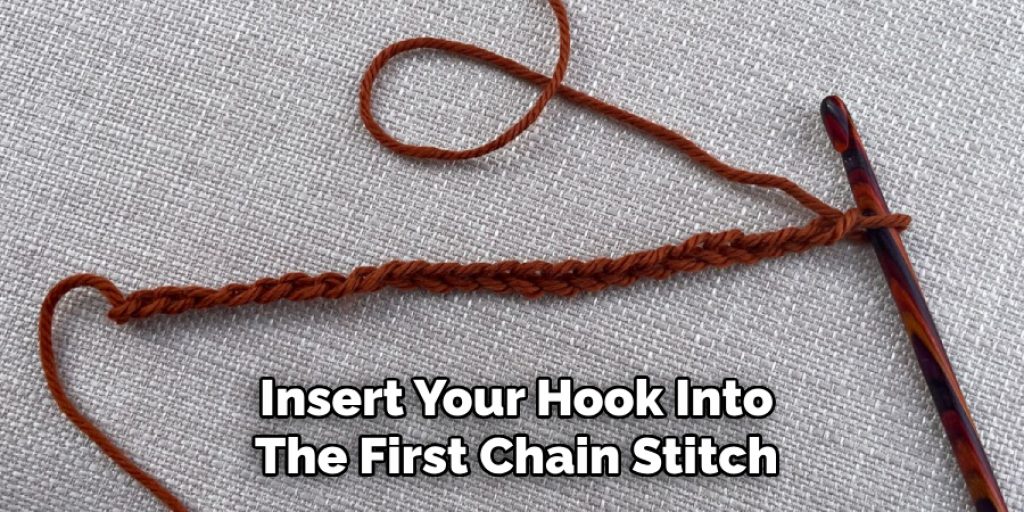
Step 3: Join the Last Chain Stitch
Now, bring the first and last chain stitches together to form a circle. Insert your hook into the first chain stitch, yarn over, and pull through both loops on your hook to join the ends. This completes the ring for your coaster.
It’s important to note that this first round of stitches will be a bit looser compared to the rest of your project, but don’t worry; it will even go out as you continue.
Step 4: Make Single Crochet Stitches
For the next round, you will be making single crochet stitches. To begin, chain one stitch and insert your hook into the center of the ring. Then, yarn over and pull up a loop. Yarn over again and pull through both loops on your hook to complete your first single crochet stitch.
Continue making single crochet stitches all around the ring until you reach the beginning of the round. Join with a slip stitch in the top chain of the previous round to complete the second round.
Step 5: Increase Stitches
For the third round, you will need to increase your stitches. To do this, make two single crochet stitches into each stitch from the previous round. This will create a total of 12 stitches for this round.
To start, chain one stitch and insert your hook into the first stitch from the previous round. Make one single crochet stitch using that same stitch. In the next stitch, make two single crochet stitches. Repeat this pattern all around the ring until you reach the beginning of the round, and slip stitch to join.
Step 6: Continue Increasing Stitches
In each subsequent round, you will continue increasing the number of stitches by making two single crochet stitches in every other stitch from the previous round. This will create a steady increase in the diameter of your coaster and form a flat circle shape.
Remember to join each round with a slip stitch and chain one stitch at the beginning of each round before making your first single crochet stitch. Continue this pattern until you reach your desired size for the coaster.
Step 7: Make Straight Stitches
Once you have reached your desired size, it’s time to make straight stitches to maintain the same number of stitches in each round. To do this, simply make one single crochet stitch in each stitch from the previous round without any increases or decreases.
Continue in this manner until your coaster reaches the desired height. For a thicker coaster, you can add more rounds of straight stitches before moving on to the final step.
Step 8: Finish Off and Weave in the Ends
To complete your circle coaster, simply cut off the yarn, leaving a tail of a few inches. Use your yarn needle to weave in the loose end by threading it through the loops of your stitches until it is securely fastened.
Following these guidelines on how to crochet a circle coaster, you can make a variety of circle coasters in different sizes and colors to match your home decor or gift to loved ones. With practice, you can even experiment with different crochet stitches and patterns to create unique designs for your coasters. Have fun and happy crocheting!
Frequently Asked Questions
Q: Can I Use a Different Type of Yarn for My Circle Coaster Project?
A: Yes, you can use any type of yarn as long as the crochet hook size is appropriate and produces the desired result. Thicker yarn will create a larger and thicker coaster, while thinner yarn will produce a smaller and thinner one. It’s always best to experiment and see what works best for you.
Q: How Do I Change Colors in My Circle Coaster?
A: To change colors, simply cut off the current color of yarn and attach a new color by tying a knot onto your last stitch. Then, continue crocheting as usual with the new color. Remember to weave in all loose ends at the end of your project.
Q: Can I Make My Crochet Circle Coaster With Different Shaped Stitches?
A: Yes, you can use different stitches such as half double crochet or double crochet to create unique designs for your circle coaster. Just remember to adjust the number of stitches accordingly if using a different stitch to maintain the shape and size of your coaster.
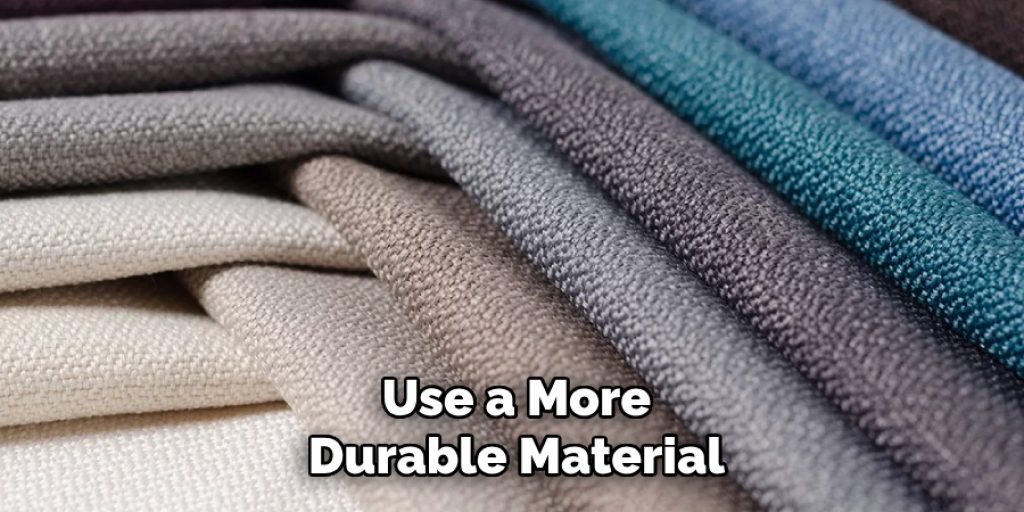
Q: Can I Use My Crochet Circle Coaster as a Trivet or Hot Pad?
A: While crocheted items can be sturdy, it’s always best to err on the side of caution when using them as trivets or hot pads. The thickness of the yarn and number of stitches used will also play a factor in its heat resistance capabilities. It’s recommended to use a more durable material specifically designed for hot surfaces for safety purposes. However, you can still use your crochet circle coaster to display small items such as candles or plants on tabletops.
Conclusion
Creating your own crochet circle coasters is a rewarding and enjoyable project that allows you to express your creativity while also producing functional home decor. By following the structured steps on how to crochet a circle coaster outlined above, even beginners can develop their crochet skills and produce beautiful coasters tailored to their tastes.
Remember, the key to mastering crochet lies in practice and patience, so don’t be discouraged by any initial challenges. As you continue to crochet, you’ll find opportunities to experiment with different patterns, yarns, and techniques, expanding your repertoire and enhancing your enjoyment of this craft. Happy crocheting!
Elizabeth Davis
Elizabeth is a creative writer and digital editor based in the United States. She has a passion for the arts and crafts, which she developed from a young age. Elizabeth has always loved experimenting with new mediums and sharing her work with others. When she started blogging, she knew that DIYquickly would be the perfect platform to share her tutorials and tips. She's been writing for the blog from the beginning, and her readers love her helpful advice and easy-to-follow instructions. When she's not writing or editing, Elizabeth enjoys spending time with her family and friends.


