How to Crochet a Grid
Crocheting a grid is a versatile and engaging project that opens the door to a variety of creative possibilities. Whether you’re a beginner looking to expand your crochet skills or an experienced crafter aiming to create intricate designs, understanding the basics of grid crochet can enhance your repertoire.
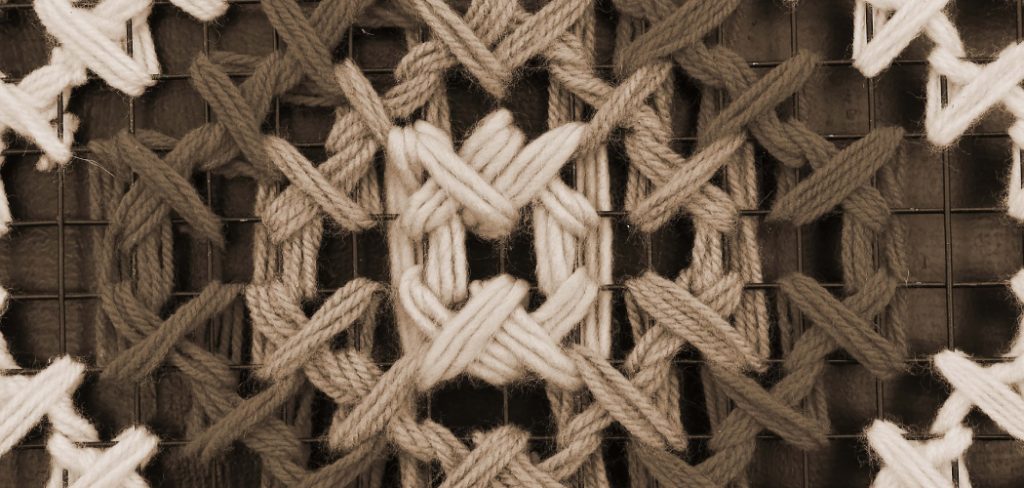
This technique allows you to form a structured pattern that can be used in an array of items, from blankets and afghans to bags and home décor. In this guide, we will explore the steps and tips on how to crochet a grid, ensuring you achieve beautiful and precise results in your crafting journey.
Understanding Crochet Grids
Crochet grids are created by forming a series of intersecting rows and columns, resulting in a structured framework that can be customized with various stitches and patterns. The basic foundation typically starts with a chain stitch, followed by a series of double crochet or single crochet stitches to establish the grid’s height and width. By manipulating the number of chains and the type of stitches used, crafters can create grids of different sizes and densities, which allows for endless creative exploration.
Understanding how to read and follow grid patterns is essential, as it enables crocheters to seamlessly blend different colours, textures, and designs, making each project uniquely their own. As you become familiar with the mechanics of crochet grids, you’ll find that they provide not only a solid structure for your work but also a canvas for your artistic expression.
Types of Crochet Grids
There are several types of crochet grids that crafters can explore, each offering unique characteristics and applications. The most common types include:
- Basic Grid: This is the foundational grid that consists of simple stitch patterns, typically using only single and double crochet. It is ideal for beginners as it provides a solid base for learning and experimentation.
- Lattice Grid: A more intricate design, the lattice grid incorporates open spaces created by skipping stitches, resulting in a delicate openwork pattern. This type is perfect for lightweight shawls or decorative elements in larger projects.
- Colorwork Grid: This grid type features multiple colours used within the same pattern, encouraging crafters to experiment with colour changes. Techniques like tapestry crochet or intarsia can be employed to create stunning visual effects.
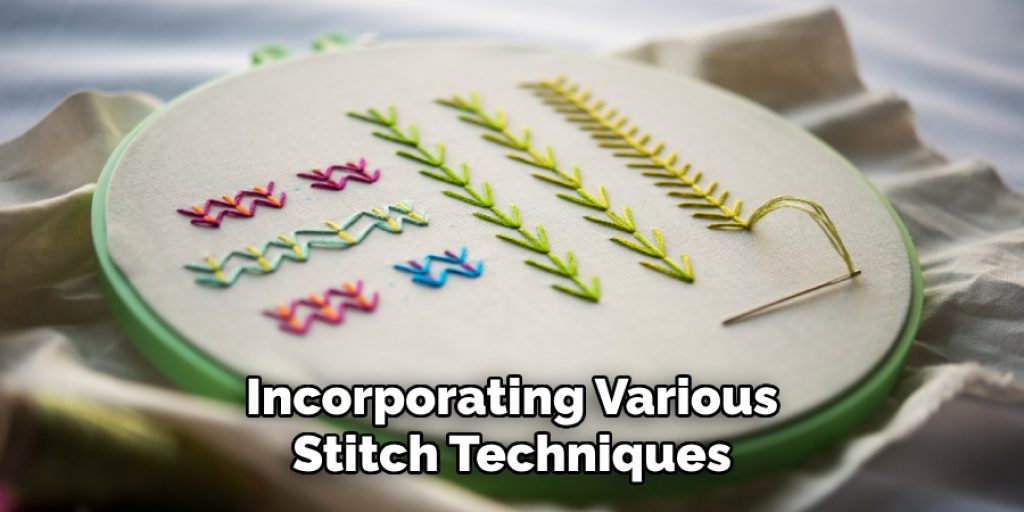
- Textured Grid: By incorporating various stitch techniques, such as bobbles or puff stitches, the textured grid adds depth and dimension to projects. This style is often used in blankets to create cozy and visually interesting pieces.
- Custom Grids: Advanced crocheters may design their own unique grids by combining different stitch patterns and techniques. This allows for endless creativity, resulting in one-of-a-kind pieces that reflect individual style.
10 Methods How to Crochet a Grid
1. Basic Mesh Grid
The basic mesh grid is a versatile and straightforward pattern ideal for beginners. To start, chain a multiple of four plus one for the turning chain. For the first row, double crochet into the fifth chain from the hook (this counts as the first double crochet and a chain one). Chain one, skip one chain, and double crochet into the next chain. Repeat this pattern across the row. For subsequent rows, chain four (counts as one double crochet and chain one), turn, double crochet into the next double crochet, chain one, and repeat across.
2. Solid Mesh Grid
The solid mesh grid offers more stability than the basic mesh while still providing a breathable structure. Begin by chaining a multiple of three plus one for the turning chain. Double crochet into the fourth chain from the hook. Chain one, skip one chain, and double crochet into the next chain. Repeat this pattern across the row. For the next row, chain three (counts as one double crochet), turn, and double crochet into the first chain space. Chain one, double crochet into the next chain space, and repeat across.
3. Trellis Grid
The trellis grid combines larger open spaces with solid stitches, creating a beautiful lattice effect. Start by chaining a multiple of six plus one for the turning chain. Single crochet into the second chain from the hook. Chain five, skip four chains, and single crochet into the next chain. Repeat this pattern across the row. For the next row, chain one, turn, and single crochet into the first single crochet. Chain five, single crochet into the next single crochet, and repeat across.
4. V-Stitch Grid
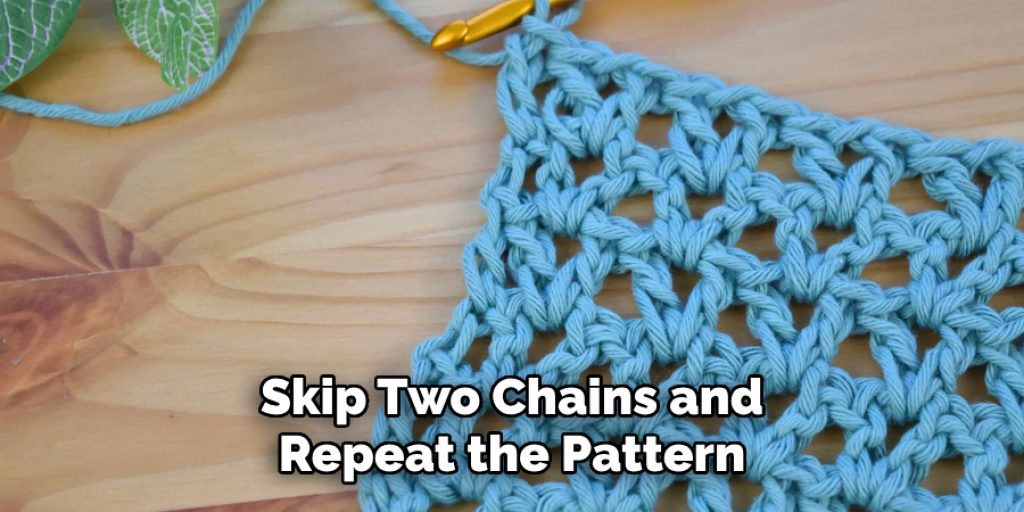
The V-stitch grid offers an open yet structured design, perfect for adding texture to your projects. Begin by chaining a multiple of three plus two for the turning chain. Double crochet into the fourth chain from the hook. Skip two chains, then work one double crochet, chain one, and another double crochet into the next chain (this forms a V-stitch). Skip two chains and repeat the pattern across the row. For the next row, chain three (counts as one double crochet), turn, and work a V-stitch into each chain-one space across.
5. Filet Crochet Grid
Filet crochet creates a grid of solid blocks and open spaces, perfect for forming intricate patterns and designs. To start, chain a multiple of three plus two for the turning chain. Double crochet into the fifth chain from the hook (this counts as one double crochet and a chain space). Chain two, skip two chains, double crochet into the next chain.
6. Solomon’s Knot Grid
Solomon’s Knot, also known as Lover’s Knot, creates a unique and intricate open grid. Start by making a foundation row of single crochet. For the next row, work a Solomon’s Knot by pulling up a long loop, yarn over, and pull through the loop on the hook, insert the hook into the back bump of the loop, yarn over, and pull through both loops on the hook. Skip one single crochet and single crochet into the next stitch. Repeat this pattern across.
7. Granny Square Grid
The granny square grid combines the traditional granny square with a continuous grid pattern. Begin with a traditional granny square by chaining four and joining with a slip stitch to form a ring. Chain three (counts as one double crochet), work two double crochets into the ring, chain two, and repeat this three more times, joining with a slip stitch to the top of the chain three.
For the next round, slip stitch into the corner space, chain three, work two double crochets, chain two, and three double crochets into each corner space, with chain one between each set. Continue this pattern to form the grid.
8. Linked Double Crochet Grid
Linked double crochet creates a tighter grid with less open space compared to traditional double crochet. Start by chaining a multiple of three plus two for the turning chain. For the first linked double crochet, insert your hook into the second chain from the hook, yarn over, and pull up a loop, then insert your hook into the fourth chain from the hook, yarn over, and pull up a loop. Yarn over and pull through all loops on the hook.
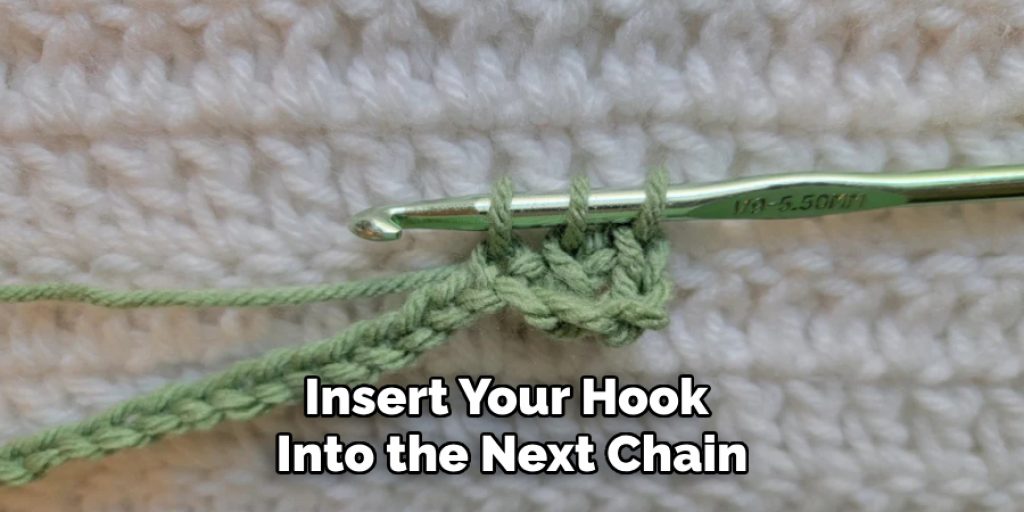
For the next linked double crochet, insert your hook into the horizontal bar of the previous stitch, yarn over, and pull up a loop, then insert your hook into the next chain, yarn over, and pull up a loop, yarn over and pull through all loops on the hook.
9. Chevron Grid
The chevron grid combines the classic chevron pattern with an open grid, creating a visually striking design. Begin by chaining a multiple of twelve plus two for the turning chain. Double crochet into the fourth chain from the hook, double crochet into the next four chains, skip two chains, double crochet into the next five chains, chain two, and double crochet into the next five chains. Repeat this pattern across the row.
For subsequent rows, chain three, turn, and follow the same pattern, working double crochets into double crochets and chain spaces into chain spaces.
10. Bavarian Square Grid
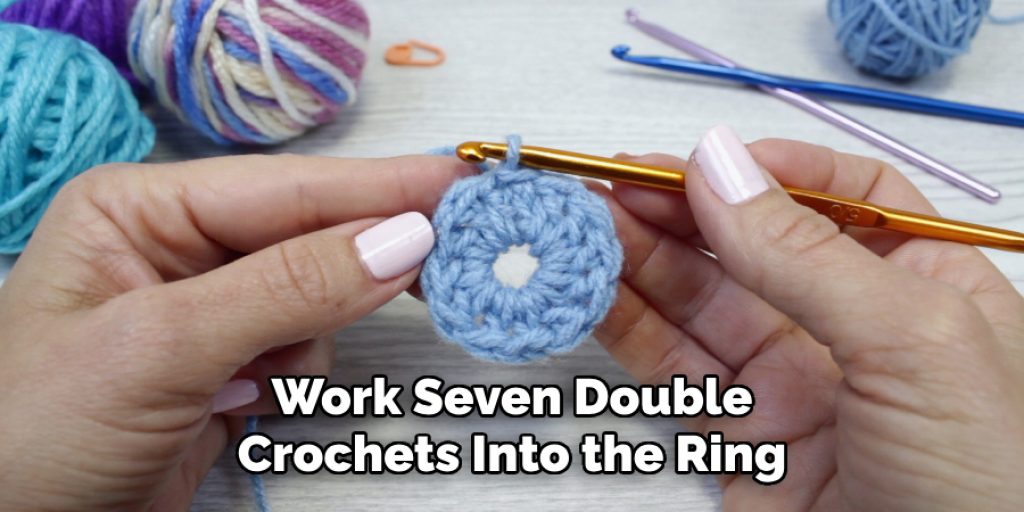
The Bavarian square grid creates a beautiful and intricate pattern that is both solid and open. Begin by chaining four and joining with a slip stitch to form a ring. Chain three (counts as one double crochet), work seven double crochets into the ring, join with a slip stitch to the top of the chain three. For the next round, chain three, work two double crochets into the next stitch, chain one, and skip one stitch. Repeat this pattern around, joining with a slip stitch. For subsequent rounds, chain three, work two double crochets into each chain-one space, chain one, and skip one stitch.
Conclusion
Each of these grid methods offers a unique way to incorporate texture and design into your crochet projects. Whether you are looking for a simple mesh, a sturdy solid grid, or an intricate lattice, these techniques provide a range of options to suit your creative needs. Experiment with different yarns, hook sizes, and patterns to create grids that complement your projects and showcase your crochet skills. Thanks for reading, and we hope this has given you some inspiration on how to crochet a grid!

