How to Do Chain Stitch Embroidery
Chain stitch embroidery is a great way to add texture and visual interest to any project. It is also one of the most versatile stitches in hand embroidery because it can be used for outlining and filling shapes. When done correctly, chain stitch embroidery will have a beautiful chain-like pattern that looks delicate and intricate.

The advantages of chain stitch embroidery are that it is fast, easy, and versatile. It is a great way to add texture and interest to projects. The chain stitch can be used in many techniques, such as outlining, lettering, and decorative designs. It also can be used with specialty threads for added effect. In this blog post, You will learn how to do chain stitch embroidery.
Materials You Will Need
- Embroidery needle
- Threads in your desired colors
- A hoop or a frame for the fabric
- Fabric of choice
- Scissors
- Marker (optional)
- Needle threader (optional)
- Thimble (optional)
- Tape measure (optional)
- Embroidery scissors (optional)
- Pencil or disappearing ink pen (optional)
- Stitches transfer paper (optional).
Now that you’ve gathered all the materials, it’s time to start learning to do chain stitch embroidery. Begin by prepping your fabric. This includes washing, ironing, and stretching it in the hoop or frame you’ll be using.
Step-by-step Instructions for How to Do Chain Stitch Embroidery
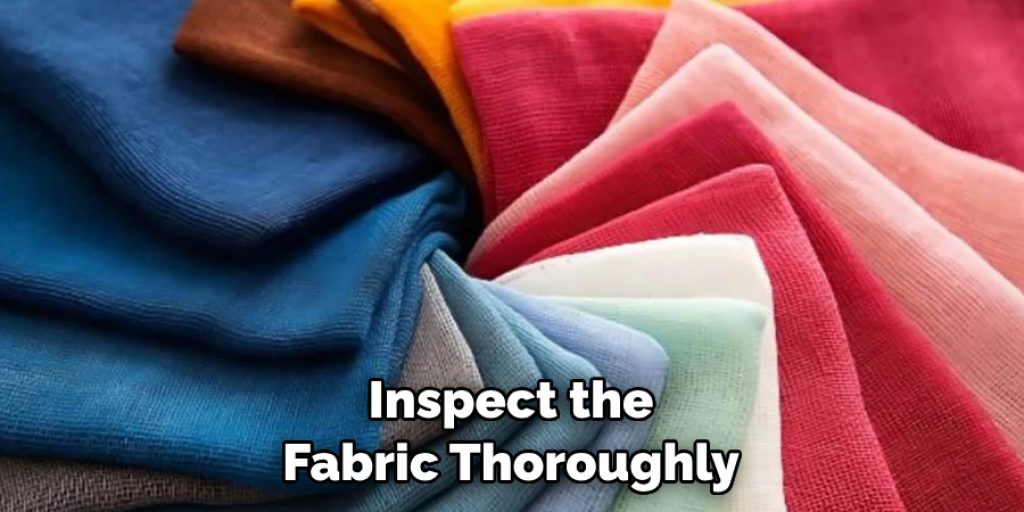
Step 1: Inspect the Fabric
Before you start embroidering, inspect the fabric thoroughly. Ensure there are no holes or other flaws along the edges or on the backside of the fabric. Get your thread and thread it through your needle. Make sure to double-knot the end so that it is secure. Also, choose a thread color that will stand out against your fabric.
Step 2: Pull Thread Through Fabric
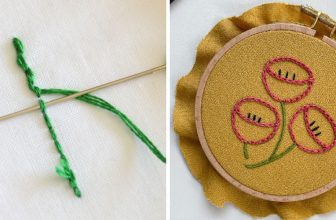
Once your needle is threaded, pull it through the fabric, leaving a loop of thread on the front side of your fabric. This is called a chain stitch and forms the base for your embroidery design. Now take the needle and insert it into the loop on the front side of your fabric.
Step 3: Pull Thread Through Fabric Again
Then pull the thread through the fabric again, leaving another loop on top of the first one. This will create a chain stitch effect and can be used to make different patterns within your embroidery design. Repeat steps four and five until you have created the desired pattern or design. Make sure to pull your thread tight each time to keep your stitches neat.
Step 4: Secure Thread Ends
When you are finished creating your pattern or design, tie off the end of the thread with a double knot and trim any excess thread. After securing the thread, you can trim the embroidery floss to an even length. Make sure not to cut too much, or your stitches will unravel.
Step 5: Remove Excess Threads
Use small scissors carefully to remove any excess threads from the backside of your fabric. Now that you are finished take a step back and admire your work. You can create beautiful embroidery patterns with chain stitch embroidery with some practice.
By following these steps, you can create beautiful chain-stitch embroidery designs. You can become an expert in no time with some practice and patience.
Safety Tips for How to Do Chain Stitch Embroidery
- Gather the necessary supplies before starting the project to ensure that you have everything on hand and that it is in good working order. This includes needles, threads, fabric, scissors, and other materials needed for your design.
- Wear comfortable clothing so that you can move freely while embroidering. Always wear protective eyewear to protect from errant needles and thread.
- Secure the fabric with an embroidery hoop or frame so it does not move around while you work. This will help ensure even stitches and prevent accidents.
- Inspect your needle before use, and never force the thread through the eye of the needle, as this may cause damage to both the needle and your fabric.
- Make sure to tie a knot at the end of your thread when starting a new chain stitch, as this will hold it in place and prevent unraveling.
- Work in well-lit areas and take frequent breaks to focus on your embroidery project and continue working safely.
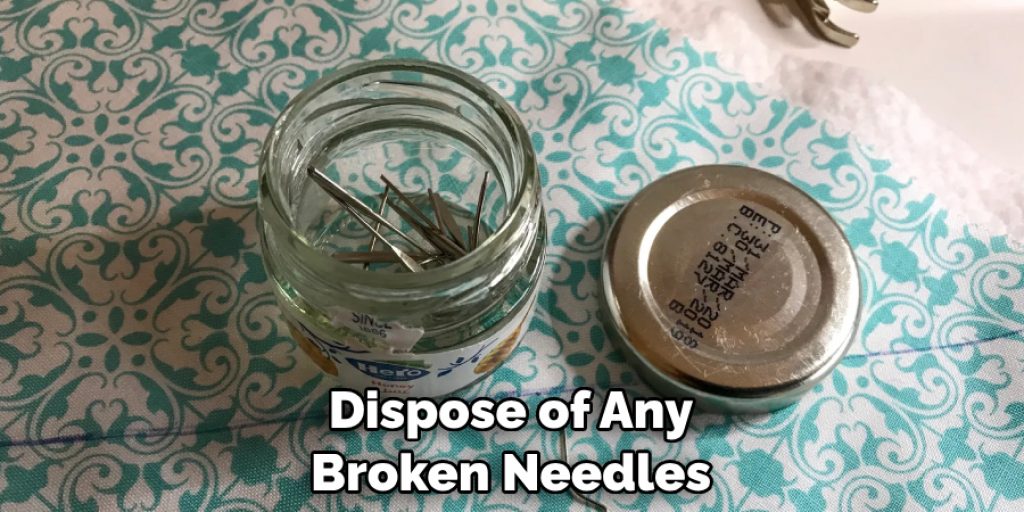
- Put all tools away after use in a secure container and keep them out of the reach of children. Be sure to dispose of any broken needles or threads properly.
Following these safety tips can help ensure you have a safe and enjoyable time while doing chain stitch embroidery.
How Do You Get Started With Chain Stitch Embroidery?
Getting started with chain stitch embroidery is simple. First, you’ll need to gather the supplies, including an embroidery needle, thread, fabric, or other material for your project. Next, it’s important to practice the basic chain stitch technique several times on a scrap piece of fabric until you feel comfortable and confident.
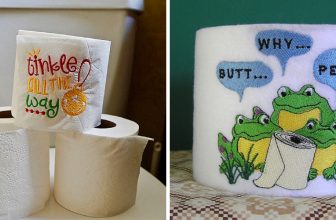
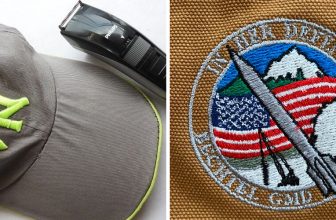
Once you’ve mastered the basic chain stitch, you can start creating more intricate patterns with the help of an embroidery hoop and a pattern or design that you can trace onto your fabric. Chain stitch embroidery adds texture to clothing, pillows, quilts, art pieces, and other projects.
When it’s time to start your project, thread your needle and tie a knot at the end of the thread. Insert your threaded needle into the back side of the fabric where you want the chain stitch pattern to begin and pull through to the front side.
What Are Some Good Patterns to Use for Chain Stitch Embroidery?
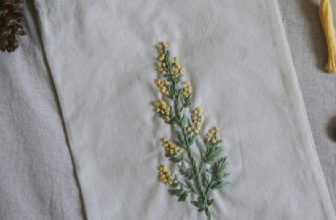
When it comes to chain stitch embroidery, there are many different types of patterns. Traditional patterns include floral motifs, geometric shapes, and abstract designs. More contemporary options can also be found in modern art-inspired works of art. One popular type of pattern for chain stitch embroidery is a line drawing or a cartoon-like image.
This type of pattern looks great with the chain stitch technique, as it helps to emphasize all the small details and intricate lines. Another popular option is a repeating geometric pattern, which can be used for everything from quilts to clothing designs. Finally, many enjoy using chain stitch embroidery to create fun characters or pictures for their projects. This is a great way to add personality and interest to any fabric or clothing item.
How Do You Finish Off Your Chain Stitch Embroidery Project?
When you have completed your chain stitch embroidery project, it’s important to finish it properly. You can do this in several ways. The first step is to secure the ends of the thread. This can be done by tying a knot at the end of each strand or weaving them back through your stitches. Either method should ensure that the ends are secure.
Next, you should decide how to mount your finished piece. You may frame it in an embroidery hoop or display it as a sampler on a wall.
If you want to ensure your work is well-preserved for years, consider stretching the fabric onto canvas stretcher bars and painting over them with a protective sealant. You may also choose to display your work in other ways, such as making a cushion cover or turning it into an art quilt. You can even make a chain stitch embroidery bookmark.
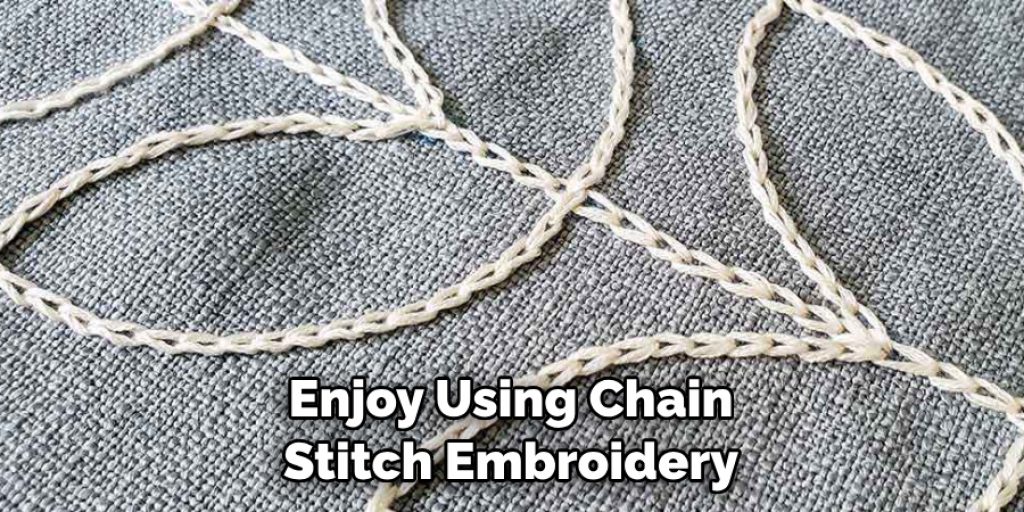
Finally, enjoy your finished chain stitch embroidery project. You can create beautiful artwork that will last for years with some practice and patience.
What Are the Benefits of Chain Stitch Embroidery Compared to Other Forms of Embroidery?
Chain stitch embroidery has several benefits over other forms of embroidery. It is generally faster to complete than other types of embroidery because chain stitches are quick and easy to work. The lack of color changes also makes it easier for the user, especially if working on large areas or multiple pieces at once.
Chain stitching is also relatively durable compared to other embroidery styles. The tightness of the stitches provides greater strength and stability than with a looser stitch.
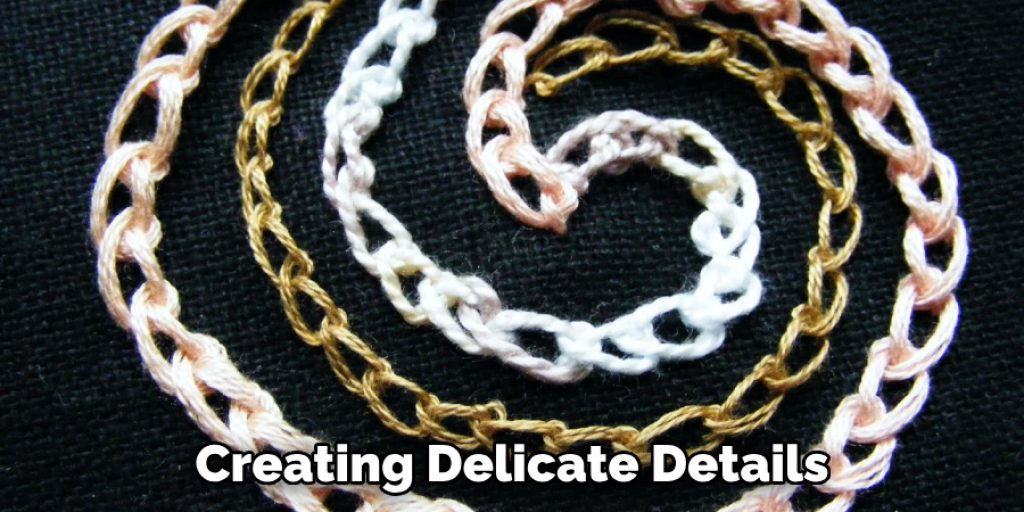
Finally, chain stitch embroidery is especially useful for creating delicate details or decorative borders because it can maintain an even look without being too bulky on fabric. All these factors make chain stitch embroidery an excellent choice for many projects. To do chain stitch embroidery, the user will need a few supplies.
Most importantly, an embroidery needle and thread are required. An embroidery hoop may also be useful for larger projects, as it can help keep the fabric taut while stitching.
Conclusion
In conclusion, chain stitch embroidery is a great way to add texture and color to any fabric. It is an easy learning technique with the right materials and instructions. As you practice and gain experience in this craft, you can produce beautiful artwork for yourself or as gifts.
Don’t be afraid to try something new – whether it’s a traditional chain stitch or a modern interpretation, the results will be beautiful. I hope reading this post has helped you learn how to do chain stitch embroidery. Make sure the safety precautions are carried out in the order listed.
Nancy Behan
Nancy is an embroidery artist, fashion blogger and a full time editor at DIY quickly. Nancy edits the fashion section on DIY quickly, focusing on the embroidery and cross stitch articles, alongside with fabric and other costume design elements. She graduated from the University of Michigan with a Bachelor of Arts in Art History. She loves to work on her own projects, read books and watch romantic movies in her spare time.