How to Crochet a Mug Cozy
A mug cozy is a charming and practical accessory designed to insulate your mug, keeping your beverages warm while protecting your hands from heat. Beyond its functional benefits, a mug cozy adds a decorative touch, allowing you to personalize your drinkware and express your creativity.
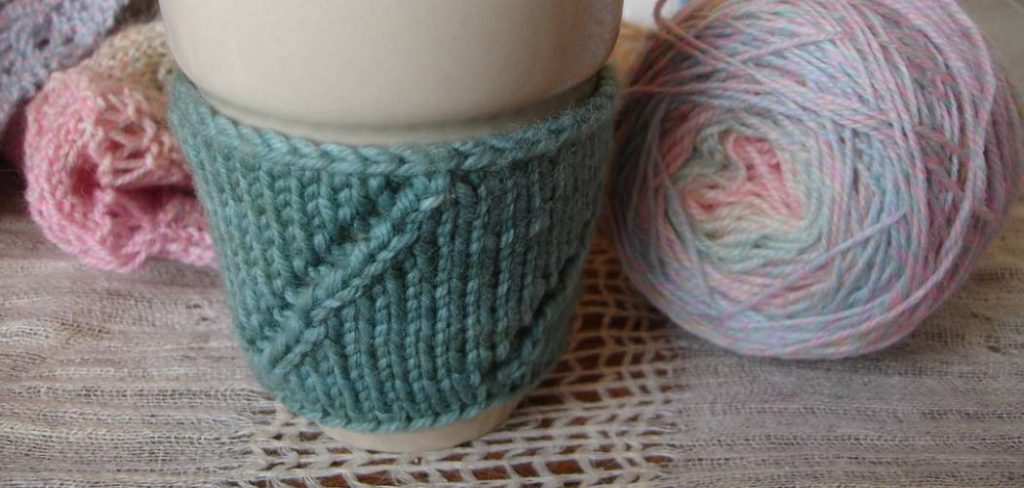
The process of crocheting a mug cozy combines simple techniques and materials, making it a perfect project for both beginners and experienced crafters. In this article, we will provide a detailed guide on how to crochet a mug cozy, covering everything from selecting the right yarn to adding decorative elements and troubleshooting common issues. Each section will equip you with the knowledge and skills needed to create a stylish and functional mug cozy that matches your personal style.
Materials and Tools Needed
To begin your mug cozy project, you must gather the appropriate materials and tools. For yarn options, consider cotton for its absorbent qualities, acrylic for its vibrant color options and durability, or wool for a luxurious feel and warmth. Choose colors that complement your style or the mugs you intend to use.
The size of your crochet hook is also essential and should be chosen based on the thickness of your yarn; typically, a hook between 4mm to 6mm works well for most worsted weight yarns. Additionally, gather essential tools such as scissors for cutting the yarn, a yarn needle for weaving in ends, and any buttons or decorative elements you want to incorporate into your design. Selecting the right yarn and tools is crucial for ensuring the durability and aesthetic appeal of your mug cozy.
Measuring and Planning
Before you start crocheting your mug cozy, measuring your mug accurately is essential to ensure the perfect fit. Use a measuring tape or ruler to determine the circumference and height of the mug, taking note of the measurements for reference. Next, decide on the style of cozy you’d like to create. Options vary from a simple band that wraps around the mug to more intricate designs incorporating a handle opening for easy access.
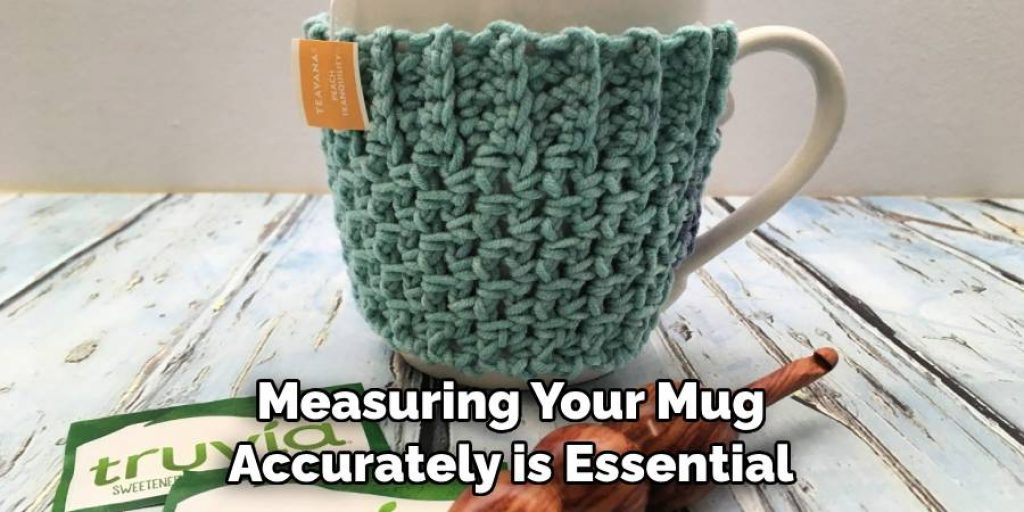
Planning your design is equally important; you might choose to stick to a solid colour for a minimalist look, or get creative with stripes and patterns to showcase your personality. Sketching your ideas can help solidify your concept and guide your crocheting process.
Basic Crochet Stitches and Techniques
To crochet a mug cozy, you’ll need to familiarise yourself with a few basic stitches, including the chain stitch, single crochet, and double crochet. The chain stitch is the foundation for your work, while single and double crochet stitches provide the bulk of the structure. Understanding how to work in rounds will allow you to create a seamless cozy that wraps easily around your mug.
Techniques such as increasing, which adds stitches to widen your work, and decreasing, which removes stitches to narrow it, will give you more control over your design. For beginners seeking to refine their skills, numerous online resources, videos, and crochet groups offer valuable practice opportunities and tips on mastering these essential stitches.
How to Crochet a Mug Cozy: Crocheting the Mug Cozy
Creating the Foundation Chain
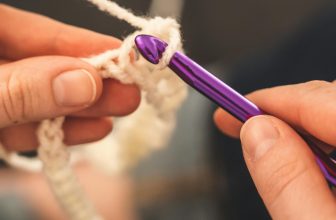
To begin crocheting your mug cozy, create a foundation chain that matches the circumference of the mug. Measure around the mug with a measuring tape, keeping in mind that the chain should be slightly looser than the actual measurement to allow for stretching. To make the foundation chain, simply create a slip knot and chain the desired number of stitches.
If you’re unsure about the length, you can always measure as you go by wrapping the chain around the mug. Adjust the chain length by adding or removing stitches as necessary, ensuring a snug yet comfortable fit.
Working in Rounds
Once your foundation chain is complete, join it into a circle. To do this, make sure there are no twists in the chain, and slip stitch into the first chain stitch to create a loop. From here, begin working in the round using your chosen stitch pattern, whether it’s single crochet, double crochet, or a combination.
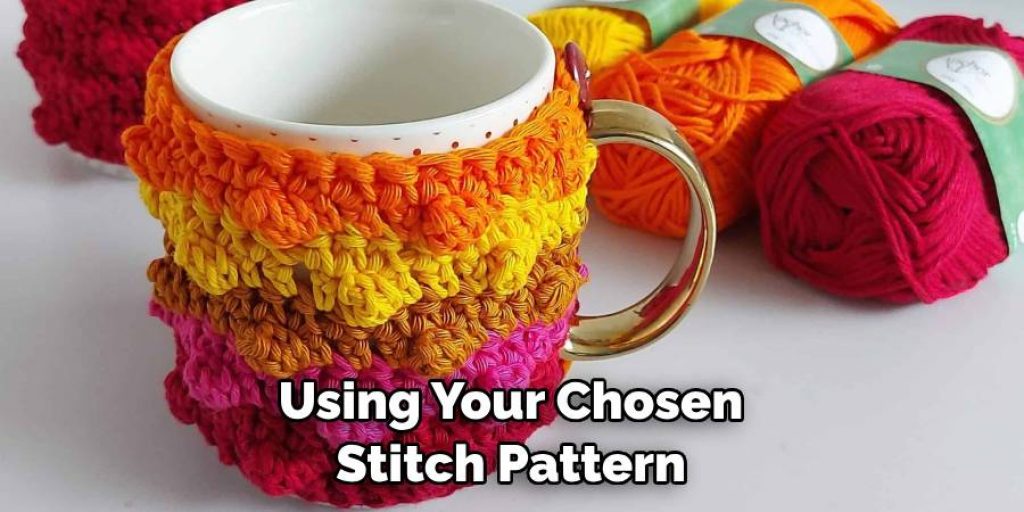
As you crochet, maintain consistent tension to keep your rows even, which is vital for a well-fitted cozy. Remember to count your stitches regularly to ensure you aren’t accidentally increasing or decreasing your row size. If you’re using a color change or a patterned design, keep a guide close by to remember where to switch. Continue working in rounds until the desired height is reached, checking often on its fit around the mug.
Adding a Handle Opening
To add a handle opening for your mug cozy, first measure and mark where the mug’s handle sits. It’s best to do this when you’ve reached the point in your cozy where the handle will line up comfortably. You can either skip a few stitches to create a gap directly within the current round or crochet around the area, leaving it open for a separate piece. If you choose to create a separate piece, crochet a small rectangle using the same stitch pattern, ensuring it matches the height of your cozy.
Attach it securely by slip-stitching or whip-stitching it to the edges of the opening. Be sure to check the comfort and accessibility of the handle opening throughout this process; it should allow the user to grasp the mug comfortably without any obstructions. Following these steps will ensure a functional and aesthetically pleasing mug cozy.
Adding Decorative Elements
Once your basic mug cozy is complete, consider adding decorative elements to enhance its visual appeal. There are various options for embellishments, such as buttons, embroidery, and appliqué. Buttons can add a charming detail; choose ones that complement the colors of your yarn.
To securely attach buttons, use a yarn needle and a length of yarn that matches the cozy. Sew through the buttonholes several times, ensuring it’s firmly anchored. For embroidery, simple stitches like backstitch or chain stitch can create unique patterns or initials on your cozy. Appliqué allows you to create shapes or designs using different yarns, which can be sewn or crocheted onto the surface. Incorporating these elements allows you to infuse your personal style into the cozy design, making it uniquely yours.
Finishing Touches
As you wrap up your mug cozy project, tidying up any loose ends is essential. Use a yarn needle to weave in any loose ends, ensuring they are hidden within the stitches for a clean finish.
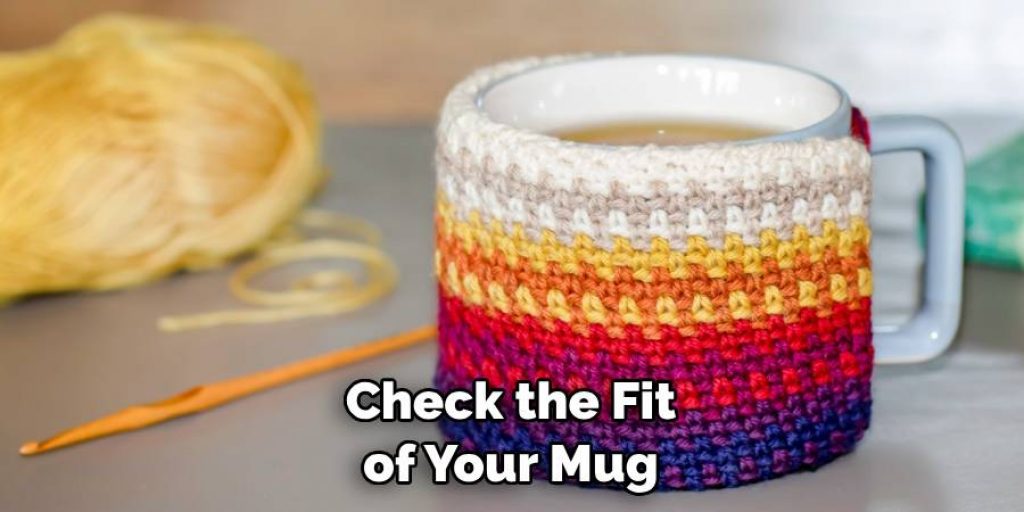
Blocking or steaming the cozy can help shape it properly, giving it a crisp and polished look. Finally, check the fit of your mug; this is the moment to make any necessary adjustments. If the cozy feels too tight or loose, you can temporarily adjust the tension in your work or even add additional rows to ensure it sits comfortably on your mug. These finishing touches will elevate your cozy from a simple crochet project to a delightful and personalized accessory.
Troubleshooting Common Issues
Even experienced crocheters encounter challenges when creating a mug cozy. One common issue is uneven edges resulting from inconsistent tension during stitching. To fix this, ensure you’re maintaining the same level of tension and consider using stitch markers to track your progress. Incorrect sizing is another frequent problem, often due to miscalculating the foundation chain or working too tightly.
If your cozy feels too snug, you can carefully stretch it while it’s damp or consider adding an extra row to improve fit. It’s advisable to seek additional resources, like online tutorials or local crochet groups when struggling with specific techniques. These platforms can provide valuable insights and troubleshooting techniques to refine your work.
Maintenance and Care
To ensure your crochet mug cozy stands the test of time, proper washing and care are essential. Hand wash in cold water with a mild detergent to avoid shrinkage or damage from the heat; avoid using a washing machine. If your cozy is made from natural fibers, laying it flat to dry is best, as it helps maintain its shape. To keep your cozy looking great over time, avoid exposing it to direct sunlight for extended periods, as this can cause fading. Regularly check for any fraying yarn and repair as needed to maintain its overall appearance. With proper maintenance, your cozy will remain a delightful addition to your mug collection.
Frequently Asked Questions (FAQs)
1. How Do I Determine the Right Size for My Mug Cozy?
To ensure a perfect fit, measure the circumference of your mug just below the rim. This measurement will help you determine the appropriate foundation chain length. Creating the chain slightly looser than the actual measurement is advisable to allow for some stretching.
2. Can I Use Different Yarn Types for My Mug Cozy?
Yes, you can use a variety of yarn types, but keep in mind that the thickness and texture will affect the final look and feel of your cozy. For warmer beverages, opt for heat-resistant yarn that is easy to clean.
3. How Can I Fix an Uneven Mug Cozy?
If you notice uneven edges, it may be due to inconsistent tension. To remedy this, make sure you are maintaining the same tension throughout your work. Additionally, using stitch markers can help you keep track of your progress and maintain even rows.
4. What Are Some Ways to Personalise My Cozy?
You can personalize your mug cozy through various embellishments such as buttons, embroidery, or appliqué. Choose designs and colors that reflect your unique style to make your cozy stand out.
5. Is it safe to machine wash my mug cozy?
It’s recommended to hand wash your mug cozy in cold water with a mild detergent to prevent shrinkage and potential damage. Avoid using a washing machine and ensure to lay it flat to dry, especially if it is made from natural fibers.

Conclusion
In conclusion, learning how to crochet a mug cozy is a rewarding project that enhances your skills and results in a personalized item for your home. You can create a cozy that suits your unique style by following the steps outlined—from crafting the foundation chain to adding decorative elements. Don’t hesitate to experiment with various designs and yarns to expand your creativity.
The joy of completing a project like this is truly fulfilling, as it reflects your individuality and craftsmanship. Embrace the crocheting journey, and enjoy the satisfaction of using something you made with your hands.

