How to Crochet an Owl
Are you looking for a fun and creative project to try? Crocheting an owl can be a great way to use your crochet skills and create something cute and unique. In this tutorial, we will take you through the steps of crocheting your very own adorable owl.
How to crochet an owl is a delightful project that combines creativity with the comforting art of yarnwork. Often seen as symbols of wisdom and mystery, owls make charming decorative pieces and gifts. In this guide, we will take you through the essential materials, basic stitches, and step-by-step instructions to create your crocheted owl.
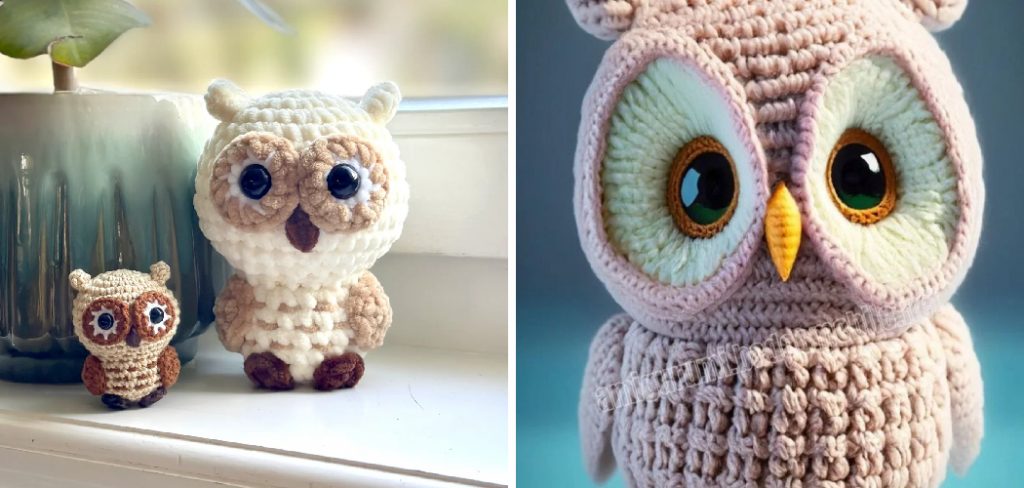
Whether you are a seasoned crocheter or a beginner looking to expand your skills, this project promises to be both enjoyable and rewarding. Let’s begin your journey into the whimsical world of crocheted owls!
What Will You Need?
Before we get started, let’s gather all the necessary materials for this project. Here is a list of items you will need:
- Yarn: You can choose any color or type of yarn you prefer. But remember that thicker yarn will create a giant owl, and thinner yarn will make a smaller one.
- Crochet Hook: The size of your crochet hook will also determine the size of your owl. Generally, a 3-4 mm (US size C/2 or D/3) hook works well with medium-weight yarn.
- Stuffing: This will fill your owl and give it shape.
- Scissors: Used to cut the yarn.
- Yarn Needle: This will help you weave in the loose ends of yarn.
- Safety Eyes: You can use safety eyes or buttons for the owl’s eyes, but if you are making this for a child, it is recommended to use safety eyes for safety reasons.
Once you have all your materials, let’s move on to the next step.
10 Easy Steps on How to Crochet an Owl
Step 1: Create the Owl’s Body
To begin crocheting your owl, we will start with the body, which will form the main part of your creation. First, make a slip knot with your chosen yarn and chain a specific number of stitches to set the foundation. A typical starting point is to chain six stitches. Next, join your chain with a slip stitch to form a ring. This creates a circular base for your owl’s body.
You will work in the round from this ring, using double crochet stitches to build up the body. To do this, yarn over and pull through the ring, then yarn over again to finish the double crochet. It’s recommended to place a stitch marker at the beginning of each round to help you keep track of your stitches, especially as your project gets larger. Continue adding double crochet stitches in each round, increasing the number of stitches per your pattern guidelines to obtain the owl’s desired shape.
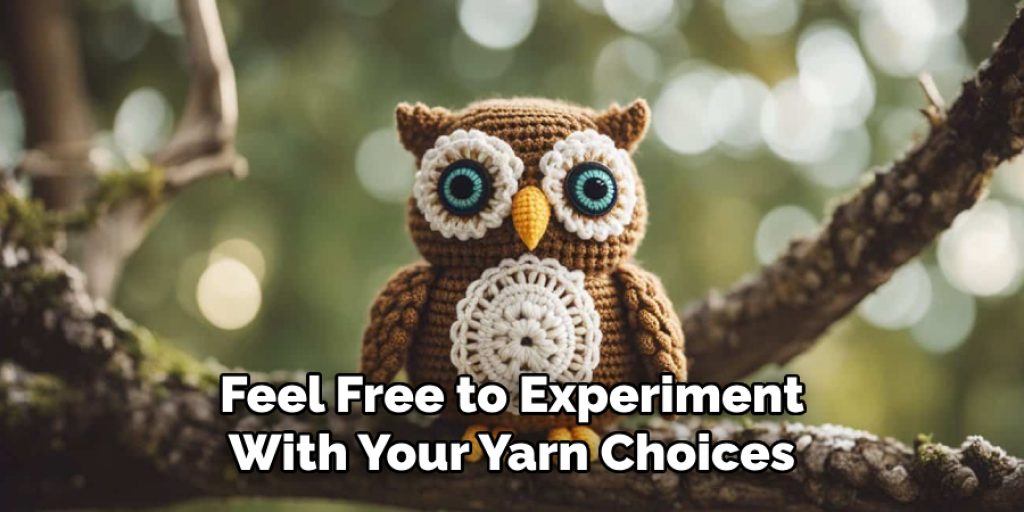
The body can be made to reflect the whimsical character of your owl by using different colors or stripes, so feel free to experiment with your yarn choices! After a few rounds, you should see the owl take shape, with its rounded body forming beautifully.
Step 2: Create the Owl’s Head
Now that you have the body of your owl completed, it’s time to create its head. Start by working from the top of the body, maintaining the same yarn color, or switching it up for a contrasting look. Begin with a new slip knot and chain several stitches; typically, four to five stitches work well to form a small circle. Join your chain with a slip stitch to create a tight ring.
In this step, you’ll again use double crochet stitches to build the head. Increase the stitch count in the first round by adding two double crochet stitches into each stitch of your ring. This will give the head a fuller appearance compared to the body. Continue working in the round, gradually decreasing the number of double crochet stitches in subsequent rows to shape the top of the head. As you reach the desired height, stop to fasten off, leaving a long tail to sew it onto the body later.
Step 3: Create the Owl’s Wings
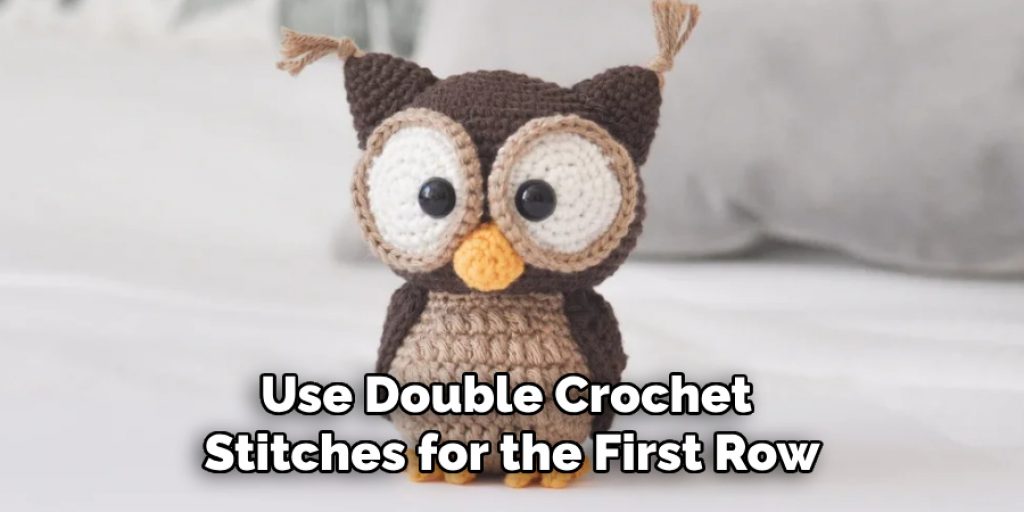
With the head complete, it’s time to turn your attention to the owl’s wings. Start by selecting your yarn and making a slip knot—chain about twelve stitches to create a foundation that will give you the desired wing size. Once you have your chain, turn your work and begin crocheting back into the chain. Use double crochet stitches for the first row, placing one double crochet in each stitch. This will form the body of the wing.
For the next couple of rows, continue to double crochet, but to add some dimension, decrease the stitches gradually towards the tip of the wing—perhaps by working two double crochet stitches together at the end of each row. You can experiment with color changes here as well, switching yarn to give your wings a vibrant appearance. When satisfied with the shape and size, fasten off your work, leaving a long tail for sewing.
Step 4: Create the Owl’s Beak
The next item on our list is the owl’s beak, an essential feature that adds character to your creation. To crochet the beak, select a contrasting color yarn for a fun pop. Begin with a slip knot and chain three stitches to create a small triangle. To form the beak, make a double crochet stitch in the second chain from the hook and then one double crochet stitch in the last chain stitch. This will give you a pointed shape.
Step 5: Attach the Owl’s Eyes
Do the little details make a big difference? Let’s attach the owl’s eyes, bringing your creation to life! If you’re using safety eyes, decide on their placement first—generally, placing them about one to two rows below the head’s top will offer a charming look. If you opted for buttons, ensure they’re securely stitched. With your chosen eyes ready, use your yarn needle and a length of yarn to sew the eyes onto the head, securing them tightly so they won’t come loose. If you’re using safety eyes, follow the specific instructions that come with them for secure placement.
Step 6: Create the Owl’s Feet
To give your owl a stable stance, it’s time to crochet its feet. Start with a brown or orange yarn to reflect a typical bird’s foot color. Begin by making a slip knot and chaining five stitches. Next, turn your work and crochet back into the chain by placing a double crochet stitch in the second chain from the hook and one in each of the next two chains. This will form a small toe. To create the second toe, chain three more and repeat the process to mimic the structure of a bird’s foot. You can make two or three of these feet, depending on how you want your owl positioned.
Step 7: Assemble the Owl
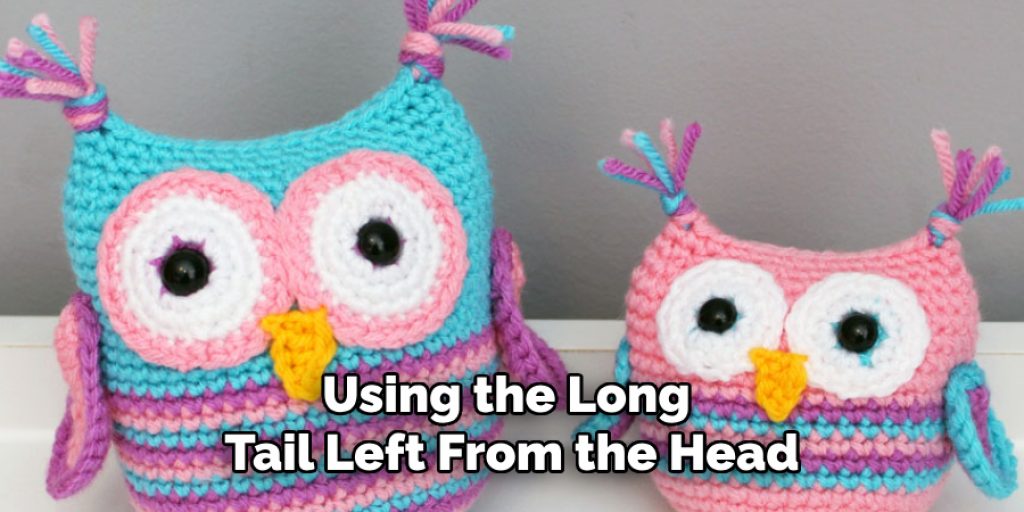
With all the completed components, it’s time to bring your adorable owl together! Start by positioning the head atop the body and aligning the neck for a seamless connection. Using the long tail left from the head, sew it securely onto the body, making sure it is tightly embraced to ensure stability. Next, position the wings on either side of the body, adjusting them to your desired angle. Use the long tails from the wings to stitch them firmly in place. After securing the wings, attach the beak to the front of the head, centering it between the eyes for a sweet, finished look. Lastly, attach the feet beneath the body, ensuring they are positioned correctly to support your owl.
Step 8: Add Final Touches
To enhance the charm of your crocheted owl, consider adding some final decorative touches. Use embroidery floss to stitch tiny details like feathers or patterns on the wings, which can provide visual interest and texture. Additionally, you can create small accents, such as heart shapes or stars, to give your owl a unique personality. Crafting accessories like a slight bow or a tiny scarf can also add a delightful flair if you have any fabric scraps or felt.
Step 9: Give Your Owl a Name
Now that your charming crocheted owl is complete, it’s time to give it a name! Personalizing your creation adds a special touch and brings your owl to life. Take a moment to think about the characteristics of your owl—consider its colors, personality, and any unique features you’ve crafted. You might choose a whimsical name reflecting its bright appearance or a more traditional name representing its wise nature.
Step 10: Find a Loving Home for Your Owl
The final step in your crafting journey is to find the perfect place for your adorable owl to reside! Whether you display it in your space or gift it to a loved one, consider its surroundings carefully. If it’s for your home, consider placing your owl on a bookshelf desk or as a centerpiece on a table where it can be seen and admired. For a gift, consider beautifully wrapping your creation or presenting it in a decorative box, making the recipient feel extra special. Remember, your handcrafted owl holds a piece of your creativity and love, so wherever it lands, it will bring joy and warmth!
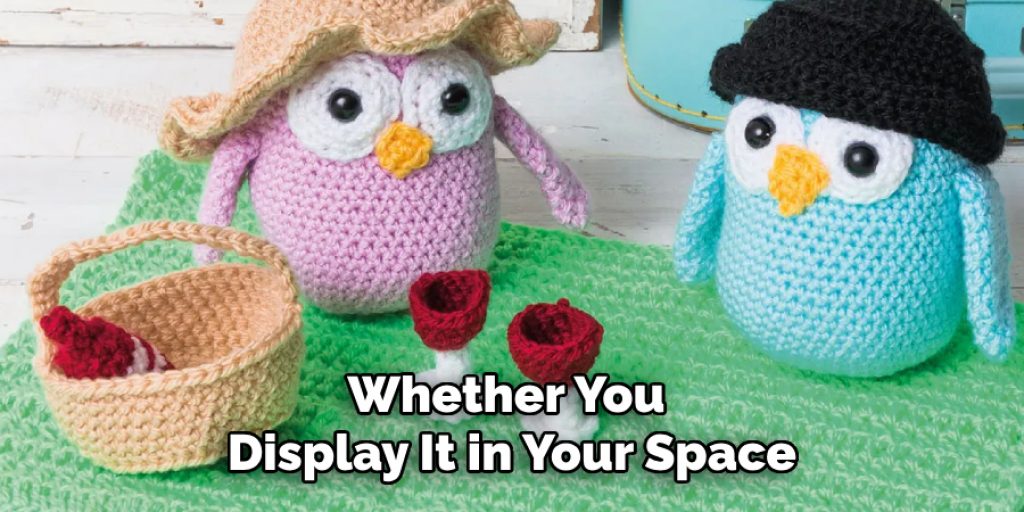
By following these simple steps, you’ve successfully crafted an adorable crocheted owl full of charm and personality.
Conclusion
How to crochet an owl is a delightful and rewarding project that allows you to express your creativity while honing your crafting skills.
By following the detailed steps provided, from creating the body and wings to adding charming features like the beak and eyes, you’ve brought an adorable and whimsical creature to life. This project results in a unique handmade item and offers a chance to personalize your creation, making it truly special.
Whether you choose to keep your crocheted owl as a decorative piece, gift it to someone dear, or even create a whole family of owls, you’ll find joy in the process and satisfaction in your craftsmanship. Happy crocheting!

