
How to Store Embroidery Floss
Introduction
Sewing is a hobby for many people, and for this reason, using threads is mandatory. When you are planning for the design, you buy many yarns, and sometimes all of them are not used entirely, and there remain some leftovers. These embroidery floss should be adequately arranged and stored in a proper environment. For this reason, today we are going to suggest a step by step process of how to store embroidery floss, which will be much helpful for the beginners.
The process of storing the embroidery floss needs some specific belongings. These are much easy to find, and these will be much helpful in creating an indoor arrangement for your floss. For this process, we will require binders and winders, which include the bobbin cards. We can also use mechanized winders, which are much efficient, and they will save time for the users too. Then we should have sticky notes which will help to mark the floss.
We need good quality airtight boxes to store the floss in. These boxes will help keep the floss in good shape and the quality of the floss will be maintained. The table can be of plastic or any sober material with long-term durability and can be easily disposable. We should also keep tapes to seal the box correctly, and for the marking of the box, tapes or sticky notes are preferable.
Procedure
Embroidery floss is much essential because these are the best part of the yarns and threads that are leftover from the design that we are preparing. Sometimes the number of these threads become so high that it creates a ness in the house. To arrange these embroidery floss and to make keep them properly stored, we can go through a straightforward process. Two main steps can be used for the entire process to be completed.
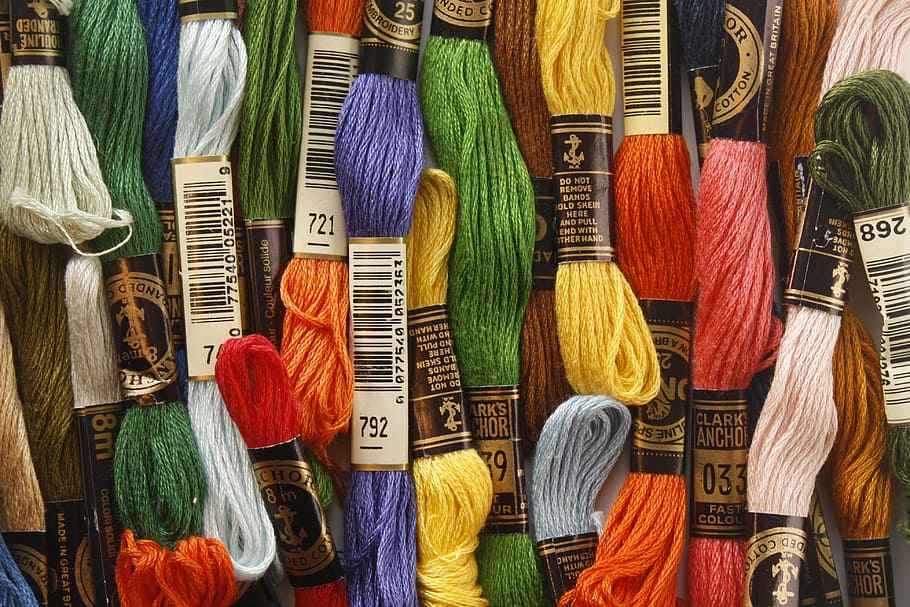
The first step is to arrange the floss separately. You can use any element that is available in the market, which can be much helpful to spate these yarns. The primary thing that we suggest is to use bobbin cards. These are card-shaped slightly concave elements which can be bought from any departmental store. These are made of plastic, and you can spirally attach the thread to these cards.
The next thing you can use are winders. They’re used for the same purpose as bobbin cards, but the main advantage is that you can quickly attach your thread to them. Some winders are also mechanically managed, which will be much beneficial for the smooth work process. Your floss will also not get mixed up among one another. These winders are also available in the nearest stores.
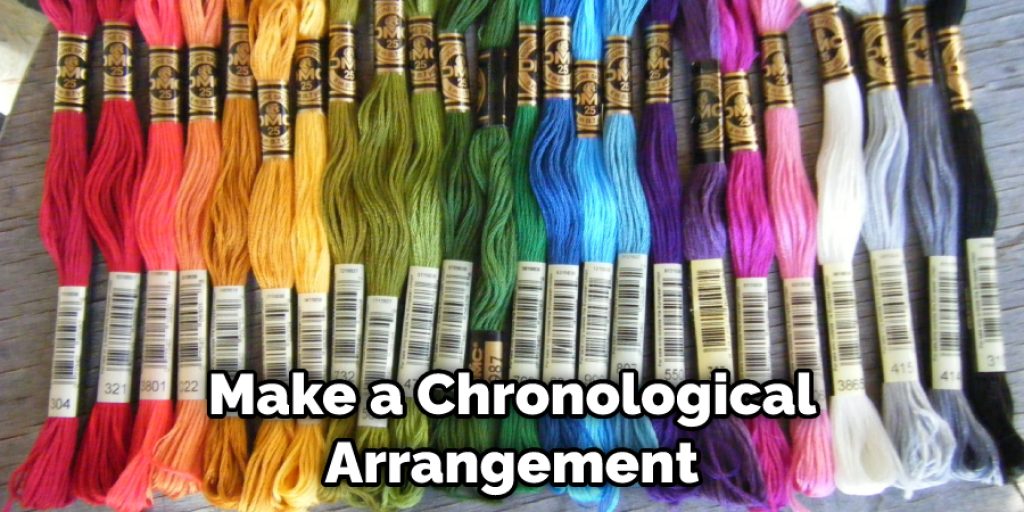
By this time, you have already separated the floss and arranged them individually. Now the main task is to make a chronological arrangement for the threads. You can use various identification process to make the floss have a straightforward method. So for this case, first, you have to mark the colors of the floss. This can be accomplished much more convenient, you can add sticky notes to the threads. This will help you to differentiate between the floss.
You can tag the floss according to their colors; this is the best way to arrange them. Because once you have distinctly arranged them in terms of color, you can also make them on the patterns based on the diversity of the colors. These all can be done using the sticky notes. These are much helpful for beginners. You have to write the name of the colors on the sticky note, which will also help make the beginners’ memories of the diversified colors.
You need to get some small boxes with lids to store your different colors of floss in. This is important because if the floss is exposed to air it will get ruined. Once you have the boxes, label them with sticky notes or tape so you can easily find the color you need.
Now you have to place the floss in the boxes, and you should be careful that all the floss are not kept in the same box. There are specially marked boxes for the yarns, and this will be much beneficial because you can easily track the presence of the floss when you need them for future use. So make sure to put the embroidery floss in the exact boxes. In this manner, the whole unused or leftover embroidery floss can be arranged.
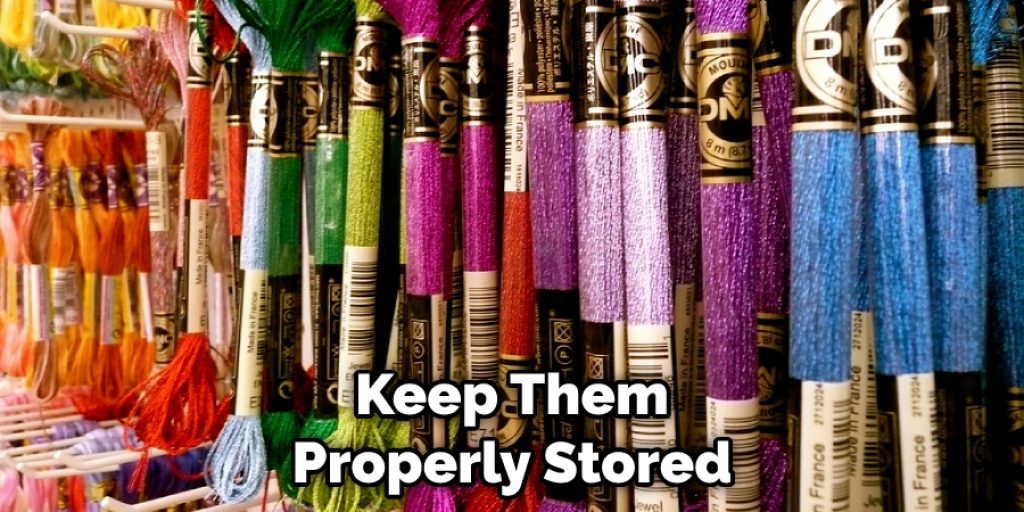
The last step that you should follow to make the entire process complete is to store the boxes. In this regard, we want to suggest that all the boxes are stored in such a place that is out of reach for the children, and you can only use them when it is your dire need. As these flosses are soaked in chemicals, swallowing them for the kids may turn into harmful, and this aspect should be taken into consideration by the respective parents and the users.
Things to Keep in Mind While Performing the Task
Marking the Floss
One of the essential parts of the entire process is marking the floss, and it is quite tricky because you have to spate the individual floss and then mark them separately for the user’s better convenience. In this case, we suggest you use a pen and paper to take the notes and use the best color names to make it easy for the beginners to memorize the floss. In this way, your work will become much easier to accomplish.
Final Thoughts
To sum up, we believe that our method of storing embroidery floss will be very helpful for beginners, allowing them to make better use of their time and avoid the mess that can be created by these floss. We hope you will be more mindful while performing the process, and that the steps are easy to remember. Have a great day!
You may read also – How to Make a Light Fill Stitch Design for Embroidery


