
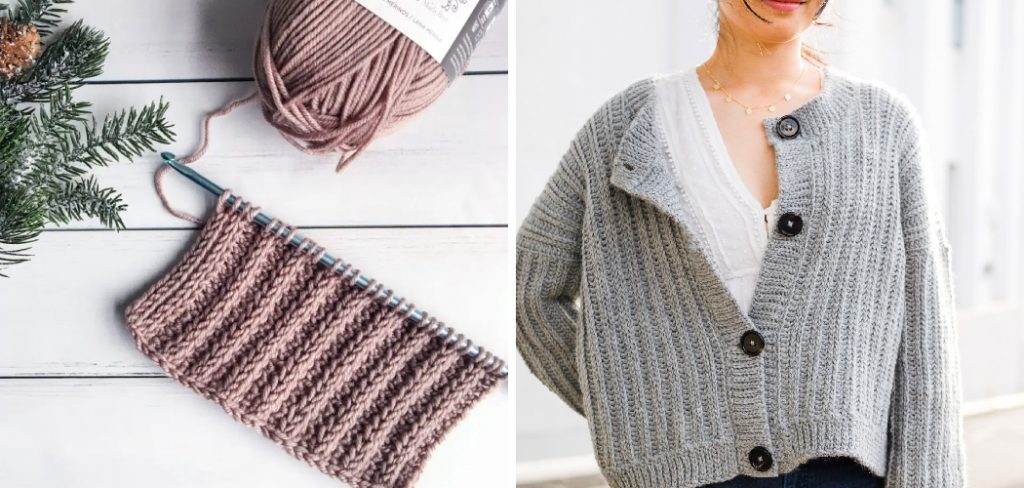
How to Crochet Ribbing
Crocheting ribbing is a fantastic technique used to create textured patterns that add stretch and elasticity to your projects, making it ideal for cuffs, hems, and borders. This method allows for a snug fit while maintaining a decorative element that enhances the overall aesthetic of your items.
With a variety of stitches at your disposal, crochet ribbing can be adapted to suit any style, whether you’re working on garments, accessories, or home decor.
In this guide on how to crochet ribbing, we’ll explore the fundamentals of crocheting ribbing, including popular stitch patterns and tips to achieve the best results.
Why Crochet Ribbing?
Crocheting ribbing is a popular technique due to its versatility and practicality. Some of the top reasons why you should consider incorporating ribbing into your crochet projects include:
Stretch and Elasticity:
The ribbing adds stretch and elasticity to your projects, which is perfect for items that need a snug fit such as hat brims, glove cuffs, or sock tops. This feature makes ribbing ideal for garments that require a bit of stretch, like sweaters or cardigans.
Decorative and Textured:
By alternating between different stitches, crochet ribbing creates a visually appealing texture that can add dimension to your projects. The variation in stitches also adds depth and interest to the overall design.
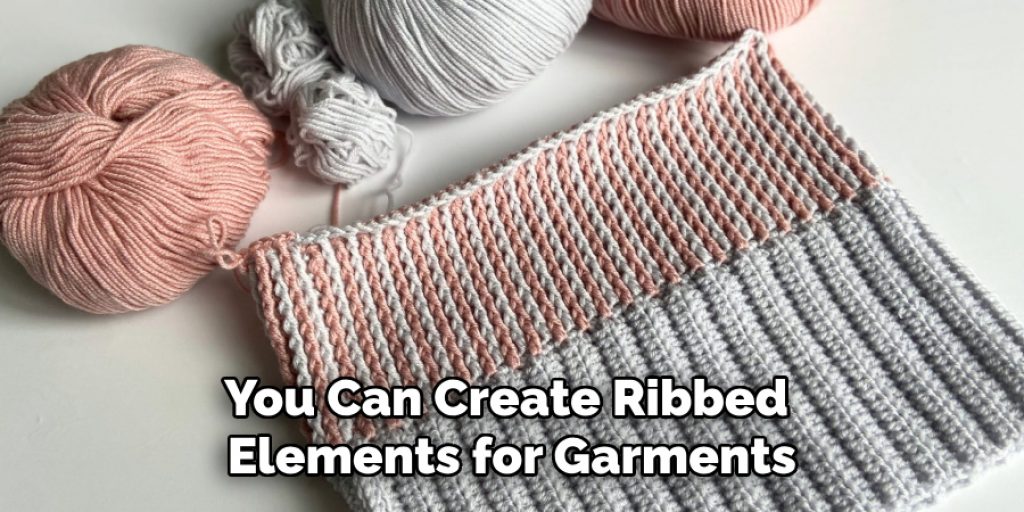
Versatility:
The beauty of ribbing is its adaptability to suit any style or project. With so many stitch patterns to choose from, you can create ribbed elements for garments, accessories, home decor items, and more!
Needed Materials
To get started with crocheting ribbing, you’ll need a few essential materials. Here’s a list of what you’ll require:
Yarn:
Choose a yarn that suits your project. A medium-weight yarn (worsted weight) is a popular choice for ribbing, but you can use any yarn depending on your desired outcome.
Crochet Hook:
Select a hook size that corresponds with your chosen yarn. Check the yarn label for recommendations, but typically, a 5.0 mm (H-8) crochet hook works well for worsted-weight yarn.
Scissors:
A pair of sharp scissors for cutting your yarn.
Yarn Needle:
Also known as a tapestry needle, this will be used to weave in loose ends after you finish your project.
Measuring Tape:
This is to ensure your ribbing dimensions match your project requirements.
Pattern or Guide:
If you’re following a specific project, have your pattern on hand to reference stitch counts or instructions.
With these materials prepared, you’ll be ready to dive into the art of crocheting ribbing!
8 Step-by-step Guidelines on How to Crochet Ribbing
Step 1: Choose Your Yarn
Selecting the right yarn is crucial when starting your ribbing project, as it significantly affects the final outcome. For ribbing, a medium-weight yarn (worsted weight) is often preferred due to its balance of flexibility and strength, allowing the ribbing to stretch while maintaining its shape. Consider the fiber content as well; acrylic blends are durable and easy to care for, while natural fibers like wool provide warmth and elasticity.
Additionally, pay attention to the yarn’s texture; smoother yarns tend to create cleaner lines, while textured yarns can add character to your ribbing. Ultimately, choose a yarn that complements your project and personal preferences, ensuring you enjoy the crocheting process.
Step 2: Determine Your Stitch Pattern
Choosing the right stitch pattern is essential for achieving the desired texture and appearance in your ribbing. Common stitch patterns for ribbing include single crochet, half double crochet, and double crochet worked in specific sequences to create that characteristic raised effect. For instance, using a simple combination of front post and back post double crochet stitches produces a thick, stretchy ribbing that is perfect for cuffs and brims.
Alternatively, for a more subtle texture, alternating between single and double crochet stitches can yield a refined look. Consider the purpose of your project as well as your personal style, and select a stitch pattern that aligns with both. Many patterns also provide suggestions for stitch combinations, which can inspire your design choices. Experimentation is key, so feel free to try out different stitch patterns to discover what works best for your unique creation!
Step 3: Determine Your Gauge
Gauge refers to the number of stitches and rows per inch in your project, which can vary depending on your yarn, hook size, and tension. It’s crucial to determine the gauge before starting your ribbing to ensure it matches the recommended measurements for your project.
If you are following a pattern, check their gauge instructions; otherwise, create a small swatch with your chosen stitch pattern to measure your personal gauge. Adjust your hook size accordingly until you achieve the desired dimensions. Keep in mind that tighter ribbing will have less stretch but may be more suitable for certain projects as well.
Step 4: Start With A Foundation Chain
Once you have determined your gauge and stitch pattern, it’s time to begin crocheting your ribbing. Start by creating a foundation chain that is the appropriate length for your project. The number of chain stitches you need will depend on your pattern and the desired width of the ribbing; make sure to adhere to any specific instructions provided. Generally, it’s advisable to make a chain that is a multiple of your chosen stitch pattern to ensure a harmonious look.
For ribbing, it’s common to chain a few extra stitches to accommodate for turning later on. After you’ve completed your foundation chain, it’s important to check for any twists in the chain, as this can affect the final appearance. Once satisfied, you’re ready to move on to the next step, which involves establishing your first row of stitches!
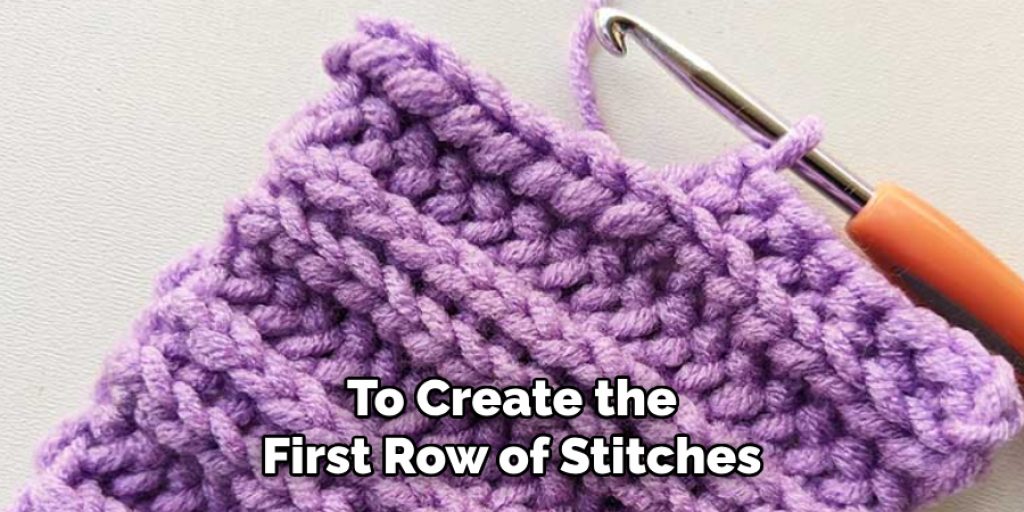
Step 5: Establish Your First Row
To create the first row of stitches, simply work into the back loop of each chain stitch. This technique creates a ridge at the front of your ribbing, which will become more prominent as you add additional rows. Continue working in your chosen stitch pattern until you reach the end of the row, making sure to adhere to any specific instructions provided by your pattern.
Once you reach the last stitch, turn your work so that the wrong side (or back) is facing up. If working in rounds for projects such as hat brims or cuffs, join with a slip stitch and continue on to the next round without turning. Otherwise, if working in rows, continue to repeat the established stitch pattern for subsequent rows.
Step 6: Working In Rows Vs. Rounds
When crocheting ribbing, you have the option of working in rows or rounds, depending on your project’s design and purpose. Crocheting in rounds is a popular choice for seamless projects such as hats or sleeves while working in rows allows for easier shaping and adjusting.
If working in rounds, it’s essential to keep track of your stitches and maintain an even tension throughout to avoid any gaps or inconsistencies. When switching from rounds to rows (or vice versa), make sure to adjust your stitch count accordingly; this may require adding or decreasing a few stitches to maintain the desired width.
Step 7: Adjusting Your Ribbing Length
As you continue stitching rows or rounds, it’s important to periodically check the length of your ribbing to ensure it aligns with your project requirements. Depending on the stitch pattern and yarn used, ribbing can stretch up to twice its original length when worn, so be mindful of this as you progress. You may also want to adjust the number of rows/rounds if you prefer a shorter or longer ribbing.
It’s always best to err on the side of caution and make your ribbing slightly shorter than needed, as you can always add additional rows if necessary. Once satisfied with the length, fasten off your yarn and weave in any loose ends. Your ribbing is now complete, and you can move on to the next steps of your project!
Step 8: Finishing Off And Securing Your Work
Once you have reached the desired length for your ribbing, it’s time to finish off and secure your work. Cut the yarn, leaving a tail long enough to weave in later. Thread the tail onto a yarn needle and weave it through the stitches on the wrong side of your work, securing it in place. This ensures that your ribbing stays intact and doesn’t unravel over time.
Additionally, if working in rounds, make sure to join with a slip stitch before fastening off to create an even and seamless finish. Once all loose ends are woven in and secured, you can continue with the remaining steps on how to crochet ribbing.
Frequently Asked Questions
Q: Can I Use Any Stitch Pattern for Ribbing?
A: As discussed above, there are various stitch patterns that work well for ribbing. However, it’s important to consider the purpose and style of your project and choose a stitch pattern accordingly. Some patterns may be more suitable for a refined look, while others may offer more stretch and flexibility. Don’t be afraid to experiment and find the perfect stitch pattern for your unique creation!
Q: What Is The Purpose Of Ribbing In Crochet?
A: Ribbing serves several purposes in crochet projects. It adds texture and depth to a design, provides elasticity and stretch, and can also help with shaping or fitting certain pieces such as cuffs or waistbands. In garments, ribbing is often used to create a clean finish at openings (such as necklines) or add structure to specific areas of the garment.
Conclusion
Crocheting ribbing adds a unique touch to any project while also providing functional benefits such as stretchiness and texture. By following these steps on how to crochet ribbing, you can easily create beautiful and professional-looking ribbing for your next crochet project. Remember to experiment with different stitch patterns, yarns, and tensions to find the perfect ribbing for your unique style and project needs. Happy crocheting!
Elizabeth Davis
Elizabeth is a creative writer and digital editor based in the United States. She has a passion for the arts and crafts, which she developed from a young age. Elizabeth has always loved experimenting with new mediums and sharing her work with others. When she started blogging, she knew that DIYquickly would be the perfect platform to share her tutorials and tips. She's been writing for the blog from the beginning, and her readers love her helpful advice and easy-to-follow instructions. When she's not writing or editing, Elizabeth enjoys spending time with her family and friends.


