
How to Cure UV Resin With Sun
UV resin is one of the most commonly used materials in the fabrication of 3D printing filaments. It has a wide range of applications and can be used for various printing tasks.
However, there are times when curing this resin can be difficult, especially if you don’t have access to an oven or other form of heat. In this blog post, we will show you how to cure UV resin with sun power! So keep reading to learn more.
What Is Uv Resin, and Why Do You Need to Cure It with Sun
Resin is a polymer that can be used for various purposes, from casting jewelry to coating surfaces. It’s strong and durable, making it an ideal material for many different projects. However, the regular resin can be brittle and difficult to work with.
UV resin is a type of resin that cures when exposed to ultraviolet light. This makes it much easier to work with, as it can be poured into molds and then set quickly with the help of a UV lamp. UV resin is also much tougher than regular resin, making it ideal for applications where durability is important. So, why do you need to cure UV resin with the sun?
The sun’s ultraviolet rays are stronger than the light emitted by most UV lamps, so exposure to sunlight will cause the resin to harden more quickly and evenly. This results in a finished product that is strong and free of imperfections. So, if you’re looking for a high-quality finish, curing your UV resin with the sun is the way to go.
How to Cure UV Resin with Sun Step by Step Guide
Step 1: Prepare Your Work Area
The first step is to cure your work area. Ensure you have a well-ventilated area to work in and that the UV resin will not be exposed to direct sunlight. You will also need to gather supplies, including gloves, curing containers, and a UV lamp.
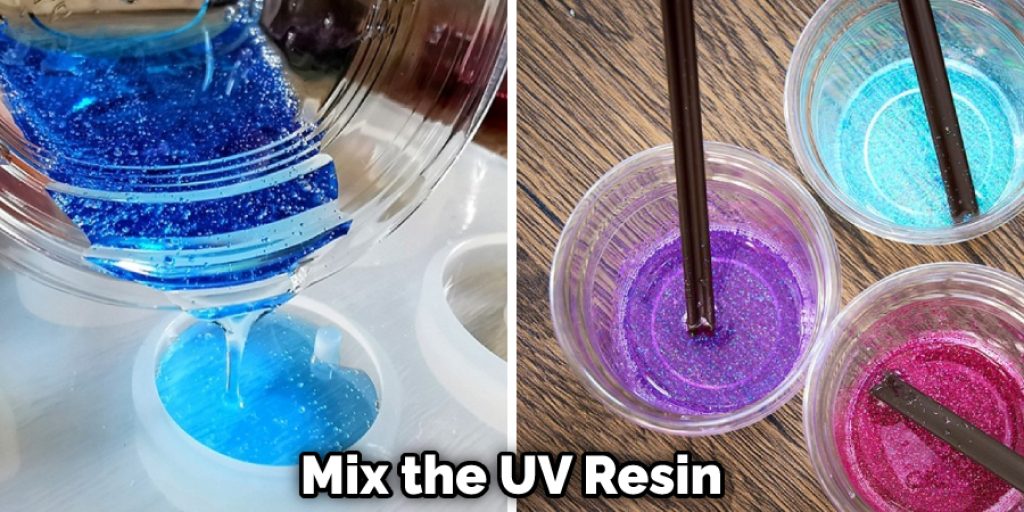
Step 2: Mix the Resin
Next, you will need to mix the UV resin. This can be done by using a toothpick or other sharp object to stir the resin until completely mixed. Once the resin is mixed, you can pour it into the curing containers.
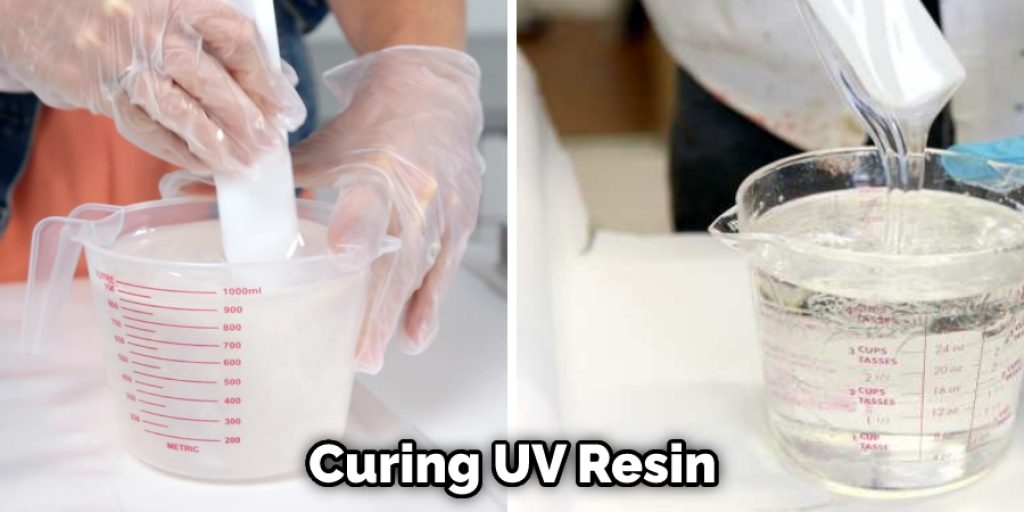
Step 3: Cure the Resin
Now, it is time to cure the UV resin. You will need to place the curing containers in a well-ventilated area and expose them to direct sunlight. The UV light will help to cure the resin and harden it. You can also use a UV lamp to speed up the process.
Step 4: Check the Cured Resin
After a few hours, you should check on your cured resin. If it is still soft or sticky to the touch, you will need to continue exposing it to UV light until it becomes firm and fully hardened. Once the resin is fully cured, you can remove it from the container and begin using it as desired.
Step 5: Store the Resin
Once you have finished using the UV resin, you will need to store it in a cool, dark place. The resin can be stored in an airtight container or a dark room. If you are not going to use the resin right away, you can store it in the fridge for six months.
Whether working with UV resin for a DIY craft project or as part of your professional artwork, learning how to cure it with sunlight is an important skill.
By following these simple steps, you can quickly and easily cure your UV resin and create beautiful finished pieces that will last for years to come. Keep reading for more information about how to cure uv resin with sun.
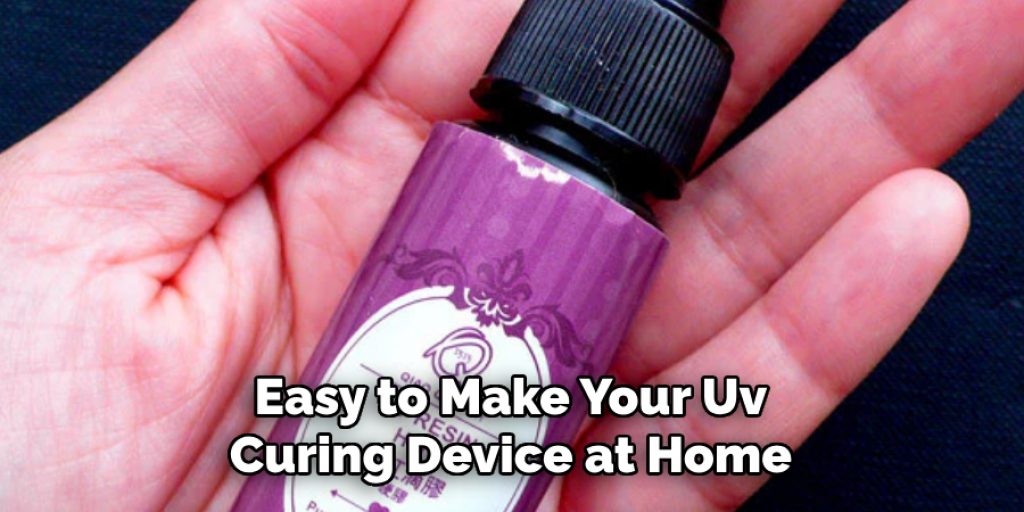
How to Make a Simple UV Resin Curing Device
UV curing devices are becoming increasingly popular for various applications, including 3D printing and resin casting. And while there are many commercially available options, it’s also relatively easy to make your UV curing device at home. You need a UV LED, a power supply, and a few simple tools and materials.
To start, you’ll need to purchase a UV LED. You can find these online or at your local electronics store. Once you have your LED, you’ll need to solder it to a power supply. This can be a 9V battery, a AAA battery holder, or anything else that can provide the necessary power.
Once your LED is soldered in place, you’ll need to add a few UV-resistant materials to protect it from the elements. This can be anything from clear packing tape to heat-shrink tubing.
Once your LED is secured, you’ll need to test it to ensure it’s working properly. The best way to do this is to shine the light on a piece of white paper or fabric and look for any fluorescence.
You’re ready to start curing your resin projects if everything looks good! Expose your resin project to the light for the recommended time and enjoy!
The Benefits of Curing Your UV Resin with Sun
When curing UV resin, many crafters swear by the sun. And for a good reason! There are plenty of benefits to using sunlight to cure your resin, including that it’s free, convenient, and fast. But what exactly is curing, and how does the sun help?
First of all, curing is the process of hardening UV resin to be ready to use. And while you can use a UV lamp to cure your resin, sunlight is more effective. That’s because UV lamps emit light at a shorter wavelength than the sun, which means they don’t penetrate the resin.
On the other hand, Sunlight penetrates much deeper into the resin, resulting in a better cure. In addition to being more effective, cured UV resin exposed to sunlight will also yellow over time. So if you want your pieces to stay nice and clear, curing them in the sun is the way to go.
Can I Leave Resin Outside to Cure?
You can leave your resin project outside to cure! Exposing resin to fresh air and ultraviolet (UV) light will help to speed up the curing process. However, remember that UV light can cause some colors to fade, so if you want your finished piece to retain its vibrancy, it’s best to cure it in a shaded area.
Temperature is also something to consider when curing resin. If it’s too cold, the resin will take longer to harden; bubbles may form in the resin if it’s too hot. Ideally, you should cure your resin project in an area between 70 and 85 degrees Fahrenheit. With these tips in mind, you can confidently cure your resin project – whether you do it indoors or out!
Frequently Asked Question
How Long Does UV Resin Take to Cure in Sunlight?
UV resin can be cured in direct sunlight in a matter of minutes. The curing time may vary depending on the thickness and strength of the resin, how much sunlight is available, and how hot it is outside. In most cases, the resin will be completely cured in a couple of hours.
What Happens to Resin in The Sun?
UV resin cures with the help of sunlight. Sunlight emits radiation in the form of ultraviolet (UV) waves. These waves penetrate the resin and start a curing process, which turns the liquid resin into a solid object. The thicker the resin layer, the longer it will take to cure.
Conclusion
So, if you have any leftover UV resin or want to be prepared for the next time you make some, now you know how to cure uv resin with sun. It’s a quick and easy process that will save you from waiting around for your resin to harden. And who doesn’t love spending some time outdoors in the sun?
You May Also Read: How to Remove Dust From Cured Epoxy Resin


