
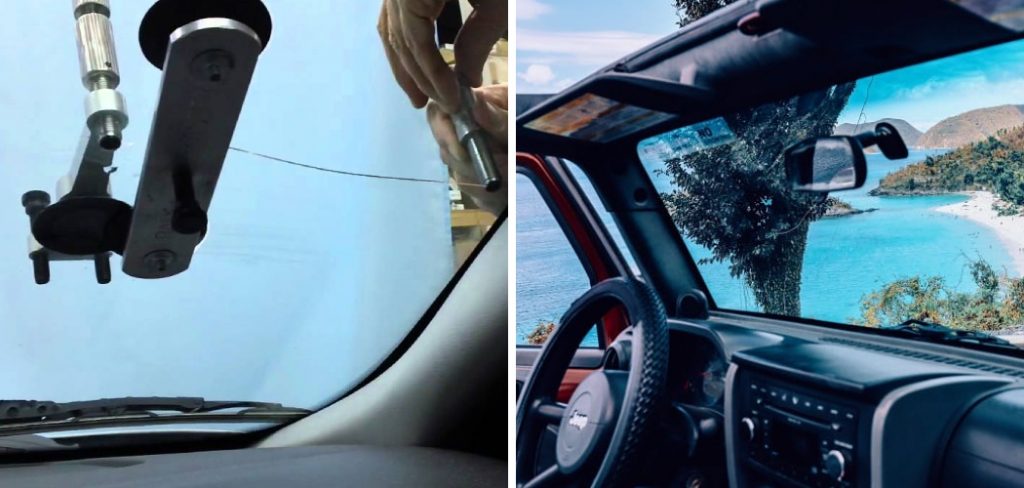
How to Cure Windshield Resin
Windshield resin is an adhesive that helps keep the windshield in place. If it becomes brittle or cracks, it can cause the windshield to fall out of the car. Resin can be cured using various methods, including UV light, heat, and time. In this post, we will discuss how to cure windshield resin.
What Is a Windshield Resin?
A windshield resin is a clear, protective coating applied to your windshield’s interior surface. This resin helps prevent cracking and other types of damage from impacting your windshield over time.
Other benefits of a windshield resin include increased visibility, increased safety for drivers and passengers, and protection against UV rays and other harmful weather conditions.
Whether you drive frequently or need to protect your windshield in the winter months, a windshield resin can be an effective way to improve safety on the road. So if you’re looking for a way to keep your windshield in top condition, consider investing in a quality windshield resin today.
Why It’s Important to Cure Windshield Resin?
There are many reasons why curing the resin in windshields is important. Of course, one of the most important is safety – ensuring that the windshield can provide a clear and unobstructed view while driving. In addition, the cured resin can help to resist damage from heat and cold, protecting the windshield and extending its lifespan.
Moreover, curing resin plays an essential role in preventing chips and cracks from forming in the first place. By ensuring that your windshield is properly cured and well-maintained, you can help protect both yourself and your passengers during every journey.
So if you want to keep yourself safe on the road, be sure to take the time to cure your resin thoroughly and regularly!
How to Cure Windshield Resin Step by Step Guide
Step 1: Identify the Damage Resin
The first step is to identify the damage. This will help you know how to proceed with the repair. There are two types of windshield damage: cracks and chips. Each type of damage requires a different approach to resin curing.
Cracks:
Windshield cracks are long, thin lines that can run the length of your windshield. They can be caused by various things, including rocks, hail, or even extreme temperature changes.
Chips:
Windshield chips are small, round divots in the glass. They are usually caused by flying debris, like rocks or gravel.
Step 2: Prepare the Surface
In order to effectively cure the damaged windshield resin, you will need to prepare the surface of your windshield thoroughly. This involves cleaning it thoroughly with soap and water, removing any debris or excess dirt from the affected area.
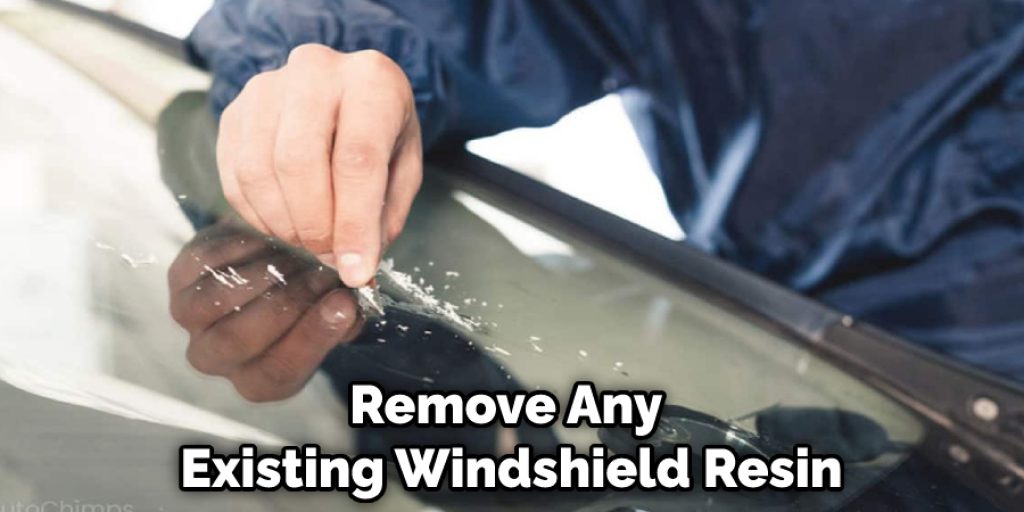
Step 3: Remove the Old Resin
Once the surface has been prepped, you can begin removing any existing windshield resin. This can be done using a special tool that scrapes away the old resin without harming your windshield.
Step 4: Mix the New Resin with The Hardener
To cure the windshield resin, you must mix the new resin with the hardener. Begin by pouring a small amount of the resin into a mixing cup, using equal parts of both ingredients. Next, use a stirring stick or utensil to mix the two components until they are fully combined thoroughly, and there are no lumps or clumps.
Once the resin has been thoroughly mixed, apply it to the windshield using a clean painting brush or roller. It is important to work quickly and carefully as you apply the resin, as it will begin to set and harden after just a few minutes. Then, allow the resin to dry completely before driving your car again.
Step 5: Let It Dry for 24 Hours Before Driving Your Car
Once the resin has been applied, it is important to let it dry for at least 24 hours before driving your car again. This will give the resin time to fully set and harden, ensuring that your windshield is properly protected.
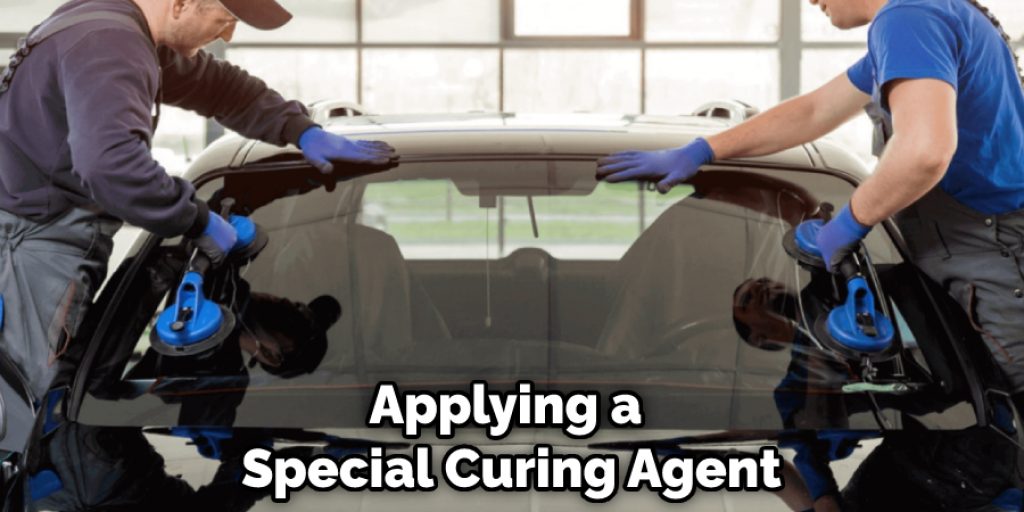
Step 6: Apply Resin Curing Agent(Optional)
If you want further to improve the durability and strength of your windshield resin, consider applying a special curing agent after it has fully dried. This step is optional, but it can help increase the lifespan and performance of your windshield by strengthening its protective properties. To apply a curing agent, follow the manufacturer’s instructions on how much to use and how often.
Whether you are driving on the highway, navigating city streets, or just out for a leisurely drive, your windshield plays an important role in ensuring that you stay safe and protected behind the wheel.
By learning how to cure windshield resin and maintaining it regularly, you can help prevent chips and cracks from forming, keeping you safe on the road for years to come.
Frequently Asked Question
How Long Does It Take Windshield Resin to Dry?
It usually dries within a few hours, but it can take up to a day, depending on how thick the application is. Keep the area dry and avoid getting the resin on your clothes or skin.
How Long Does Glass Resin Take to Set?
The curing time for glass resin can vary depending on the type and resin used. However, most resins will take 24 and 48 hours to cure completely. Therefore, it is important to allow the resin enough time to cure completely to achieve the desired results.
Can Resin Cure without Uv Light?
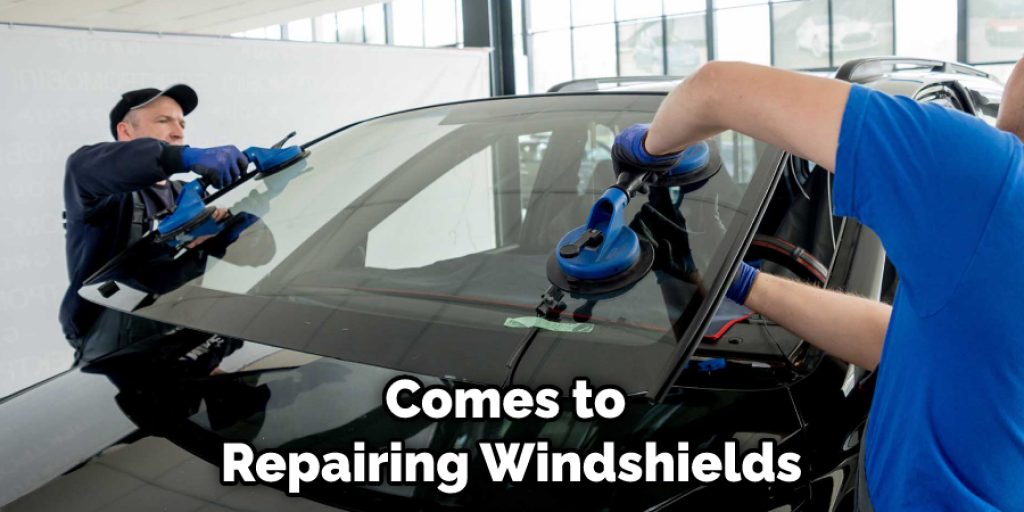
When it comes to repairing windshields, one of the most important things you need to consider is how to cure the resin effectively. Several different methods can be used, but some may require access to UV light to work properly. However, some options do not require UV light and can be just as effective.
What Temperature Does Resin Cure?
The temperature at which resin cures depends on various factors, including the type of resin and the method of curing. Generally, resins will cure more quickly at higher temperatures, although some types may require specific temperatures for optimal results.
Conclusion
A little bit of preparation and caution can go a long way when repairing a windshield. Ensure you have all of the necessary supplies on hand, cure the resin in direct sunlight, and check the weather beforehand to avoid any potential problems.
By following these simple tips, you can ensure that your windshield repair goes as smoothly as possible. Thanks for reading our post about how to cure windshield resin.


