
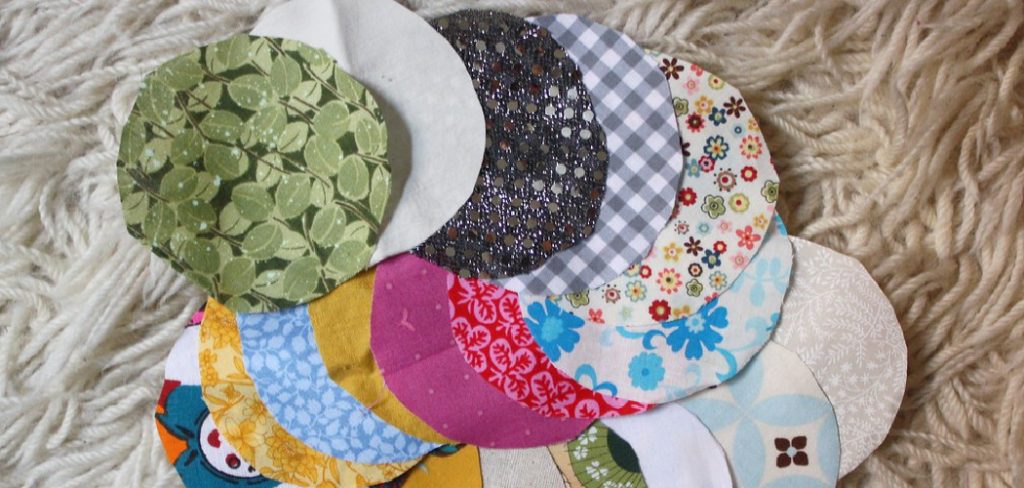
How to Cut a Circle in Fabric
Ever wanted to sew a pillow with a round shape but didn’t know how to cut a circle in fabric? Well, look no further! In this blog post, we’ll show you how to cut a perfect circle out of fabric using just a few supplies that you probably already have at home. Trust us; it’s easier than you think!
Can You Cut a Circle in Fabric?
Yes, you can definitely cut a circle in fabric! It is an easy process that can be completed using either a pattern or by using trial and error. By starting small and slowly increasing the size of your circle, you can easily achieve magnificent results!
For more intricate designs, dip into your sewing stash and pull out either large buttons or small circles of felt to create templates that can be used as a guide while cutting. The process might be slow, but it is worth the effort when the end result looks exactly like what you visualized!
Why Should You Cut a Circle in Fabric?
Knowing how to correctly cut curves and circles in the fabric can be invaluable when crafting garments, home decor, and anything else that calls for a round shape. Not only is the pattern more exact in its curved shape than an approximation such as a triangle, but the seam allowance often holds better over time, resulting in less fraying and uneven wear.
In addition, by properly cutting circles from fabric, you can ensure that any centralized designs are centered properly over the finished piece of clothing or other creation. When done correctly, cutting circles from fabric can be a rewarding skill that will add even more professional-looking details to all of your sewing projects.
Supplies Needed
- A piece of paper or cardboard (at least 8″ in diameter)
- A pencil
- A pen or marker
- A sharp pair of scissors
- The fabric of your choice (we recommend using a light-colored fabric so that you can see the pencil marks easily)
- A sewing needle and thread (optional)
7 Steps to Follow on How to Cut a Circle in Fabric
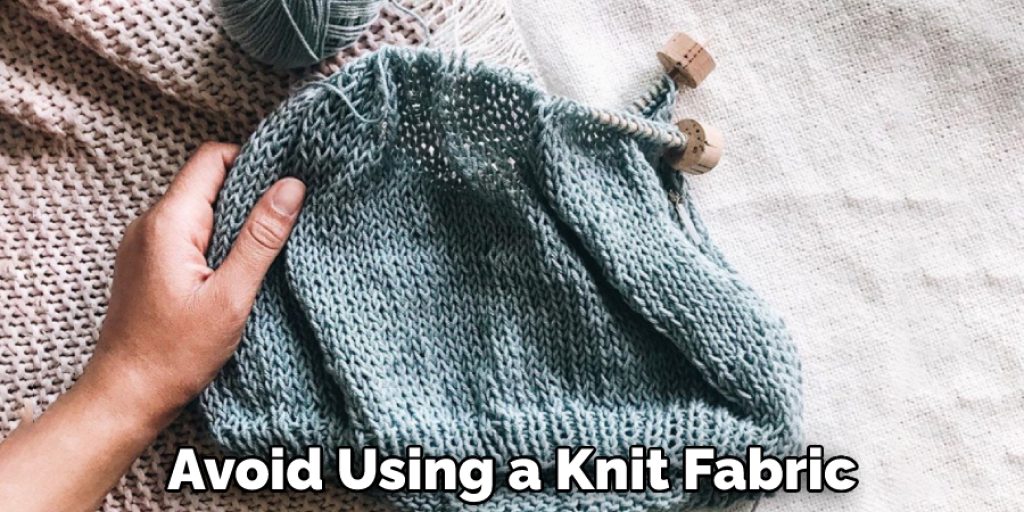
Step 1. Choose the Right Type of Fabric.
If you’re going to be cutting a lot of circles, it’s important to choose the right type of fabric. A good option is to use quilting cotton, as it’s easy to work with and doesn’t fray too much. Avoid using a knit fabric, as it can be difficult to cut cleanly.
Step 2. Trace the Circle onto The Fabric.
Use a pencil or chalk to trace the circle onto the wrong side of the fabric. If you’re using a template, trace around the outside edge of the template. If you’re freehanding it, make sure to draw a light line so that it’s easy to see.
Step 3. Cut out The Circle.
Using sharp scissors, cut out the circle that you traced. If you’re feeling extra precise, then use a rotary cutter to get a perfectly even edge. To ensure accuracy, cut slowly, and always try to keep your scissors perpendicular to the fabric as you go.
Step 4. Finish the Edges of The Circle.
If you want, you can finish the edges of the circle before sewing it onto another piece of fabric. One option is to serge them, giving them a clean finish and preventing them from fraying too much. Another option is to use pinking shears, giving them a zigzag edge that won’t fray as much.
Step 5. Sew the Circle onto Another Piece of Fabric.
If you’re adding the circle to another piece of fabric, sew it on using a straight stitch and matching thread. Start at one edge of the circle and sew around until you reach the starting point again. Be sure to backstitch at each end to secure the stitches.
Step 6. Trim Any Excess Thread.
Once you’ve sewn the circle onto another piece of fabric, trim any excess thread from around the edge. You can also trim away any loose threads from inside the seam allowance so that they don’t get caught on anything later on.
Step 7. Press the Seam Allowance Open.
After trimming away any excess thread, press the seam allowance open with an iron. Make sure to use a low heat setting since the fabric might scorch at higher temperatures.
This will help create crisp corners and smooth curves for your circle. For best results, use an ironing board or cover a flat surface with a towel for cushioning when pressing the seam allowance.
That’s it! You’ve now learned how to cut a circle in fabric. With this newfound knowledge, you can create all sorts of projects that involve circles. So have fun and get creative!
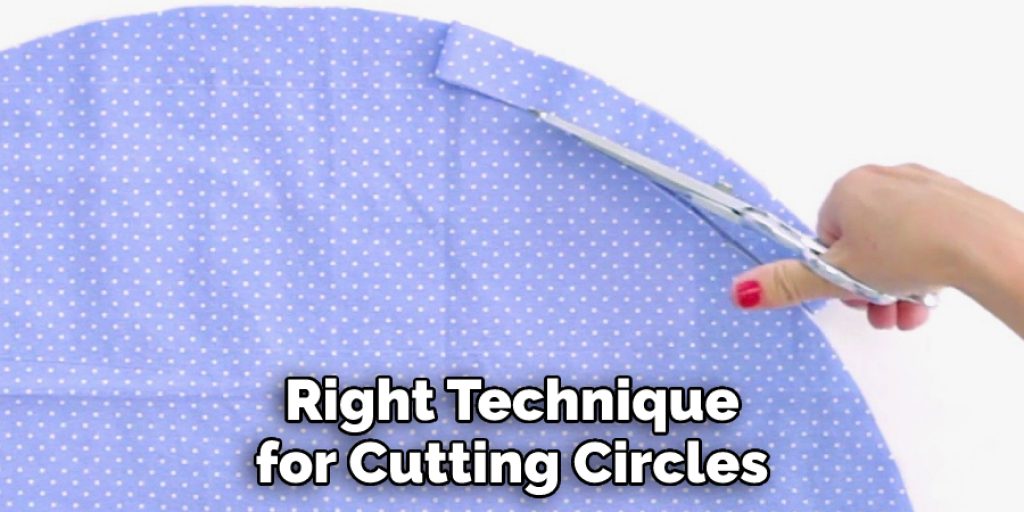
Things You Need to Know Before Cutting a Circle in Fabric
If you want to make perfectly rounded shapes in your fabric projects, then knowing the right technique for cutting circles is essential. Before starting, measuring and marking a centered guideline is crucial. This ensures that your circle will be uniform in size. To stabilize the fabric during cutting, use paper and pins or spray adhesive.
Besides being accurate, accuracy during cutting and safety are paramount for an evenly-cut circle. A rotary cutter is the most effective tool for this task as it simultaneously gives a clean edge on both sides of the circle. Just don’t forget to replace blades regularly for better results.
With this information in mind, you can confidently create any number of circles with precision and ease in your future fabric creations!
5 Benefits of Cut a Circle in Fabric
1. More Fabric to Work With
When you cut a circle in fabric, you end up with more fabric to work with than if you had cut a square. This is because the fabric is not cut along the grain, so there is less waste.
2. Easier to Sew
Circles are also easier to sew than squares. Again, this is because there are no corners to deal with, so you can simply sew around the edge of the fabric.
3. More Flattering Shape
When you wear a garment that has been cut into a circle, it will be more flattering than one that has been cut into a square. This is because the circle shape will follow the curves of your body, while the square shape will not.
4. Can Be Worn Multiple Ways
A garment that has been cut into a circle can also be worn in multiple ways. For example, you can wear it as a dress, or you can wear it as a skirt.
5. Fabric Will Not fray
Another benefit of cutting a circle in the fabric is that the fabric will not fray. This is because no edges can become frayed when you cut a circle.
Some Common Mistakes People Make When Trying to Cut a Circle in Fabric
Cutting circles in the fabric can be challenging due to their curved shape and the nature of the fabric. People make many common mistakes when attempting this task, such as not calculating the center point correctly or not pressing the fabric under to make a crease line for guidance when cutting.
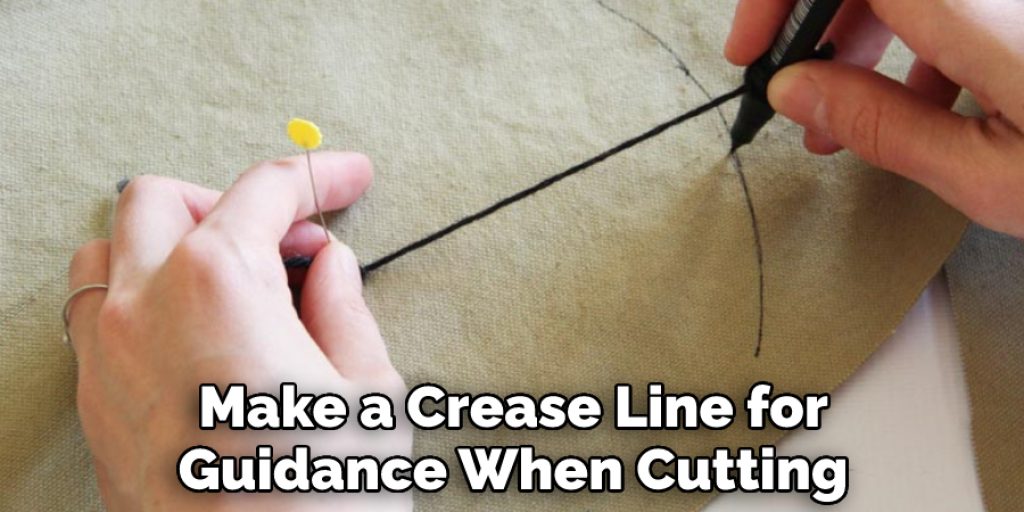
People also tend to cut outside of guidelines for accuracy, forgetting to keep the blade straight up and down and angles even around the circle. To prevent these blunders, it is important to measure twice before making a cut, iron out fabric creases before creating guideline lines, and hold the razor blade up at an even angle throughout the entire process.
Cutting circles in the fabric with a few simple tricks and some attention to detail can be mastered with excellent results.
How to Sew Together a Circular Quilt Top
Sewing together a circular quilt top can seem daunting for a beginner. However, it doesn’t have to be! All you need is a little bit of patience and the right sewing materials. To begin, press all pieces on both wrong sides up with starch or sizing. Next, line up the edges as evenly as possible and adjust until they fit correctly.
Take your time basting between the “seams” at least 1/4 inch away from the edge, then move on to using your sewing machine. Stitch slowly, ensuring that the feed dogs do the work to keep your fabric moving underneath them. Review each seam in case additional stitches are needed to ensure that your quilt squares stay put after they are sewn together.
Your circular quilt top will soon come together with careful attention and slow, steady stitching!
How to Make Hems on Circles on Fabric
Making hems on circles can be intimidating if you are new to sewing, but it is actually quite simple! Start with a piece of fabric in the size and shape of your desired circle. Then, fold the edge of the fabric over that will form your hem and press it in place.
Depending on the type of fabric and project you’re working on, use either an iron or pins to keep the fold in place. If using an iron, make sure not to leave it in one spot too long, so you don’t damage your fabric. Once pinned or pressed in place, use a machine or hand-sewn stitch to secure the hem.
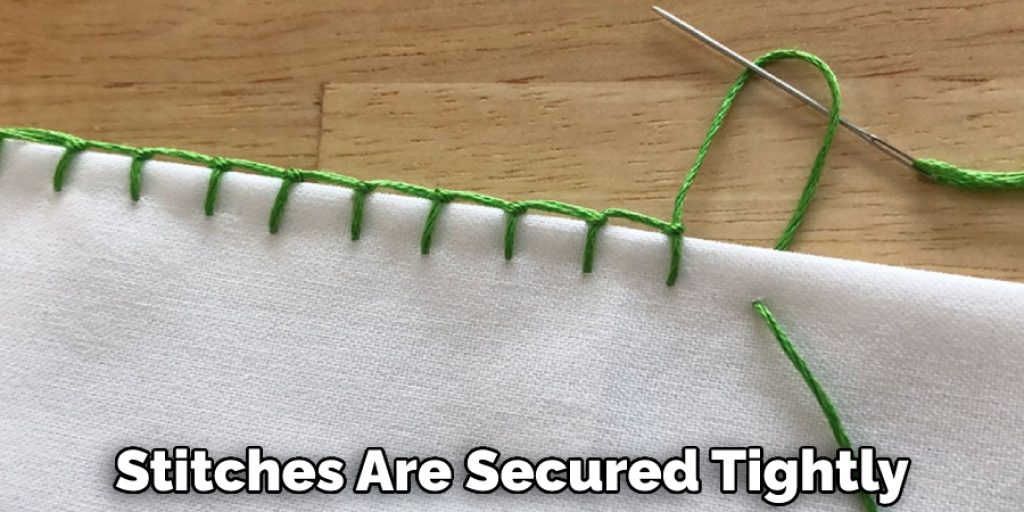
The key is ensuring all parts of your stitches are secured tightly, adding stability and durability to your final product. With practice and due care, making hems on circles is achievable!
Conclusion
Once you’ve followed these steps, you should have a perfect fabric circle! Cutting circles in the fabric can be tricky, but with the right tools and techniques, it doesn’t have to be hard. Taking your time and learning how to cut a circle in fabric is worth the effort so that you can create beautifully shaped pieces for any project.
Nancy Behan
Nancy is an embroidery artist, fashion blogger and a full time editor at DIY quickly. Nancy edits the fashion section on DIY quickly, focusing on the embroidery and cross stitch articles, alongside with fabric and other costume design elements. She graduated from the University of Michigan with a Bachelor of Arts in Art History. She loves to work on her own projects, read books and watch romantic movies in her spare time.


