
How to Cut a Hole in Wood without a Jigsaw
Introduction
Carving a hole in a piece of wood looks much simple, but the actual work is quite tiring because this process needs mechanical equipment to perform the task. Still, sometimes in case of emergencies, it is not possible to obtain such mechanical equipment; in such circumstances, you have to use homemade tools; for this reason, today we are going to suggest you some techniques which will help you to learn how to cut a hole in wood without jigsaw, this will be much beneficial.

Summary: If you’re looking to cut a hole in wood without a jigsaw, there are a few options available. You can use a hand saw, a circular saw, or an electric drill. Be sure to take the time to practice beforehand so that you know how to properly use each tool. And make sure to wear safety goggles and a dust mask when using them.
Requirements
For the process you will need quite a several things which included wooden planks of small size, this will be required to make the DIY compass, you will also require pins that will be drilled into the wood. For the drilling purpose, you will need drill machines, and there is also a need for a pencil and ruler for the task. You should also keep a chisel and coping saw while performing the task; sandpaper is much needed for the smooth finish.
Procedure
Many processes available will enable a person to cut a circle in a wooden plank without using the jigsaw. Homemade tools and DIY tools are much preferable in this case. All the techniques will be much helpful for beginners. Some of these techniques bare explained below.
Pinned Method
In this method, you will need to take a rectangular piece of wood at first. The dimension of the wood shouldn’t exceed two inches in width. This wood panel is taken to make the instrument for marking the circle. After you have obtained the desired wood piece, put pins in them. You have to take two pieces of pins for this purpose.
Then you must take a drill machine and make two holes in the wood. You have to ensure that the holes are made according to the radius of the circle you want to cut. After the two holes are bored, you will take two pins and insert them into the pre-drilled holes. In this case, the first pin, closer to the edge of the wood, should be pierced less than the wood drilled at the inner part of the wood.
The inner pin will act as the base to hole the center of the circle, and the outer pin will work as the part which will draw out the ring on the wood. Now that you have prepared the compass, you will take the piece of wood that you want to draw the circle and make the center of the ring. Then place the inner pin on the point and start encircling the spot with the outer fastener.
After making a few rotations, you will observe that the circle’s engraving has been started, and then you have to continue the rotation and apply pressure while performing the work. You have to make sure that the pins are much sharp because the complete circle will be carved out in the wood by the bolt. After severing such rotations, the loop will automatically get detached in front of the wood, and the wood will have a hole carved. This way, a complete circle can be drawn from the wood without mechanical tools or a jigsaw.
Sand Paper Method
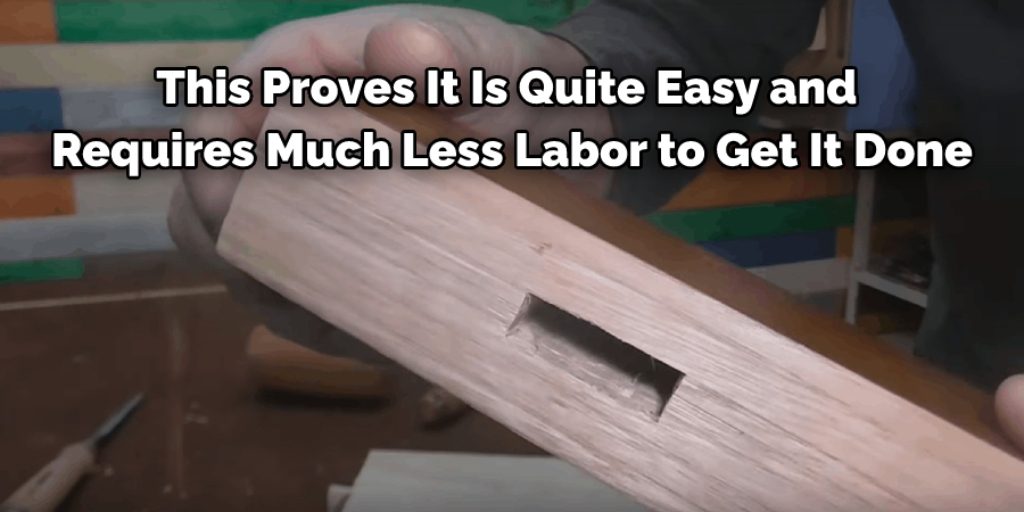
This proves it is quite easy and requires much less labor. For this process, at first, you need a compass and the price of wood in which you want to carve the circle. You will also need sandpaper and a rotator to attach the sandpaper. This is done to make the circle smoother and provide an elegant finish to the circle edges.
So we take the wood piece and mark the circle’s center. This can be quickly done by drawing two diagonals on the wood, and the intersection of both the diagonals will be preferred as the center of the circle. Not take a compass and attach a pencil to the compass. Next, you have to adjust the compass according to the desired radius of the circle that you want to draw.
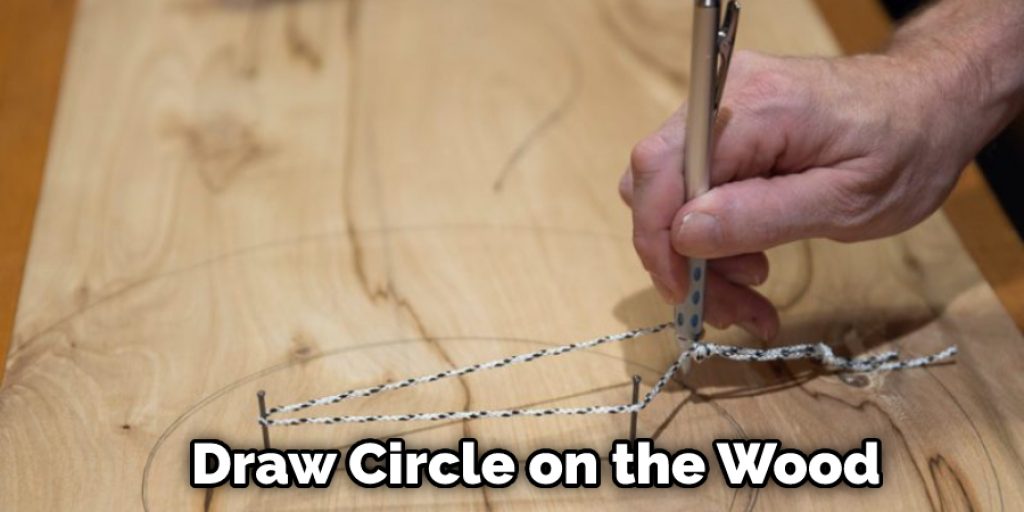
Then you have to draw the circle on the wood. Thus the circle will be marked now. We have to separate the circle from the wood. For this, we can take a coping saw and at first cut the edges and the extra portion of the wood that is not needed next. We take the wood and turn on the sandpaper. Next, we will smooth the sides of the circle using the sandpaper machine. Remember to wear goggles while using the sandpaper machine.
Thus the circle will be obtained, and now you have to place the loop on the wood and then tighten it with the clamp. Next, using a hammer, we take the chisel and care about the circle’s circumference. Then you will continue to mark the ring, and at some point, the loop will be carved out, and the hole will be created. Then you can use sandpaper to smoothen the edges. This complete circle will be detached, and the shaft will be available.
Precautions
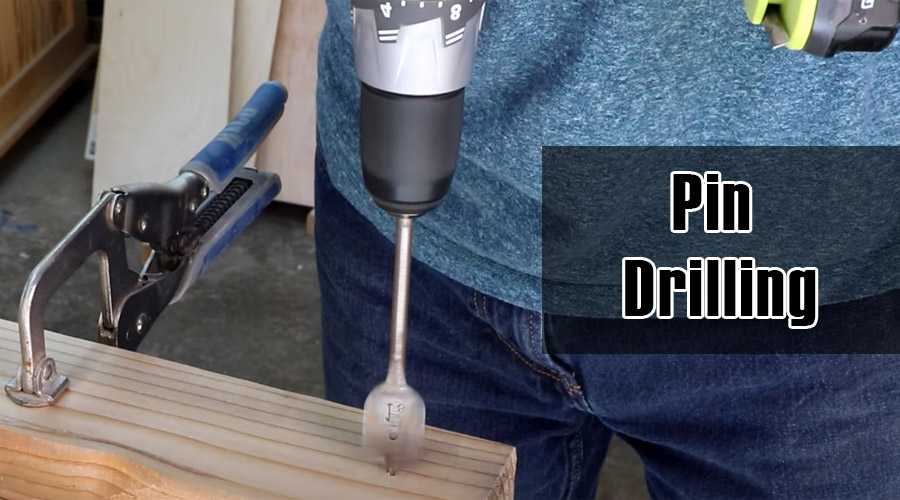
- Pin Drilling
For the first technique, you have to use pins to mark the circle’s circumference. We know that nails are many sharp objects, and continuously working with them by applying pressure is risky. For this reason, you have to maintain the proper safety while making the circle; it is better to wear gloves while performing the task, this will efficiently protect your hand from getting into any harmful scenario, and the work will also be much more precise.
Conclusion
Lastly, we hope that the mentioned techniques that we have exhibited will be much beneficial for you to make an exact hole in the wood. These processes will help to improve the DIY skills of beginners. There is no need for any mechanical equipment for the procedure. Besides, the artistry of the person will be enhanced. Happy crafting! Have a beautiful day!!


