
How to Cut Fabric for Quilting
If you’re a quilting enthusiast, you know that one of the essential steps in creating a beautiful quilt is cutting the fabric accurately. The properly cut fabric ensures precise piecing and alignment, resulting in a stunning finished quilt.
However, cutting fabric for quilting can seem daunting, especially for beginners. But fear not! In this article, we will guide you through the process of how to cut fabric for quilting, providing you with essential tips and techniques to achieve accurate and consistent cuts.
From selecting the right tools to understanding fabric grain and choosing appropriate measurements, we’ll cover everything you need to know to cut fabric confidently for your next quilting project. Get ready to embark on a quilting journey filled with precise cuts and stunning results.
What Is the Best Way to Cut Fabric for Quilting?
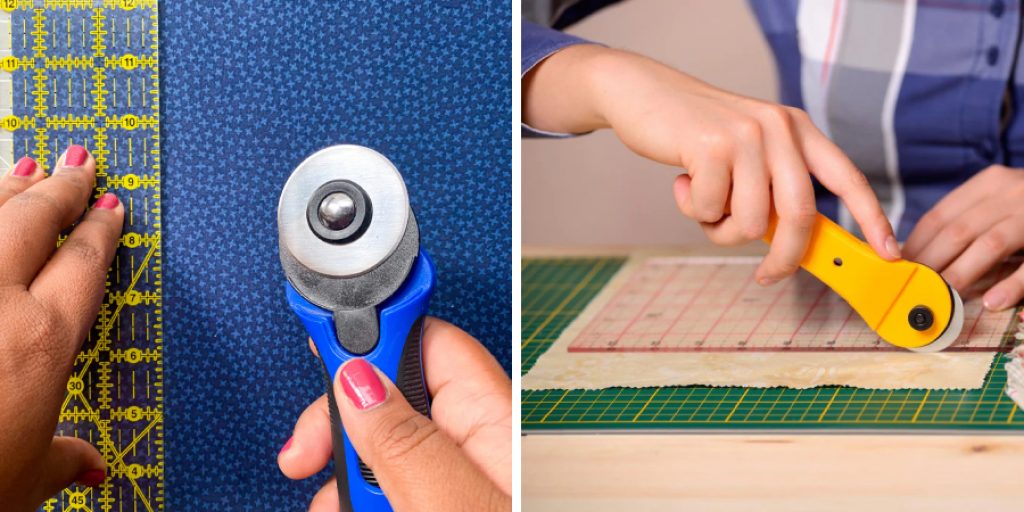
When it comes to quilting, cutting fabric accurately and precisely is essential to ensure the quality of your finished product. The most common way to cut fabric for quilting is with a rotary cutter. This type of tool is designed specifically for clean, accurate cuts on multiple layers of fabric. It typically consists of a round blade attached to a handle, with the blade spinning at high speed when in use.
In addition to using a rotary cutter for quilting fabric, you can also use scissors or pinking shears. Pinking shears have sharp zigzag blades that create an interesting texture when cutting fabric. Using these tools gives you more precision and control than a rotary cutter, but it can be more time-consuming.
No matter which method you choose, make sure to use a cutting mat.
A cutting mat is designed to provide an even surface when cutting fabric and protect your work surface from damage. It also has measurements printed on the surface that makes it easier to cut accurately in straight lines.
Finally, it’s important to make sure you have a sharp blade on your rotary cutter or scissors before use. A dull blade can cause fabric to stretch and create jagged edges that ruin the accuracy of your quilt pieces.
What Is the Best Tool for Cutting the Fabric?
When it comes to quilting, the best tool for cutting fabric is a rotary cutter. Rotary cutters are available in different sizes and come with interchangeable blades that can be used to make curved or straight cuts. When using a rotary cutter, it’s important to keep the blade sharp for accurate, precise cuts.

It’s also recommended to use an acrylic ruler and self-healing mat, as these will help protect your work surface and ensure accuracy when making cuts. A pair of good-quality scissors may also be required for intricate patterns or curves that aren’t possible with a rotary cutter. Additionally, certain fabrics require special shears designed specifically for cutting delicate materials like silk or satin.
No matter what type of tool is used, it’s essential to make sure the fabric is properly prepared before starting any cutting. This may include pre-washing and drying the fabric or folding it correctly according to project instructions. Once you’ve chosen your cutting tool and properly prepared the fabric, you’re ready to begin creating beautiful quilt pieces. By following these steps, you can rest assured that each cut will be accurate and precise for a professional finish.
10 Methods on How to Cut Fabric for Quilting
1. Prepare Your Workspace
Before diving into fabric cutting, it’s essential to set up a well-organized and clutter-free workspace. Clear a large table or cutting mat to provide ample room for measuring and cutting. Ensure that the surface is clean and smooth, allowing the fabric to lay flat without any wrinkles or bumps.
Gather your cutting tools, including a rotary cutter, a self-healing cutting mat, a quilting ruler, and fabric scissors. Having a dedicated quilting space will streamline the cutting process and help you work with precision.
2. Prewash and Press the Fabric
To prevent shrinkage and color bleeding, it is recommended to prewash your fabric before cutting. Follow the fabric manufacturer’s instructions for washing and drying. Once the fabric is clean, press it with an iron to remove any wrinkles and ensure a smooth surface for cutting. Pressing will also help you accurately measure and cut the fabric without distortion.
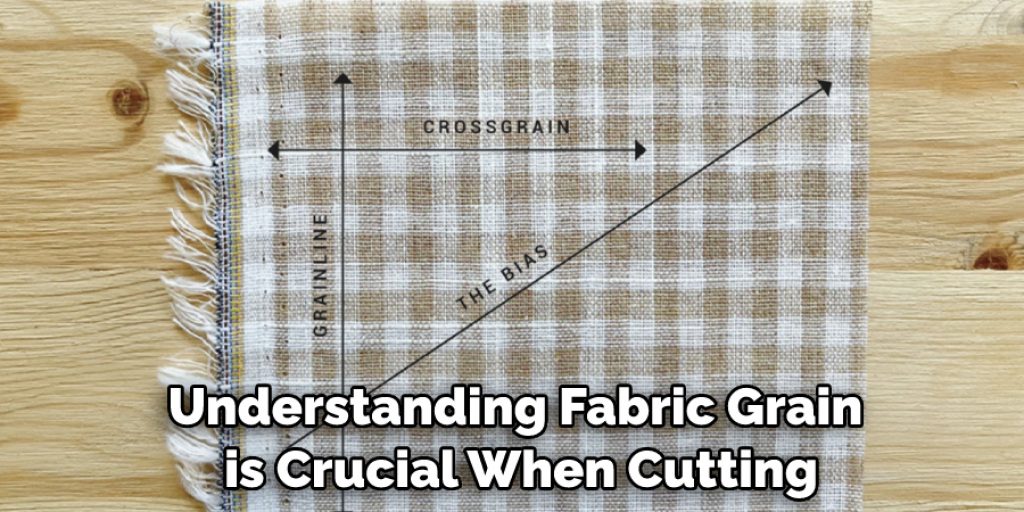
3. Understand Fabric Grain
Understanding fabric grain is crucial when cutting fabric for quilting. Fabrics have lengthwise grain (parallel to the selvage) and crosswise grain (perpendicular to the selvage). It’s essential to align your cutting lines with the fabric’s grain to ensure proper drape and stability in the quilt.
Align the selvage edges of the fabric and smooth out any wrinkles or folds. Pay attention to the fabric’s grain direction while cutting to maintain consistency.
4. Measure and Mark
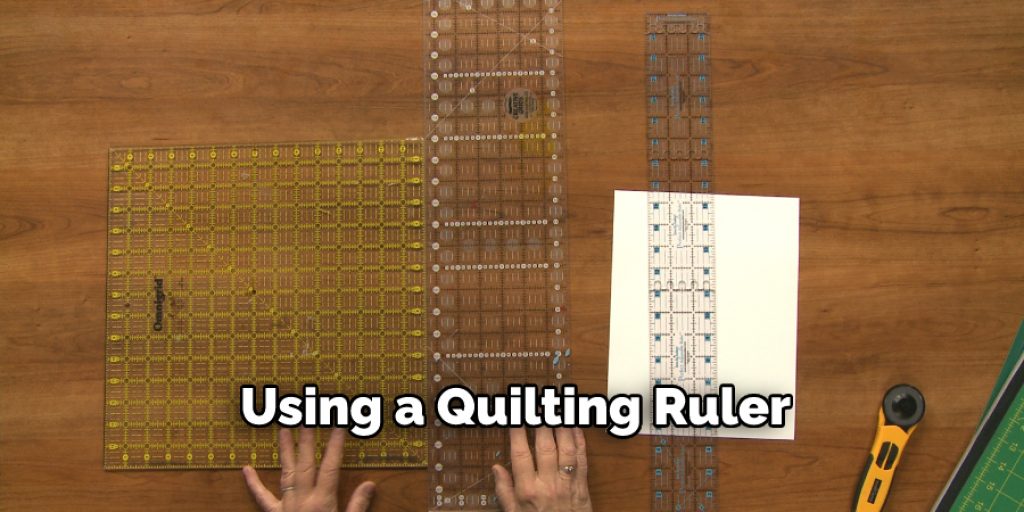
Accurate measurements are key to precise fabric cutting. Use a clear and accurate quilting ruler to measure the desired dimensions for your quilt pieces. Place the ruler on the fabric, aligning the desired measurement lines with the fabric’s edges.
Hold the ruler firmly in place and use a fabric marking tool to mark the cutting lines. Be consistent and precise while marking, as it will directly affect the accuracy of your cuts.
5. Rotary Cutting
Rotary cutting is a popular and efficient method for cutting fabric in quilting. Begin by placing your fabric on a self-healing cutting mat. Align the marked cutting lines with the ruler’s grid lines and hold the ruler securely in place.
With a sharp rotary cutter, apply firm and even pressure as you cut along the marked lines. Take care to keep your fingers away from the blade and maintain control of the cutter to ensure clean and accurate cuts. Rotary cutting allows for fast and precise cutting of multiple layers of fabric.
6. Scissor Cutting
While rotary cutting is commonly used, scissor cutting can be useful for certain situations. Sharp fabric scissors are essential for clean and accurate cuts. For smaller pieces or intricate shapes, transfer the marked cutting lines to the fabric and carefully cut along the lines using fabric scissors. Take your time and use smooth, even strokes to achieve precise cuts. Scissor cutting is particularly useful for curves and appliqué pieces.
7. Strip Cutting
Strip cutting is a technique used to create long, straight fabric strips for quilting projects such as borders, sashing, or binding. Start by measuring the desired width of the strip using a quilting ruler.
Align the ruler with the fabric’s edge and mark the cutting line. Then, use a rotary cutter or fabric scissors to cut along the marked line, creating a long strip of fabric. Strip cutting is efficient and allows for the quick production of uniform strips for various quilt elements.
8. Fussy Cutting
Fussy cutting is a technique used to selectively cut specific motifs or patterns from fabric to create visually appealing quilt blocks. It involves careful placement and cutting to showcase particular design elements.
To fussy cut, position your quilting ruler on the fabric, aligning it with the desired design. Use the ruler to frame the desired motif and mark the cutting lines. Then, use a rotary cutter or fabric scissors to cut along the marked lines. Fussy cutting adds a unique touch to your quilting projects and allows for creative fabric placement.
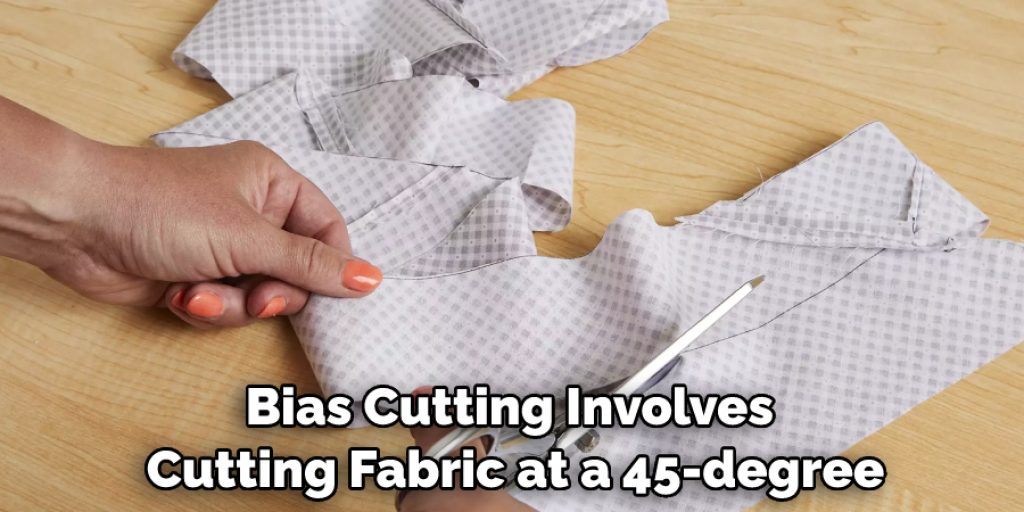
9. Bias Cutting
Bias cutting involves cutting fabric at a 45-degree angle to the fabric’s grain, resulting in bias strips or pieces. The bias-cut fabric has more stretch and flexibility, making it suitable for curved quilt blocks, bindings, or piping. To cut bias strips, start by aligning the fabric’s selvage edges.
Then, position your quilting ruler diagonally on the fabric, creating a 45-degree angle with the grain. Mark the cutting lines and cut along them using a rotary cutter or fabric scissors. Bias cutting requires accuracy, as slight variations can affect the fabric’s stretch and drape.
10. Trim and Square Up
After cutting your fabric pieces, it’s crucial to trim and square them up to ensure accurate piecing and alignment in your quilt blocks. Use a quilting ruler and rotary cutter to trim any uneven edges or excess fabric.
Align the ruler’s grid lines with the fabric’s edges and trim away any irregularities. Take care to maintain the original measurements and square up the fabric pieces as needed. Squaring up will contribute to precise and seamless quilt block construction.
Conclusion
With the right preparation and tools, fabric cutting for quilting is a fun and rewarding experience. Knowing the right methods and tools to use will help you get the most out of your fabric, both in time saved and in precise results. Consider investing in quality fabric scissors or rotary cutters to ensure clean, crisp edges on your quilt pieces.
Furthermore, marking your fabric before cutting provides accuracy and eliminates mistakes, making the process much easier. By following these steps for how to cut fabric for quilting projects, you’ll be able to tackle any material without fear.
So now that you know how it works, why not test it out yourself? Get creative with your fabric selection, cut confidently using the right tools and techniques, and enjoy making beautiful quilts to decorate your home or for loved ones!
Nancy Behan
Nancy is an embroidery artist, fashion blogger and a full time editor at DIY quickly. Nancy edits the fashion section on DIY quickly, focusing on the embroidery and cross stitch articles, alongside with fabric and other costume design elements. She graduated from the University of Michigan with a Bachelor of Arts in Art History. She loves to work on her own projects, read books and watch romantic movies in her spare time.


