
How to Cut Round Ductwork
Introduction
Ductwork is always needed in heavy machinery-related affairs. Besides, in the industrial buildings to run the HVAC system properly, ductwork is enormous. But these ducts are not always in good shape, and there is still a requirement of cutting the product according to the need of the user. For this reason today, we are suggesting a method on how to cut around ductwork. This will be much beneficial for beginners to learn the technique beforehand.
Summary: If you need to cut round ductwork, there are a few things you need to keep in mind. First, make sure the ductwork is the correct size for the job. Second, use a cutting tool that is specifically designed for round ductwork. And finally, be careful not to damage the ductwork or the surrounding area.
Requirements
For this process there is a need of few elements, among them first you will require a snap-lock pipe, this is the duct you want to trim, next you will require a tape measure, this will allow you to have a proper measurement while cutting, and after that, you will require a marker for marking the sizes. You will also need to have snips which will be used to reduce, and lastly, to crimp the duct, you will need a five-blade crimper.
Procedure
The steps for cutting round ductwork are stated below in chronological order for your convenience.
- Step One
At first, you have to take the snap-lock pipe that you want to cut and then measure the length of the tube, and then you have to decide the extent that you want to keep. This will be your preliminary job after you have gathered all the necessary tools for the task.
- Step Two
You have to use a measuring tape to figure out how long you want the duct to be, and then use a marker to mark that measurement on the duct. You can do this by attaching the front end of the measuring tape to the duct and then marking the point with the marker, or by holding the measuring tape at a distance of one foot from the duct and marking the point.
- Step Three
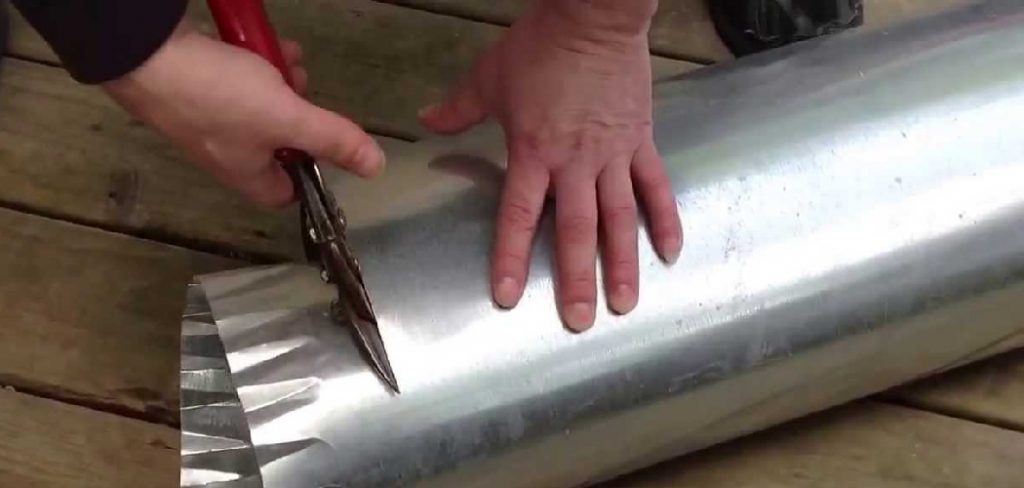
You can also place the marker and then turn the duct, and in this way, you will get a circular shape around the conduit, which will help you while cutting the pipe. Now once the marking is finished, you have to start by taking a snip. This will help you to reduce the pipe. But make sure that you wear gloves while cutting the cut because this has sharp edges.
- Step Four
Cut along the line you’ve drawn with the snips. It’s a circular object, so it’s easy to cut without ripping. Cut off the extra ductwork, then go along the mainline again. In this manner, the process will be completed, and you will get the required amount of ductwork.
- Step Five
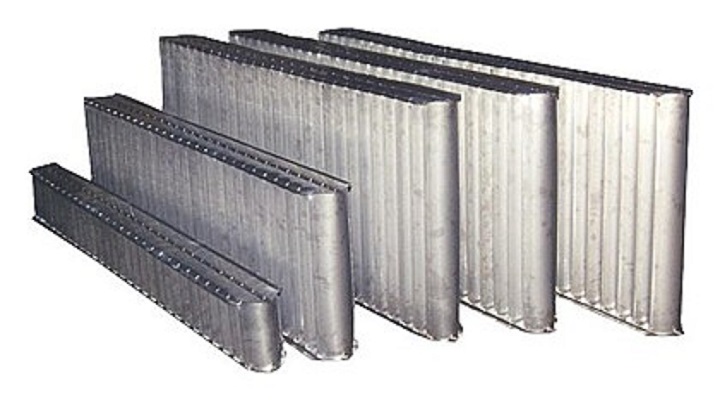
Lastly, you have to take a five-blade crimper. This will allow you to have proper crimping along the edge of the pipe. Thus the thermal effect on the pipeline will be compromised. The crimping should be done by marking a line and then applying the machine.
How to Cut Duct Work With a Dremel Cutoff Wheel?
Cutting ductwork with a Dremel Cutoff Wheel can be a great way to save time and money. It’s fast, and easy, and you can use the same wheel for multiple types of metals. Here’s how to get started:
- Put on protective gear, including eye protection, gloves, and hearing protection.
- Install the Dremel Cutoff Wheel into your Dremel tool with the instructions provided by the manufacturer.
- Mark where you want to make the cut in duct work using a marker or scribe tool, such as a nail or screwdriver.
- Clamp the duct work onto a stable surface so it cannot move while cutting it with the Dremel tool. The surface should not have any vibration that can alter your accuracy when cutting with a power tool like a Dremel tool or sawzall.
- Position your body so that you are looking down directly at where you need to make the cut and hold the Dremel Cutoff Wheel securely against the marked line on your duct material.
- Pull the trigger on your hand-held power tool and begin making small cuts until you reach your desired cut length or through a hole in the ductwork material with minimal effort from an angle perpendicular to how you were holding it above.
- When finished, remove any burrs or sharp edges left behind from cutting, then clean the area where you made cuts before installation into its final resting place within whichever mechanical system this part is needed for!
Conclusion
Lastly, we would like to express our heartfelt gratitude for providing precious time to go through our content. We hope that the technique that we have exhibited will help you learn and develop your skills. Have a beautiful day!!


