
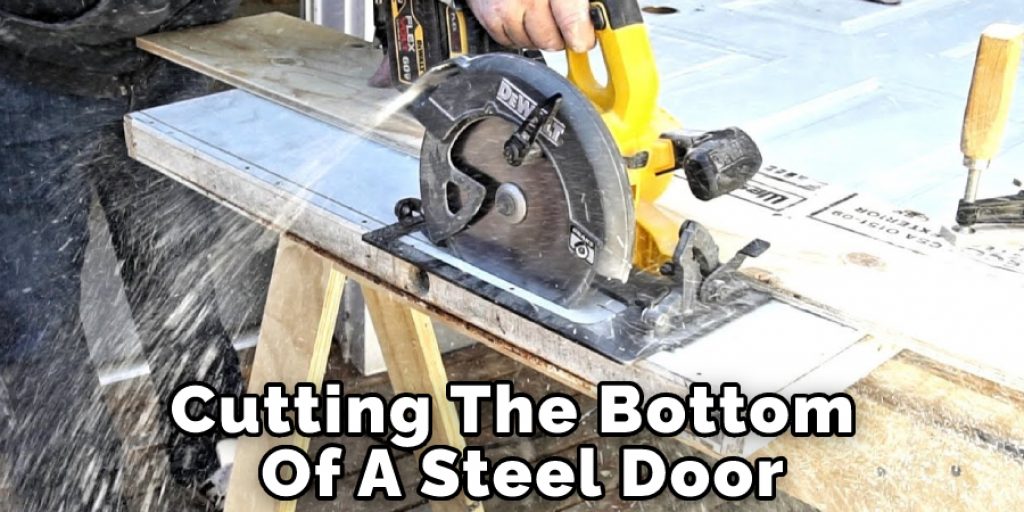
How to Cut the Bottom of a Steel Door
Introduction
Steel doors are the most popular type of door in the world. Steel doors are made from steel sheets that have been heat-treated and formed into a panel that is then joined with a frame and protective steel sheet on the door’s exterior. The panels are designed to resist impacts from kicks, blows, and bullets. However, sometimes it is needed to cut the bottom of a steel door, so today, I will discuss a technique on how to cut the bottom of a steel door.
Benefits of Steel Door
Steel doors can be cut, altered, and installed without a problem compared to wood doors. Most of the new steel homes have a steel door with a smooth finish on it. It is established as the most durable material for a door since it does not produce any noise due to rusting and rotting, unlike wooden doors.
Steel doors are very strong and durable, and can resist damage from fire, water, and other natural disasters. They are also more energy-efficient than other types of doors, because they help keep the heat inside during cold months and cool the house during warm months.
Step-Wise Guide on How to Cut the Bottom of a Steel Door
- Remove the door from its enclosure.
- Using a mild steel chisel hammer and some sledgehammers, drive between the bottom of the door and the floor to break off any nails that may be holding it in place. Be careful not to damage or chip off too much concrete/threshold material as you want your new hinge-connected door to sit flush with the floor and actually look like part of the floor when you are done.)
- Lay scrap plywood on top of the bottom 1/4″ thick material and lay another piece of 18mm (or thicker) plate across it as well, flip over so that both pieces that make up this sandwich are now on top instead of underneath. With a 15.75″ (or larger) hole saw, drill the concrete floor around the perimeter of the 18mm thick plate/door combo you just flipped over. This secures it in place so that when you use a jackhammer to break up and remove all of the concrete around it, this large plate goes with it as one unit without separating from your door, which is still secured to the plate; via bolts.)
- Using an angle grinder with a diamond blade mounted on it, remove all excess material from within the 1/2″ or greater hole saw “doubler” that was previously drilled into place. You should now have a clean cut out (roughly 11 and 9/16th inches in size for steel doors) where the next rectangular hole will be that is underneath your installed door.
- Load up a 2-3/8 inch diameter Masonry Drill bit into an electric drill and drill down the middle of the newly made hole to a depth of at least 3 inches but not all the way through the 18mm plate. You now have in place.)
- Remove this big drill bit (2-3/8″) and install a 7/16″ pilot drill size on its shaft. This smaller bit now needs to be used to make 4 holes around both sides of your drilled-out rectangle with approximately 1,1/4″ between all four holes as well as centered over them. These four larger holes are for proper aligning purposes when using either two 5/16″ hinge bolts (0.3125″ diameter) or one 1/4-20 threaded rod with nuts and wingnuts on both ends to attach it securely. All together once this step is complete.)
- In order to attach a new floor plate, you will need to cut 8×6 holes in it. Make sure the door will not hit anything inside when opened and closed, and that there is enough clearance room underneath for people to walk.
- This plywood piece will be used in conjunction with the hinge/bolt/screw mechanism being used to make the connection.
- If you’re using plywood wider than 3 inches for your replacement floor plate, you’ll need to use a 2×3 piece of wood underneath it, as well as between the bottom of your door and the chosen attachment method, to get about 21 inches from the concrete floor up to where the new 18mm-thick plate sits beneath your installed door.
- In total, there should be at least five pieces of wood involved when doing this; 2×2’s, a 2×3, plywood, and an 18mm plate.
- This method is far less time-consuming as there is no need to remove and reinstall hinge pins when cutting off the bottom of a replacement door – everything stays in place.
Precautions While Cutting the Bottom of a Steel Door
- Please wear safety glasses and gloves while cutting as the metal shards could cause injury to your eyes or skin.
- Avoid cutting panels that include a stainless steel tubular lock bar; this may damage the tool.
- The door used in this demonstration has been specifically manufactured for test purposes only. Therefore it is not intended for use on any other doors than those which are fully tested.
- After being cut, if there are signs of rust/corrosion on the stainless steel surface, please re-coat these areas with approved rust protection material before continuing to work on them.
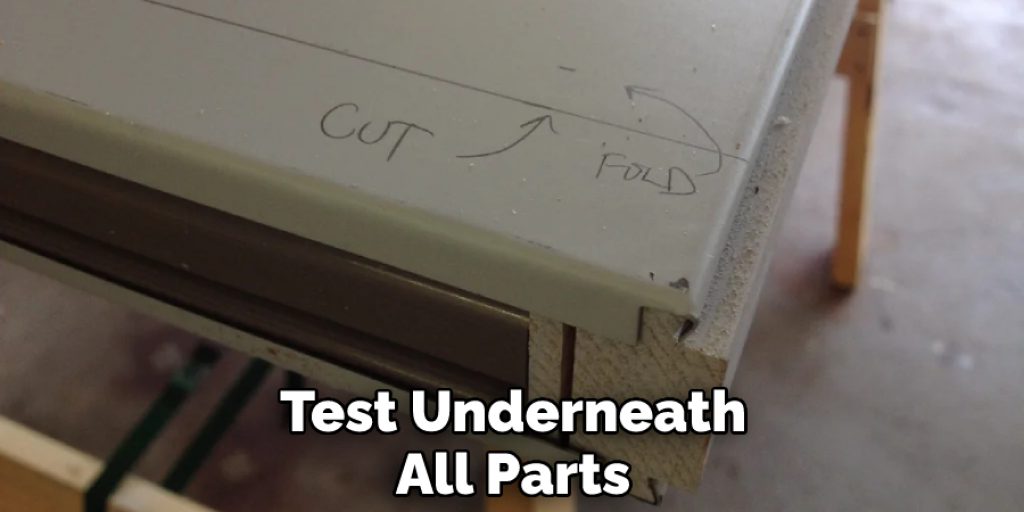
- Test underneath all parts removed anytime you decide to make cuts so that you do not damage any electrical wiring under the bottom track of the door.
Conclusion
Lastly, I hope you have obtained all the related information about how to cut the bottom of a steel door. Ensure adequate safety while performing the process. Thank you and have a nice day!
Angela Ervin
Angela is the executive editor of DIY quickly. She began her career as an interior designer before applying her strategic and creative passion to lifestyle and home. She has close to 15 years of experience in creative writing and online content strategy for housekeeping, home decorations as well as other niche efforts. She loves her job and has the privilege of working with an extraordinary team. She lives with her husband, two sons, and daughter in Petersburg. When she's not busy working she spent time with her family.


