
How to Decorate a Christmas Sled
Decorating a Christmas sled is a delightful way to add a touch of whimsy and nostalgia to your holiday decor. Whether you’re planning to use an antique sled as a statement piece in your foyer or a miniature sled to enhance your tabletop display, this guide will provide you with creative ideas and step-by-step instructions on how to decorate a christmas sled to make your sled a festive highlight.
From choosing a color scheme that complements your existing holiday decorations to selecting the perfect adornments that echo the joy of the season, we’ll help you transform a simple sled into a magical Christmas accent.
What is a Christmas Sled?
A Christmas sled, also known as a toboggan or sleigh, is a traditional winter vehicle typically used for transportation in snowy regions. It consists of a flat bottom and curved sides, with runners at the front to guide it on snow-covered surfaces.
While sleds were originally designed for practical purposes, they have become popular decorative items during the holiday season. Christmas sleds can range in size from small tabletop decorations to full-size antique pieces, and they come in a variety of materials such as wood, metal, or plastic.
You can find Christmas sleds at most home decor stores or online retailers, but you can also make your own using materials like old wooden skis or pieces of scrap wood. If you’re feeling crafty, making your own sled allows for personalization and adds a unique touch to your holiday decor.
Choosing a Color Scheme
Before you begin decorating your Christmas sled, it’s important to think about the overall color scheme you want to achieve. You can either match the colors of your existing holiday decorations or create a new color palette for your sled.
If you want a classic and timeless look, opt for traditional Christmas colors like red, green, and white. For a more modern and sophisticated feel, consider using metallics such as gold, silver, and bronze. You can also choose to incorporate non-traditional colors like blue or purple for a unique twist on the traditional holiday color scheme.
Once you have decided on a color palette, gather materials in those colors such as ribbons, ornaments, and other decorations to use on your sled.
Decorating Techniques
There are many different techniques you can use to decorate your Christmas sled. Here are a few ideas to get you started:
Wrap:
This technique involves wrapping ribbon or garland around the sled’s runners and sides. You can use a single color or mix and match different colors for a more festive look.
Layer:
Layering is another popular technique that adds dimension to your sled decoration. Start by placing larger items like bows or ornaments on the bottom, then add smaller items on top to create layers. This technique works well with both small and large sleds.
Hang:
For a more whimsical look, you can hang ornaments or other decorations from the sides of your sled. This adds movement and visual interest to your decoration.
Paint:
If you’re feeling artistic, consider painting designs or patterns on your sled using acrylic paint. You can also use stencils for a more precise design. This technique allows for complete customization and adds a personal touch to your decor.
Needed Materials
To decorate a Christmas sled, you will need the following materials:
Christmas Sled (Either Purchased or Homemade):
The size and material of the sled will depend on your personal preference and the area you plan to display it.
Decorations:
These can include ribbons, bows, ornaments, garlands, lights, and any other items that match your chosen color scheme.
Hot Glue Gun:
A hot glue gun is a must when decorating a Christmas sled. It provides a strong hold and allows for easy application of decorations.
Scissors:
You will need scissors to cut ribbons, garland, and other materials to the desired length.
Tape:
Tape can be used to secure decorations before gluing them down. It can also be used to create patterns or designs on your sled.
11 Step-by-step Guidelines on How to Decorate a Christmas Sled
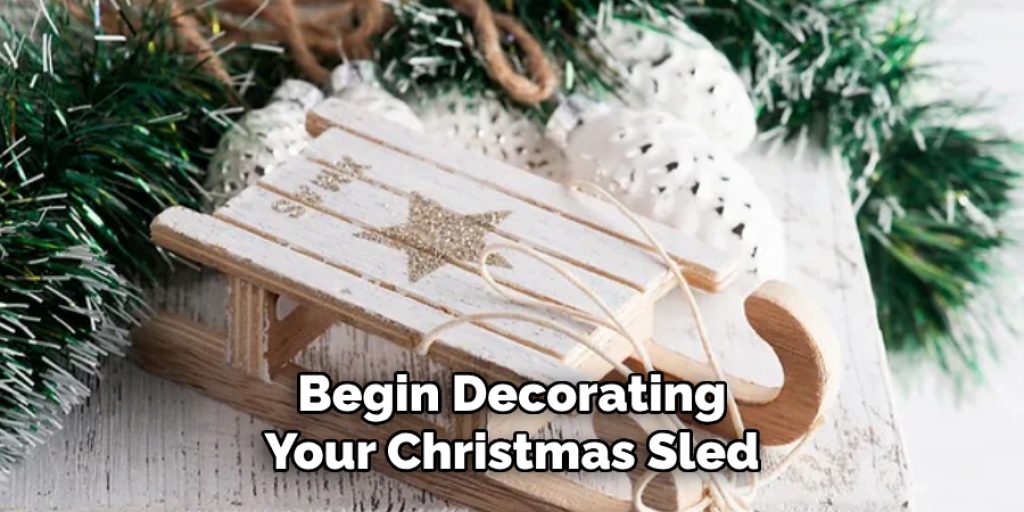
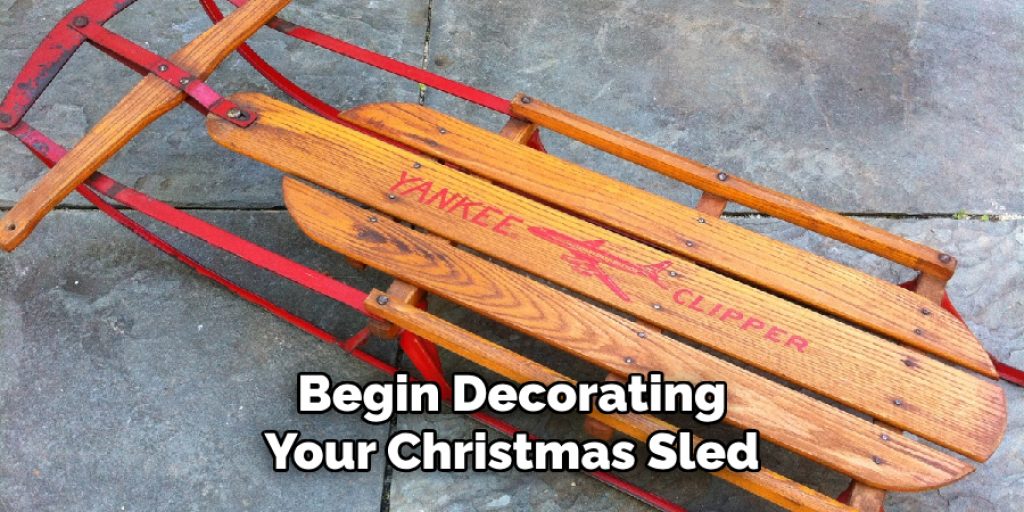
Step 1: Begin by Prepping Your Sled
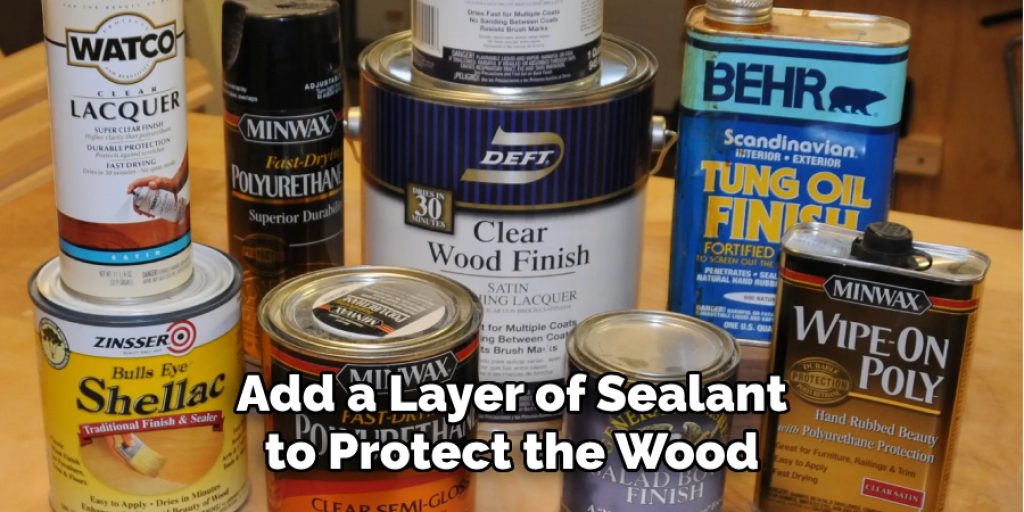
If you purchased a new one, make sure to wipe it down with a damp cloth to remove any dust or debris. If you’re using an antique or homemade sled, sand it down and paint it if desired. You can also add a layer of sealant to protect the wood. The prepping step is crucial in ensuring that your decorations will adhere properly to the sled. You can also add a layer of white paint to give your sled a snowy and wintery look.
Step 2: Choose Your Color Scheme
As mentioned before, decide on the color scheme you want to use for your sled decoration. It’s best to stick with 2-3 colors for a cohesive look. The colors can be traditional or non-traditional, depending on your personal style.
Step 3: Gather Materials
Collect all the materials you will need for your chosen decorating techniques. This includes ribbons, ornaments, garland, etc. But remember, you can always add more decorations as you go, so don’t worry if you don’t have everything at this stage. It’s always best to have a variety of options to choose from. The key is to have fun and be creative! The perfect adornments will echo the joy of the season and transform your sled into a festive highlight. You can also make some of your own decorations using materials like felt, paper, or fabric.
Step 4: Start with the Runners
Begin decorating your sled by focusing on the runners. Use ribbon, garland, or paint to add a pop of color or design to the sides of the sled. You can also wrap lights around the runners for an extra festive touch. Make sure to secure the decorations with hot glue or tape. Otherwise, they may fall off when the sled is displayed.
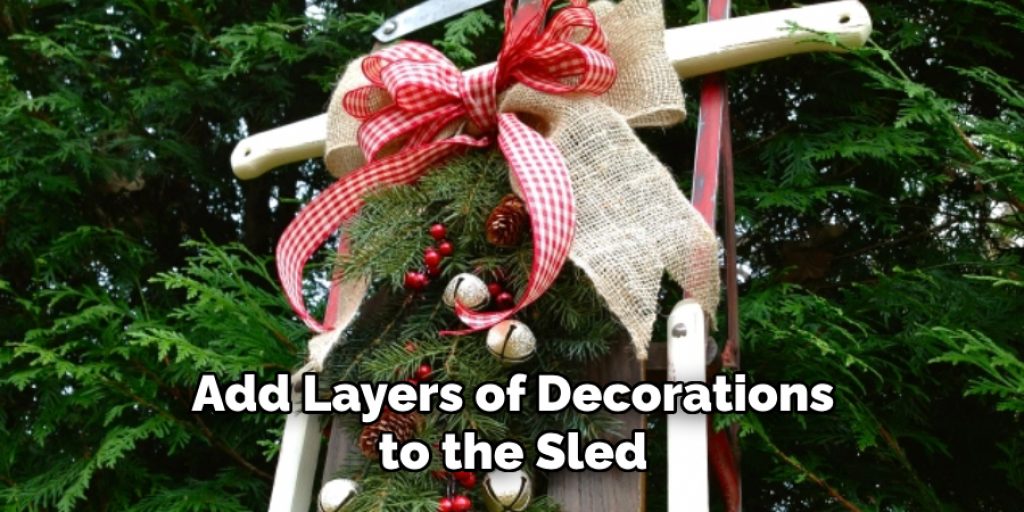
Step 5: Add Layers
Next, add layers of decorations to the sled. This can include bows, ornaments, or other festive items. You can also create a focal point by placing a larger decoration in the center and surrounding it with smaller ones. The key is to balance the decorations and create a visually appealing display. You can also use different textures and sizes to add dimension. The more layers, the better! You don’t want your sled to look bare and unfinished. It’s all about creating a winter wonderland on your sled.
Step 6: Hang Decorations
For a more whimsical look, consider hanging ornaments or other decorations from the sides of your sled. This adds movement and visual interest to your decoration. You can use ribbon or string to hang the items securely. Make sure to vary the lengths and placement of the hanging decorations for a dynamic display. You can also add a few jingle bells for a festive touch. But be careful not to overcrowd the sled with hanging decorations, as it may become too busy and overwhelming.
Step 7: Add Lights
To add an extra touch of magic, you can incorporate lights into your sled decoration. You can either wrap them around the runners or place them inside glass ornaments for a glowing effect. Battery-powered lights are best as they won’t require any cords or outlets. You can also use colorful lights for a more playful look or stick with white lights for a classic feel. It’s all up to personal preference.
Step 8: Secure Everything in Place
Once you’re happy with the placement of your decorations, make sure to secure everything in place with hot glue or tape. This will ensure that your decorations stay put and don’t fall off when displayed. Take a step back and look at your sled from different angles to make sure everything is balanced and visually appealing. You can also make any final adjustments at this time. It’s okay to add or remove decorations as necessary.
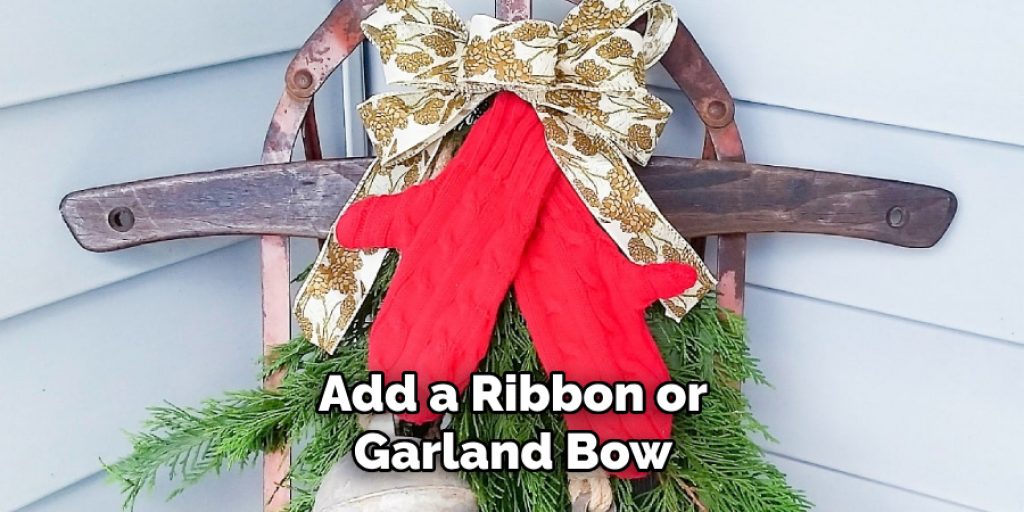
Step 9: Add Final Touches
Now is the time to add any final touches, such as a large bow or a personalized sign. You can also add a ribbon or garland bow to the top of your sled for an extra festive touch. Don’t be afraid to get creative and add elements that reflect your personal style. The more unique and personalized your sled decoration is, the better! You can also add some faux snow or glitter for a sparkling finish.
Step 10: Let Everything Dry
If you use hot glue to secure your decorations, make sure to let everything dry completely before moving or displaying your sled. This will ensure that the decorations stay in place and don’t come off when touched. It’s best to let it dry overnight for extra precaution. But if you’re using tape instead of hot glue, you can skip this step and move on to the final one. The key is to make sure everything is secure and won’t fall off when displayed.
Step 11: Display Your Festive Sled
And last but not least, it’s time to display your beautiful and festive sled! You can place it on your front porch, in your yard, or even indoors as a statement piece. It’s also a great idea to take some pictures and share your creations with others. Spread the joy and inspire others to decorate their sleds, too! You can also switch up the decorations each year for a fresh look. The possibilities are endless when it comes to decorating a Christmas sled.
Following these steps on how to decorate a christmas sled will help you create a stunning and unique sled decoration that will be the envy of all your friends and neighbors. Have fun and enjoy the process! Happy decorating! So, get your creative juices flowing and start transforming your sled into a festive masterpiece. With some simple decorations and a little bit of imagination, you can turn an ordinary sled into a symbol of holiday magic. Happy decorating!
Maintenance and Care
Once you have completed your sled decoration, here are a few tips on how to maintain and care for it so that it lasts for many holiday seasons to come:
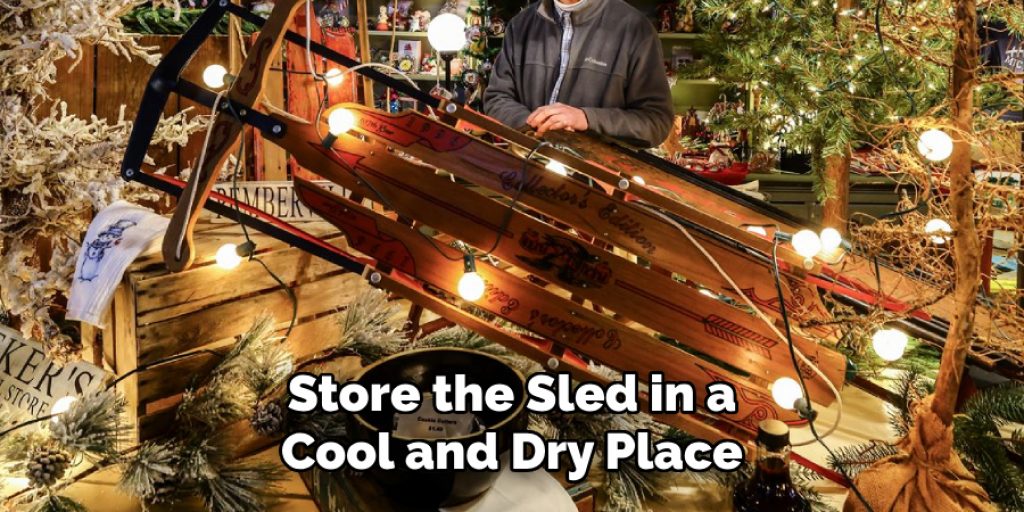
- Store the sled in a cool and dry place when not in use. This will prevent any damage or warping due to extreme temperatures.
- If possible, cover or wrap the sled with a protective material when storing it. This will prevent dust and dirt from accumulating on the decorations.
- Avoid displaying the sled in direct sunlight for extended periods of time as this can cause fading or damage to certain materials.
- If any parts of the decoration become loose or fall off, make sure to reattach them promptly with hot glue or tape.
- Consider using a clear coat spray to seal and protect the decorations on your sled. This will make it easier to clean and prevent any damage.
- Take care when handling and moving the sled as some of the decorations may be fragile or easily damaged.
By following these maintenance tips, you can ensure that your festive sled decoration stays in good condition for years to come. Happy decorating! So, take good care of your Christmas sled decoration and it will continue to bring joy and holiday spirit for many winters to come. Happy decorating!
Additional Tips
- You can also add some fresh greenery, such as pine branches or holly, to your sled decoration for a natural and fragrant touch.
- Consider incorporating non-traditional colors into your decoration, such as blues and purples, for a unique twist on the traditional red and green color scheme.
- Don’t be afraid to mix and match different textures and materials, such as burlap and faux fur, for a more dynamic and interesting look.
- If you have kids, involve them in the decoration process. It’s a fun and creative activity that can become a cherished holiday tradition.
- Use your sled decoration as a photo prop for family photos or holiday cards. It’ll make for a beautiful and festive backdrop.
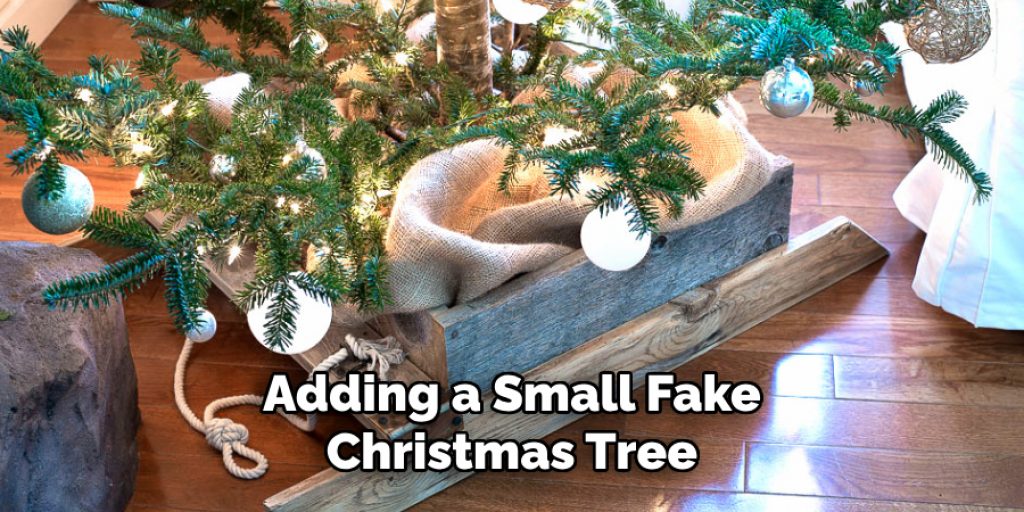
- Consider adding a small fake Christmas tree to the back of your sled for an extra festive touch.
- If you have multiple sleds, consider creating a theme or story with each one. For example, you can create a Santa’s workshop-themed sled with elves and toy decorations.
- Get inspiration from other sled decorations online or in person. There are many creative ideas out there that can help you come up with your own unique design.
- Lastly, have fun and enjoy the process! Decorating a Christmas sled is a fun and festive activity that can bring joy to both the creator and those who see it. So don’t stress too much and have fun with it!
Frequently Asked Questions
Q: Do I Have to Use a Traditional Sled for This Project?
A: No, you can use any type of sled or even a wooden plank as your base. Just make sure it’s sturdy enough to hold the decorations. You can also get creative and use a vintage sled or even make your own from scratch. But the key is to have a flat surface to work with.
Q: Can I Add More Decorations After I’m Finished?
A: Yes, you can always add or change decorations as you go. You may find that something is missing or needs to be adjusted once you see the completed sled. Don’t be afraid to make changes and add final touches. You can always switch things up each year for a fresh look. The possibilities are endless!
Q: Is This Project Suitable for Kids?
A: Yes, this project is great for kids to get involved in. It’s a fun and creative activity that the whole family can enjoy together. Just make sure to supervise younger children when using tools like hot glue guns.
You can also let them help with choosing and placing decorations. It’s a great way to get everyone in the holiday spirit! Keep in mind it’s best to use non-breakable items and avoid small decorations that may pose choking hazards for younger children. Safety should always be a top priority when involving kids in any type of project.
Q: Can I Leave the Sled Decoration Outside?
A: It depends on the materials you use for your decorations. If they are weather-resistant and securely attached, then you can leave your sled outside. But keep in mind that extreme weather conditions may damage or displace your decoration. It’s best to bring it indoors during severe weather.
Also, consider bringing it inside as the holiday season comes to an end to avoid any potential damage or wear and tear. It’s important to regularly check and maintain your sled decoration if you choose to leave it outside.
Q: Can I Use Real Candles for Lights?
A: No, it’s not recommended to use real candles on your sled decoration. They pose a fire hazard and can easily damage your decoration. It’s best to use battery-powered or LED lights for a safe and long-lasting glow. Safety should always be a top priority when it comes to decorating, especially during the holiday season.
Conclusion
Decorating a Christmas sled is a fun and creative way to add some holiday cheer to your home. With just a few simple steps on how to decorate a christmas sled, you can transform an ordinary sled into a festive masterpiece that will be the talk of the neighborhood. Remember to have fun, get creative, and let your imagination run wild. Happy decorating!
Angela Ervin
Angela is the executive editor of DIY quickly. She began her career as an interior designer before applying her strategic and creative passion to lifestyle and home. She has close to 15 years of experience in creative writing and online content strategy for housekeeping, home decorations as well as other niche efforts. She loves her job and has the privilege of working with an extraordinary team. She lives with her husband, two sons, and daughter in Petersburg. When she's not busy working she spent time with her family.


