
How to Decorate a Cork Board With Pictures
Are you tired of looking at a dull, empty corkboard? Would you like to make it more interesting and personal by adding pictures?
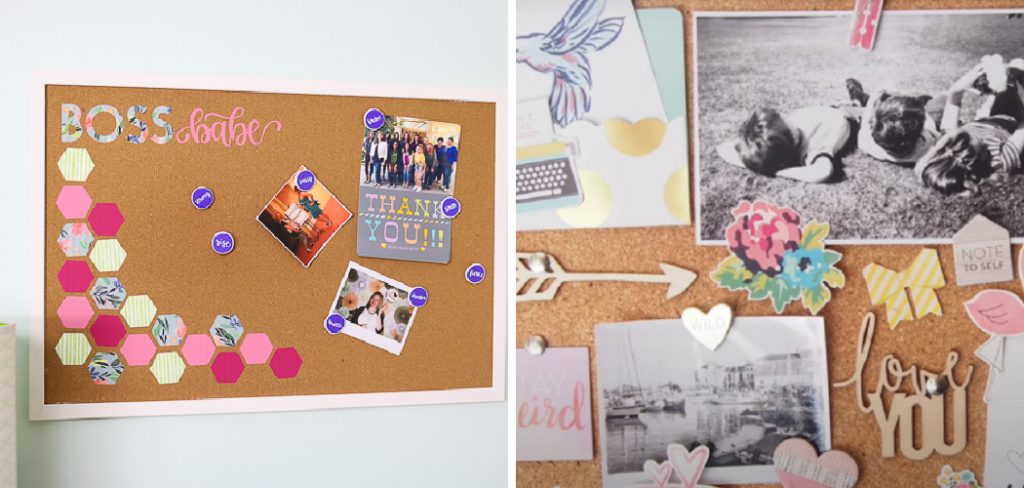
Decorating a corkboard with pictures is a creative and personable way to bring life and visual interest to any room. Whether it’s for organizing memories, showcasing inspirations, or simply adding a decorative touch, a well-arranged corkboard can transform a plain surface into a focal point of personal expression and aesthetic appeal.
This guide will walk you through the steps how to decorate a cork board with pictures, turning it into a bespoke piece that not only holds your memories but also tells your unique story. With a mix of layout tips, theme suggestions, and attachment techniques, you’ll learn how to create a visually stunning display that reflects your personality and enhances your space.
What are the Benefits of Decorating a Cork Board with Pictures?
Besides the obvious benefit of adding visual appeal, decorating a corkboard with pictures has other advantages that make it worth your time and effort.
Firstly, it allows you to declutter and organize your space while displaying your favorite memories or inspirations. Instead of keeping photos in photo albums or storing them on digital devices, you can showcase them on a cork board where they can be easily seen and enjoyed. Plus, you can arrange the pictures in a way that makes sense to you, whether it’s by chronological order or theme.
Secondly, decorating a cork board with pictures is an affordable and customizable way to decorate your space. You can use any type of picture, such as photographs, postcards, prints, or even magazine cutouts, to create a one-of-a-kind display. Plus, you can change the pictures whenever you want to update the look of your corkboard, making it a versatile and budget-friendly decor option.
Lastly, decorating a corkboard with pictures is a fun and creative activity that allows you to express yourself and showcase your personality. You can choose from various themes such as travel, family, friends, or hobbies to personalize your cork board. It’s also a great way to involve others in the decorating process, whether it’s with friends or family members.
What Will You Need?
To get started on decorating your cork board with pictures, you’ll need a few essential supplies:
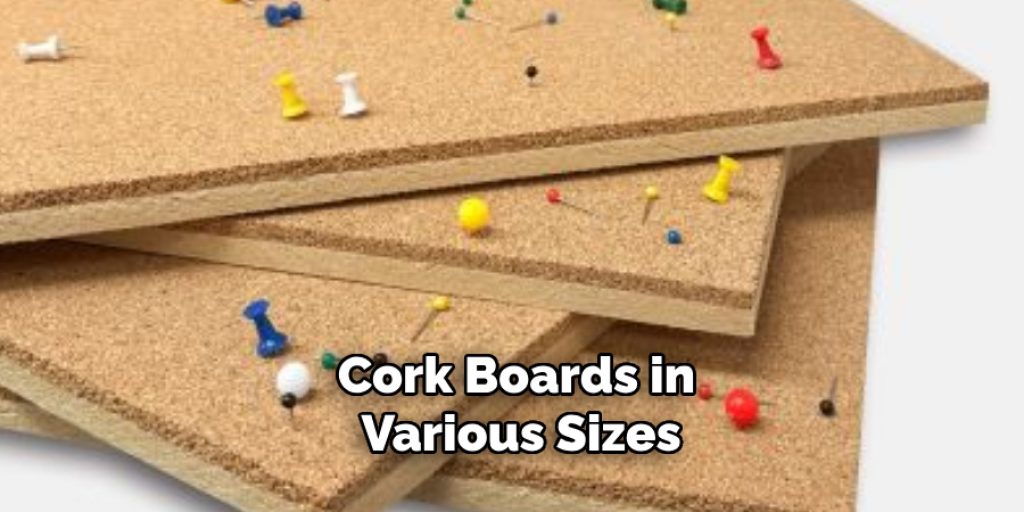
- Corkboard: You can find cork boards in various sizes and shapes at office supply stores or online. Make sure to choose one that fits the space where you plan to display it.
- Pictures: As mentioned before, you can use any type of picture for this project. Gather a mix of photos, postcards, prints, or magazine cutouts, depending on your preferences and theme.
- Thumbtacks or Pins: These will be used to attach the pictures to the corkboard. Choose ones that match the color of your corkboard for a more cohesive look.
- Optional Supplies: To add more visual interest to your corkboard, you can also consider using additional supplies such as washi tape, string or twine, and decorative pins.
Once you have all the necessary supplies, it’s time to start decorating your corkboard with pictures!
10 Easy Steps on How to Decorate a Cork Board With Pictures
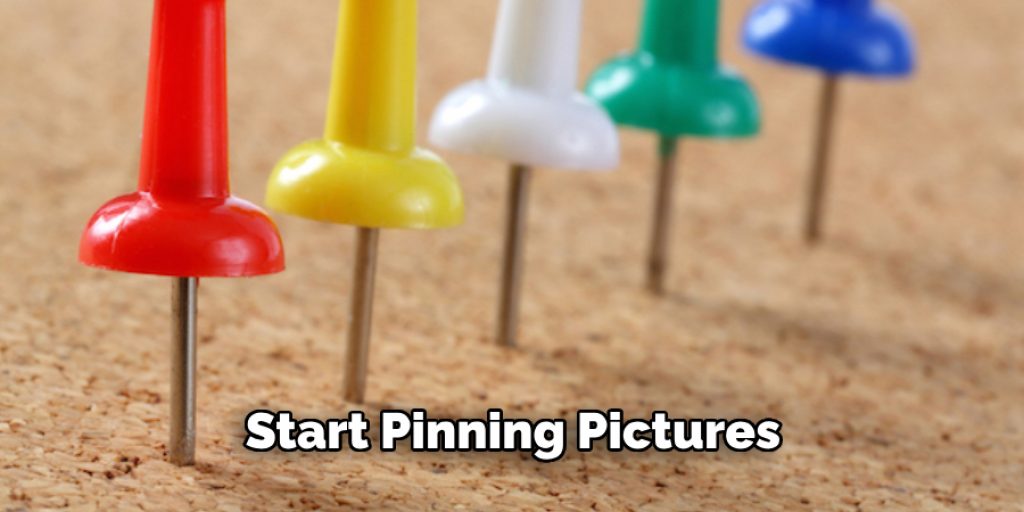
Step 1. Plan Your Layout:
Before you start pinning anything to your cork board, lay all of your pictures out on a flat surface and experiment with different arrangements. Try a grid pattern, a freeform collage, or rows of pictures. Consider leaving space for additional items like tickets, notes, or small mementos that complement your pictures.
Step 2: Choose a Theme or Color Scheme:
Selecting a theme or color scheme for your corkboard can help create a cohesive look and feel. This step is particularly helpful if you have a vast collection of pictures and need a way to unify the display.
You might choose a theme based on a particular event (e.g., a wedding, vacation, or graduation) or select a color scheme that complements the room where the corkboard will be placed.
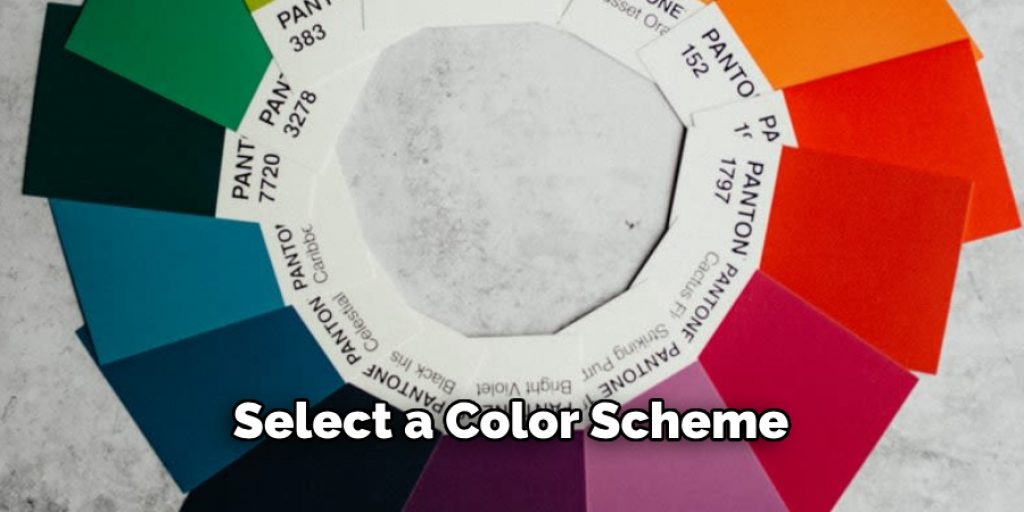
This thematic approach not only makes your corkboard visually appealing but also adds a layer of personal storytelling to your space.
Step 3: Attach Your Pictures to the Cork Board:
Once you’ve decided on a layout and theme, start attaching your pictures to the corkboard using thumbtacks or pins. Begin from the center and work your way outwards to maintain balance in your layout.
If you’re going for a more creative display, you can use washi tape or decorative pins to add an extra touch of style. Remember, the arrangement doesn’t have to be perfect. The charm of a corkboard display lies in its casual, dynamic look.
Step 4: Layer and Overlap Pictures for Depth:
Creating depth will make your corkboard display more engaging. To achieve this, consider layering and overlapping your pictures slightly. This technique allows for a more dynamic arrangement and can help illustrate the relationships between different photographs or memories.
Remember to use pins that can support multiple layers without damaging the images. Overlapping should be done thoughtfully, ensuring that important parts of pictures or text are not obscured. This step is where your corkboard begins to come to life, transforming from a simple collection of pictures to a rich tapestry of memories and inspirations.
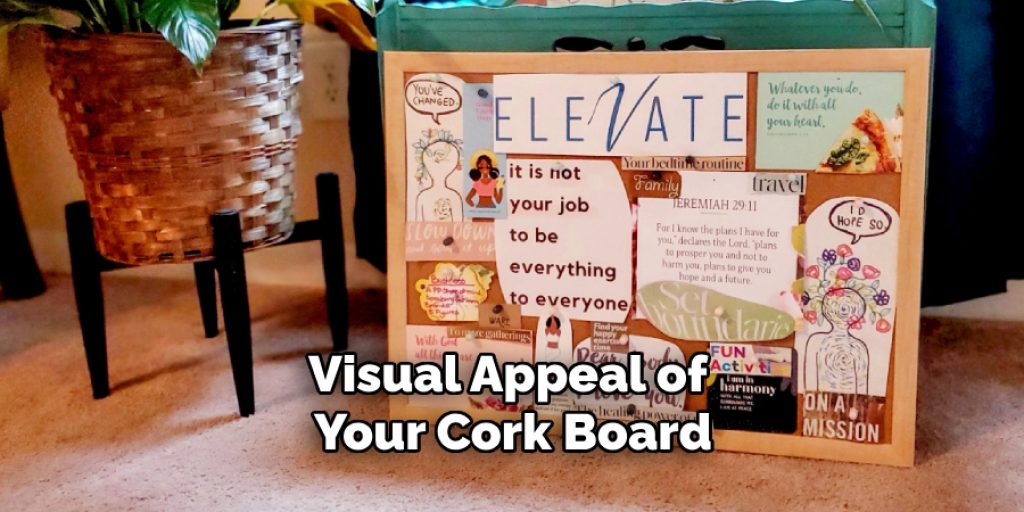
Step 5: Add Elements That Tell a Story:
In addition to pictures, include items that add depth and narrative to your display. Think of souvenirs, concert tickets, dried flowers, or handwritten notes.
These elements serve as tangible reminders of the moments or people depicted in your photographs. By incorporating such items, your cork board transforms into a more immersive storybook of your life.
It’s about creating a visual dialogue between your experiences and the viewers, inviting them to a more personal understanding of the memories you cherish. This approach not only embellishes your corkboard but also elevates it into a unique piece of art that holds a multitude of stories.
Step 6: Play With Textures and Materials:
Adding different textures and materials can enrich the visual appeal of your cork board. Consider incorporating elements such as fabric swatches, lace, or even metal items that relate to your theme or memories.
This diversification of materials introduces a tactile dimension, making your display not only visually engaging but also invitingly interactive. Textural contrasts can highlight certain aspects of your collection, drawing the eye to focal points and creating a more layered and immersive experience.
Remember, the key is to balance these textures so that they complement rather than overwhelm the photographs and other elements of your display. By thoughtfully integrating a variety of materials, your cork board can become a centerpiece that reflects the richness of your experiences.
Step 7: Incorporate Lighting for Atmosphere:
Lighting can dramatically affect the mood and visibility of your cork board display. Consider adding a string of fairy lights or a small, battery-operated lamp to highlight your pictures and artifacts.
Lighting not only enhances the aesthetic appeal but also draws attention to your corkboard, making it a focal point in the room. When arranging the lights, ensure they are evenly spaced and do not overshadow the pictures.
The soft glow will create a warm, inviting atmosphere, allowing the treasures on your corkboard to come alive in a new light. This addition is especially effective in setting a cozy ambiance during the evening hours, making your collection of memories a source of comfort and inspiration.
Step 8: Refresh and Rotate Your Display Regularly:
Keeping your corkboard display dynamic by periodically refreshing and rotating the pictures and items showcased is crucial
This not only revitalizes the space but also allows you to relive memories or highlight recent events and achievements. Consider changing your display with the seasons, marking special occasions, or simply when you feel the need for a change.
This process can be a wonderful opportunity to reflect on past experiences, celebrate growth, and anticipate future adventures. Additionally, it keeps the display engaging for anyone who sees it, providing new stories and visuals to explore. Remember, your corkboard is a living canvas that reflects your life’s ongoing narrative.
Step 9: Personalize with DIY Decorations:
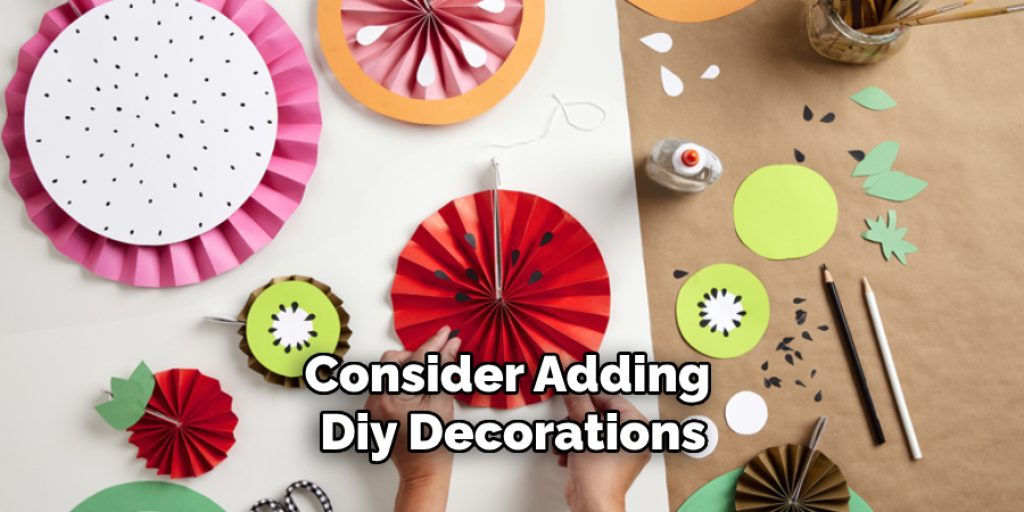
To further enhance the uniqueness of your corkboard display, consider adding DIY decorations that reflect your personal style or the theme of the board.
Crafting your own decorations, like paper flowers, decorative borders, or hand-painted accents, adds a layer of originality and creativity to your display. This step is not only about beautifying your corkboard but also about putting a piece of yourself into the art you create.
Personalized decorations can transform your corkboard into a truly one-of-a-kind exhibit that not only showcases your memories but also your creativity and passion. Take this opportunity to experiment with different mediums and techniques, making your corkboard a testament to your artistic endeavors and personal flair.
Step 10: Share Your Cork Board with Friends and Family:
After creating a corkboard display that beautifully encapsulates your memories, experiences, and creative flair, consider sharing it with friends and family. This can be as simple as inviting them over for viewing or sharing images of your corkboard online.
Not only does this allow you to showcase your hard work and cherished memories, but it also opens up avenues for conversation, connection, and inspiration.
Sharing your creation can spark interest in others to start their own projects, and exchanging ideas can lead to newfound creativity and bonding. Your corkboard, thus, becomes more than a personal treasure; it transforms into a shared experience that enriches your relationships and fosters a sense of community and shared history.
By following these steps and infusing your own personal touch, you can create a stunning cork board display that showcases your cherished memories and reflects your unique personality and creativity.
5 Additional Tips and Tricks
- Create a Theme: Before you start pinning pictures, decide on a theme for your corkboard. Whether it’s travel, family, motivational quotes, or a mix of everything that inspires you, a unified theme can make your corkboard look cohesive and more visually appealing.
- Use Colorful Push Pins or Decorative Clips: Instead of standard push pins, opt for colorful or decorative pins and clips. These small accessories not only secure your pictures but also add an extra layer of decoration to your corkboard.
- Incorporate Different Sizes and Shapes: Mix and match pictures of different sizes and shapes to create a dynamic and interesting display. This variance adds depth to your corkboard and makes it more engaging to look at.
- Leave Some Space: Resist the urge to fill every inch of the corkboard. Leaving some space around your pictures can help each one stand out more. Plus, it gives you room to add new memories and inspirations over time.
- Keep It Organized: As you add new pictures and notes to your corkboard, make sure to keep it organized. Group similar items together or create sections for different themes or categories. This will prevent your corkboard from becoming cluttered and overwhelming.
With these additional tips and tricks, you can take your corkboard from basic to beautiful.
5 Things You Should Avoid When Decorating a Cork Board with Pictures
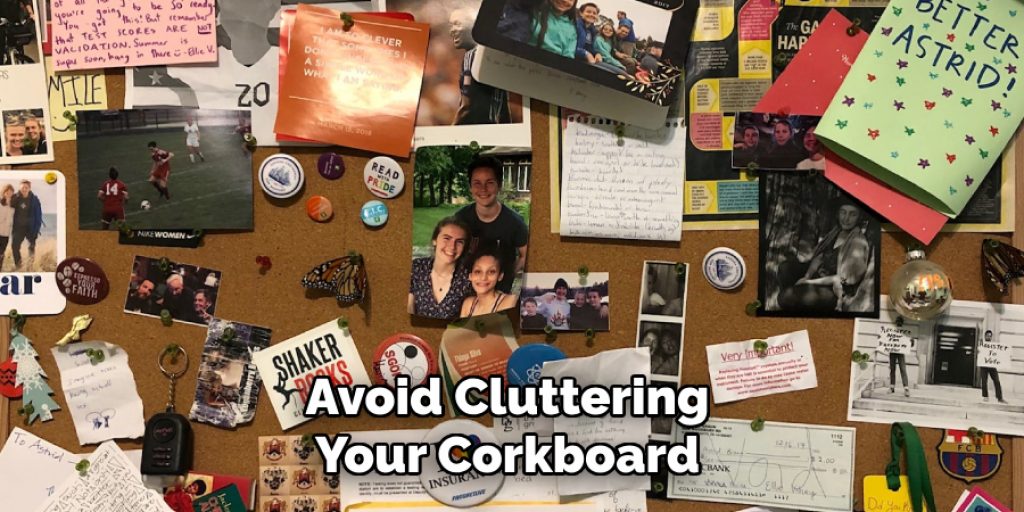
- Overcrowding the Space: Avoid cluttering your corkboard with too many pictures and items. Overcrowding can make it hard to appreciate each individual piece and can create a chaotic look rather than a curated display.
- Ignoring the Frame: Don’t forget about the corkboard’s frame. A plain or mismatched frame can detract from the overall appearance. Consider painting or decorating the frame to match your theme and enhance the aesthetic appeal.
- Lack of Variety in Materials: Using only pictures can make your corkboard look flat and uninspiring. Avoid this by incorporating a mix of materials such as fabric swatches, magazine cutouts, or even small 3D objects to add texture and interest.
- Forgetting About Balance: Don’t place all your heavy elements on one side. Avoid a lopsided look by distributing pictures and items evenly across the corkboard, creating a visually pleasing balance.
- Neglecting Personal Touches: Your corkboard should reflect your personality and interests. Avoid making it look like a generic display by ensuring that it includes personal touches that speak to you, whether it’s through the choice of images, the color scheme, or the way items are arranged.
By avoiding these common mistakes, you can create a corkboard that not only looks visually appealing but also reflects your unique style and preferences.
5 Different Theme Ideas for Your Cork Board
- Travel Adventures: Create a cork board that showcases all your travel adventures, from pictures of places you’ve been to tickets and souvenirs you’ve collected along the way.
- Inspiration Station: Use your corkboard as a source of daily motivation and inspiration by pinning up quotes, affirmations, and images that inspire you.
- Family Memories: Celebrate your loved ones and precious memories by creating a family-themed corkboard filled with pictures, notes, and mementos that hold special meaning to you.
- Vision Board: Use your corkboard as a visual representation of your goals and dreams. Pin up pictures, words, and symbols that represent what you want to achieve in different areas of your life.
- Seasonal Showcase: Change up your corkboard’s theme with each season by incorporating pictures and items related to that particular time of year, such as holiday cards, flowers, or seasonal quotes.

With so many creative themes to choose from, you can constantly update and refresh your corkboard to reflect your ever-changing interests and experiences.
What Paint is Best for Cork Board?
When it comes to painting your corkboard, there are a few options to consider. The best type of paint for your corkboard will depend on your specific needs and preferences.
- Acrylic Paint: This is a popular option for painting cork boards as acrylic paints come in a variety of colors and finishes, including matte, glossy, and metallic. They also dry quickly, making it easy to add multiple coats or layers.
- Spray Paint: This is a quick and convenient option for covering large cork boards. However, make sure to use spray paint specifically formulated for cork surfaces to ensure proper adhesion.
- Chalkboard Paint: If you want the ability to write or draw on your corkboard, chalkboard paint is a great choice. It creates a smooth, matte surface that can be written on with chalk and easily wiped clean.
- Fabric Paint: If you want to add fabric or decorative elements to your corkboard, using fabric paint can help them adhere better and prevent fraying.
Whichever type of paint you choose, make sure to properly prepare the surface by cleaning and priming it beforehand.
Conclusion
How to decorate a cork board with pictures is a vibrant and personalized way to display your memories, inspirations, and dreams.
By selecting a unifying theme, utilizing colorful pins or clips, and incorporating a variety of sizes and shapes, you transform a simple corkboard into a captivating display.
Remember to balance creativity with organization, allowing each piece to shine without overwhelming the space. Avoid common pitfalls such as overcrowding, neglecting the frame, and forgetting personal touches to ensure your corkboard remains a reflection of your unique style and preferences.
With these tips, whether you opt to showcase travel adventures, family memories, or seasonal themes, your corkboard will not only enhance the aesthetic of your space but also serve as a constant source of inspiration and joy.
Angela Ervin
Angela is the executive editor of DIY quickly. She began her career as an interior designer before applying her strategic and creative passion to lifestyle and home. She has close to 15 years of experience in creative writing and online content strategy for housekeeping, home decorations as well as other niche efforts. She loves her job and has the privilege of working with an extraordinary team. She lives with her husband, two sons, and daughter in Petersburg. When she's not busy working she spent time with her family.


