
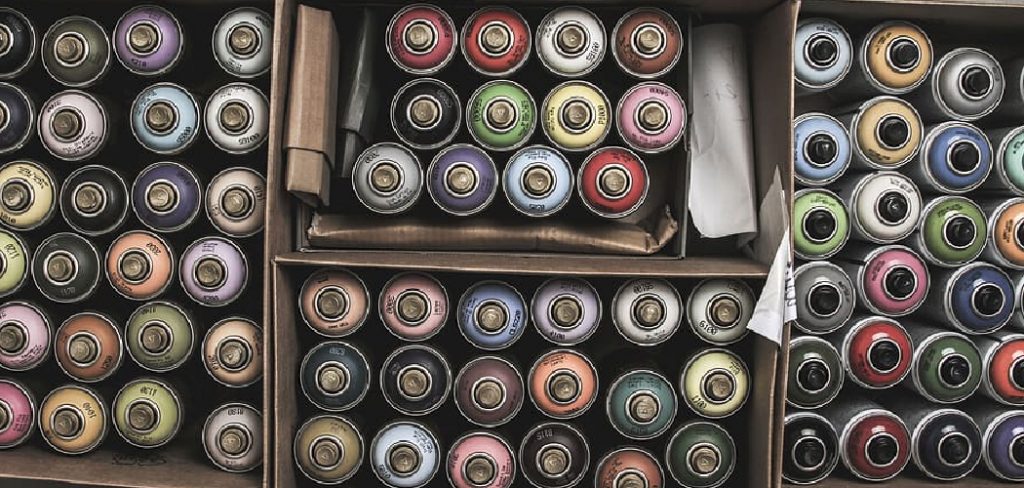
How to Store Spray Paint
Are you an aspiring artist who wants to use spray paint and is trying to figure out how to ensure the cans keep their color and pressure? Then look no further! You are about to discover the best ways to store your spray paint.
Whether you are new to creating art with spray paint or a seasoned pro, learning how to properly store your cans of spray paint is essential for ensuring that they remain in good condition. Working with multiple colors can be daunting, but this comprehensive guide will explain all the steps necessary to keep your colorful creations vibrant and intact. Just follow these simple steps to store spray paint without a problem.
Read on for some helpful tips and tricks on how to store spray paint so that your next painted project remains beautiful.
What Will You Need?
Before you can start storing your cans of spray paint correctly, you’ll need a few supplies. These include:
- A sturdy box or container with enough room for all the cans
- Newspaper or packing paper to protect the surface from overspray and prevent rusting
- Plastic bags or airtight containers for individual color storage
- Labels for each can, so you can easily tell them apart
Once you have all of the necessary items, it’s time to get started!
10 Easy Steps on How to Store Spray Paint
Step 1: Sort Your Cans by Color
Before you start storing the cans, it’s important to first sort them into piles based on color. This will save time and energy when you’re ready to paint, as all the colors of spray paint will be together in one place instead of having to search for each individual color. Remember to label each pile with the corresponding color!
Step 2: Clean and Prepare the Space
Before you start storing your cans of spray paint, clean and prepare the space using vacuum cleaner where they will be stored. This includes wiping down any surfaces that may come in contact with the cans, such as a shelf or countertop, and cleaning out any dust or debris from the area. Additionally, make sure there is enough room for the cans to be stored in an organized fashion.

Step 3: Place Newspaper or Packing Paper on the Bottom
Once you have cleaned and prepared the space, it’s time to start placing your cans of spray paint into storage. Begin by laying down some newspaper or packing paper on the bottom of the container that will be holding the cans. This will protect the color within each can from coming into contact with any metal, which could cause rusting and damage to the paint.
Step 4: Place Cans in the Box or Container
Then, begin placing your cans of spray paint into the box or container that you have chosen for storage. Arrange them neatly so that each can is easily visible. You may also want to group cans by color if multiple colors are in the same container.
Step 5: Separate Cans with Plastic Bags or Air-Tight Containers
If you have chosen to store multiple cans together, separating them using plastic bags or airtight containers is important. This will not only protect the paint from coming into contact with other cans, but it will also help to keep the colors vibrant for longer.
Step 6: Label the Cans
Once you have placed all of your cans into storage, it’s time to label them so that you can easily identify each color. Labels are essential for keeping track of which cans contain which colors. You may also want to write down the name of each color on the label for added clarity.
Step 7: Close Lids Tightly
Always close the lids of your cans or containers tightly before storing them away. This will help prevent paint from leaking out and avoid unnecessary messes. Additionally, it will preserve the color and pressure within each can for longer.
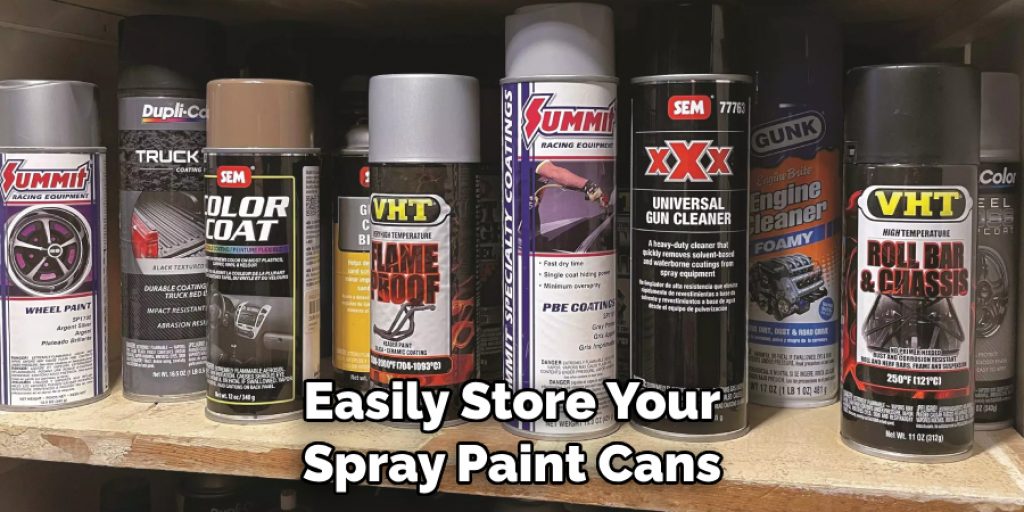
Step 8: Place in a Cool, Dry Location
Always place spray paint cans in a cool and dry location when storing them. Direct sunlight or extreme temperatures could damage the cans over time, reducing their effectiveness when it comes time to use them. If possible, store the cans in a dark place away from heat sources.
Step 9: Inspect Cans Regularly
To make sure that your cans of spray paint are in good condition, it’s important to inspect them regularly. Check for any signs of rusting or leaking, and replace the cans if necessary. This will help you avoid any unnecessary messes when it comes time to use them.

Step 10: Enjoy Your Paint Projects!
Now that you know how to store spray paint correctly, it’s time to start enjoying the creative projects you can make with them. From colorful murals and artwork to outdoor decorations, your creations will turn out vibrant and beautifully preserved, thanks to your efforts in storing the cans properly. Remember to have fun and let your imagination run wild!
By following these 10 easy steps, you’ll be able to store spray paint correctly and ensure that your next painting project remains vibrant and intact for years to come. So get out there and let your artistic side shine!
5 Additional Tips and Tricks
- If you’re storing aerosol spray paint for a long, consider using a vacuum-sealed container. This will help keep humidity out and prevent the can from oxidizing or deteriorating.
- Ensure you check your cans’ expiration date before storing them away. If it’s expired, discard it properly, and don’t risk storing it.
- Store spray paint cans in a cool, dry location out of direct sunlight. Heat and humidity can cause the contents to expand and potentially burst open the can.
- If you’re storing cans at a higher altitude, consider using pressurized containers or check with your local hardware store for recommendations specific to your area.
- When storing large quantities of spray paint, it’s important to organize the cans in a way that makes sense. Categorize them by color or project, and keep a detailed list of what you have to locate items when needed easily. Storing your paint in an organized fashion will also help reduce the space needed for storage.
By following these simple tips and tricks, you can easily store your spray paint cans. Whether you’re an avid DIYer or a professional painter, these guidelines will help preserve the quality of your paint cans for years to come.
5 Things You Should Avoid
- Don’t store your spray paint cans in an area that gets too hot or humid. Excessive heat and humidity can cause the contents to expand and potentially lead to a messy accident.
- Be sure not to place cans directly on the floor or ground when storing them; this can damage the bottom of the can and make it more susceptible to rusting over time.
- Never store your paint cans in a refrigerator or freezer; this can cause the contents to solidify and make it impossible to use once removed from their cold environment.
- Avoid storing cans near any flame or electrical spark source, as this is a fire hazard.
- Don’t let your spray paint cans sit idle for too long. If a can has been stored and unused for an extensive period, it’s best to discard it and invest in a fresh can.
When it comes to handling and storing spray paint, safety should always be your top priority. By following these guidelines, you’ll ensure that your cans remain in optimal condition and are ready for use whenever you need them.
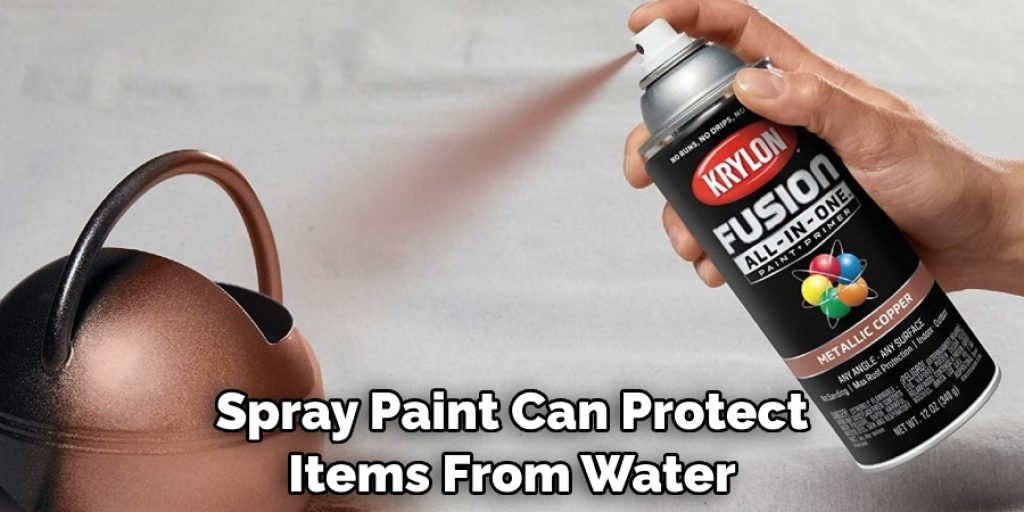
Is Spray Paint Waterproof?
Yes, spray paint is waterproof and can protect items from water damage. It is important to keep in mind that a wide range of products are available on the market, so it’s best to do your research before using any spray paint for waterproofing purposes.
Generally speaking, most aerosol paints are suitable for outdoor use and are designed to be weather-resistant. When selecting a spray paint for waterproofing, look for products with water repellent or sealant properties.
Additionally, read the instructions on the packaging and follow any special directions the manufacturer gives. Once applied, waiting at least 48 hours before exposing your item to wet conditions is best. If done properly, spray paint can protect items from water and other outdoor elements.
Can You Store Spray Paint in a Plastic Container?
The short answer is yes, you can store spray paint in a plastic container if it’s airtight and appropriately labeled. Plastic containers are a great option for storing your cans as they will help protect them from external forces such as humidity and dust. However, be aware that some paints may contain solvents or other chemicals that may react with certain plastics.
When using a plastic container, be sure to consider the size and shape of your cans before making your purchase. Ideally, you want something with enough room to store several cans comfortably but not so large that the paint cans are prone to shifting around inside.
Conclusion
Storing spray paint properly will not only help extend its shelf life but also ensure that all of your projects come out looking their best. From choosing the right space to selecting the ideal subdivisions, it’s important to remember the steps and tips outlined in this post.
Proper storage will allow you to get more uses out of every can and save you a lot of money in the long run. We’d love for you to show off your storage solutions as well!Hopefully, the article on how to store spray paint has given you an important overview of what to consider when storing your cans. Remember, the better care you take of your spray paint supplies, the longer they will last, and the more successful your projects will be!
Angela Ervin
Angela is the executive editor of DIY quickly. She began her career as an interior designer before applying her strategic and creative passion to lifestyle and home. She has close to 15 years of experience in creative writing and online content strategy for housekeeping, home decorations as well as other niche efforts. She loves her job and has the privilege of working with an extraordinary team. She lives with her husband, two sons, and daughter in Petersburg. When she's not busy working she spent time with her family.


