How to Decorate a Paper Kite
Kites are an entertaining toy, and decorating them is an exciting activity. Decorating a paper kite can bring out your creativity and make it stand out in the sky. With a few simple materials, you can turn a plain paper kite into a beautiful masterpiece. In this guide, we will provide step-by-step instructions on how to decorate a paper kite.

Materials Needed
To decorate a paper kite, you will need the following materials:
- A plain paper kite
- Colored tissue paper or crepe paper
- Scissors
- Glue stick or craft glue
- String or yarn
12 Steps on How to Decorate a Paper Kite
Step 1: Prepare Your Workspace
Before you start decorating your paper kite, it is essential to have a clean and organized workspace. Make sure your work area is free from clutter and has enough space for you to move around comfortably.
Step 2: Gather Your Materials
Gather all the materials listed above in one place. This will save you time and make the decorating process more efficient. And, it also ensures that you have everything you need before you begin. If you are missing any materials, this is the perfect time to gather them.
Step 3: Cut Strips of Tissue Paper
Cut the colored tissue paper into different sized strips. These strips will be used to create a beautiful design on your kite. So, it’s best to have a variety of sizes and colors for a more vibrant look. As a general rule, the strips should be long enough to cover at least one-third of your kite’s surface.
Step 4: Apply Glue on the Kite
Using either a glue stick or craft glue, apply a thin layer of glue on the area of the kite where you want to add tissue paper. Start from the bottom and work your way up towards the top of the kite.
Step 5: Place the Tissue Paper Strips
Take one strip of tissue paper and place it on the glued area. Gently press down on the edges to secure it in place. Repeat this step with different colored strips until you have covered the entire area with tissue paper.
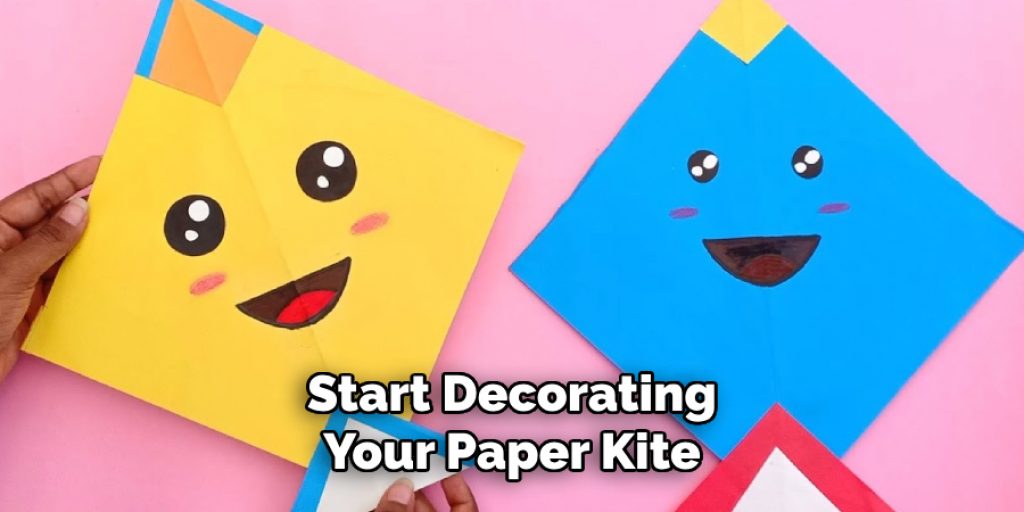
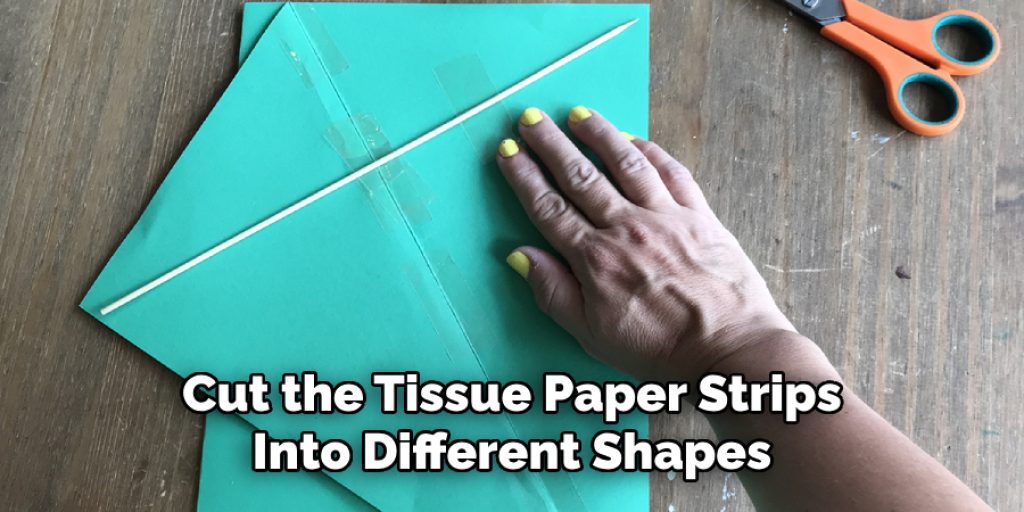
Step 6: Create Patterns and Designs
To add a creative touch, you can cut the tissue paper strips into different shapes and sizes. You can also overlap them to create unique patterns and designs on your kite. As you decorate, step back and admire your work to make sure the design is balanced and visually appealing.
Step 7: Let it Dry
Once you have completed decorating your kite, let it dry completely. This will ensure that the tissue paper stays in place and doesn’t peel off when flying the kite. If you are in a hurry, you can use a hairdryer on low heat to speed up the drying process.
Step 8: Cut Out Images or Shapes
If you want to add specific images or shapes to your kite, now is the time to cut them out of colored tissue paper. You can also use construction paper for this step. Once again, apply a thin layer of glue on the area where you want to place the images or shapes and secure them in place.
Step 9: Use Markers or Paint
If you want to add more details to your kite, you can use markers or paint. This step is entirely optional, but it can make your design stand out even more. You can draw designs, write messages, or add any other creative touches with markers or paint.
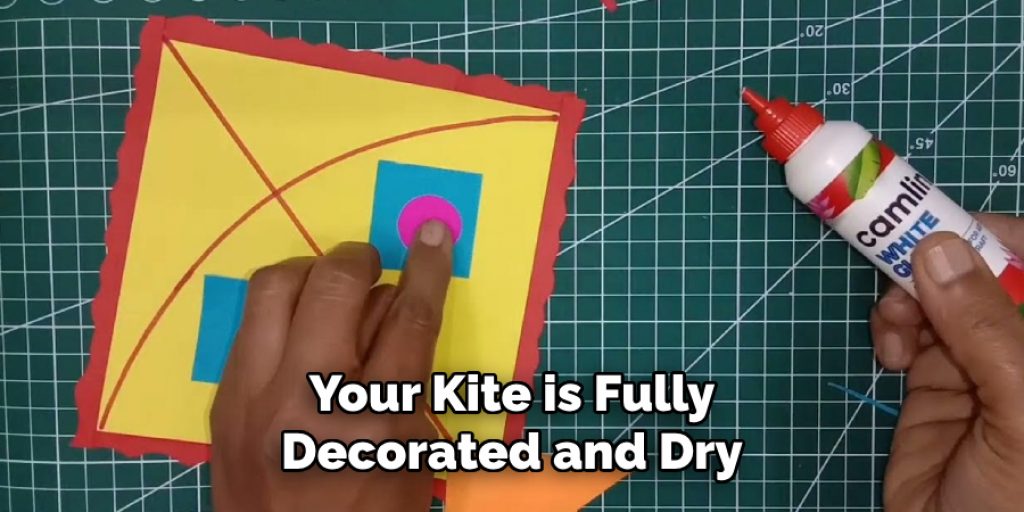
Step 10: Attach String or Yarn
Now that your kite is fully decorated and dry, it’s time to attach the string or yarn. Cut a piece of string/yarn about 3-4 times longer than the length of your kite. Tie one end to the bottom tip of the kite and the other end to the middle of the kite spine.
Step 11: Add a Tail
Adding a tail to your kite can make it more stable and easier to fly. You can use strips of tissue paper, ribbon, or string for the tail. Attach it to the bottom tip of the kite and let it hang down as you fly your kite.
Step 12: Test Your Kite
Now that your paper kite is fully decorated and assembled, it’s time to test it out. Find an open space with enough wind and give your kite a gentle toss into the air. If everything goes well, you should see your beautiful creation soaring in the sky.
Decorating a paper kite is not only fun but also a great way to express your creativity. With these simple steps, you can turn a plain paper kite into a colorful and unique masterpiece that will stand out in the sky. So, next time you fly a kite, don’t forget to add your personal touch by decorating it!
9 Safety Measures to Keep in Mind
1) Never Fly a Kite Near Power Lines
It is crucial to choose an open space away from power lines when flying a kite. Otherwise, it can lead to dangerous situations. Then, it’s best to fly your kite in a park or open field. So, always keep a safe distance from any power lines.
2) Avoid Flying Kites Near Airports
Kites can interfere with aircraft operations and cause accidents. So, make sure to avoid flying kites near airports or areas where there is heavy air traffic. Even if there is a minor chance of an accident, it’s best to play it safe and find another location.
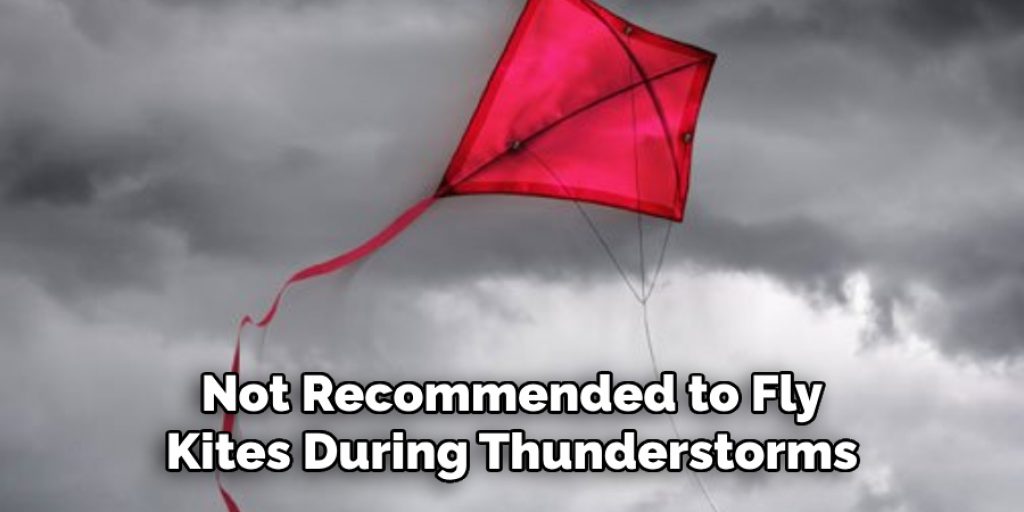
3) Don’t Fly Kites in Thunderstorms
It’s not recommended to fly kites during thunderstorms or other extreme weather conditions. The strong winds and lightning can be dangerous, so it’s best to wait for better weather before flying your kite. Also, avoid flying kites in areas prone to strong winds or unpredictable weather.
4) Always Supervise Children
If children are flying kites, make sure they have adult supervision at all times. Young children may not understand safety guidelines and can put themselves and others at risk. It’s best to fly kites with children in a controlled environment, such as a park or open field.
5) Use Appropriate Materials
When decorating a kite, make sure to use materials that are suitable for flying. Avoid using heavy materials that can weigh down the kite and make it difficult to fly. Also, choose non-toxic materials, especially if children will be handling the kite.
6) Be Mindful of Others
When flying a kite, be aware of the people around you and make sure to fly at a safe distance from them. It’s also important to avoid flying kites in overcrowded areas or roads where they can potentially cause accidents.
7) Use Proper String
Make sure to use appropriate string or yarn when flying a kite. Avoid using materials that are too thin or weak, as they can easily break and cause the kite to fall. It’s also essential to tie the string securely to the kite.
8) Don’t Fly Kites at Night
Flying kites at night can be dangerous as seeing and controlling them becomes difficult. Plus, avoiding areas with poor lighting or obstacles that can cause accidents is important. Like with any outdoor activity, it’s best to fly kites during the day when there is plenty of sunlight.
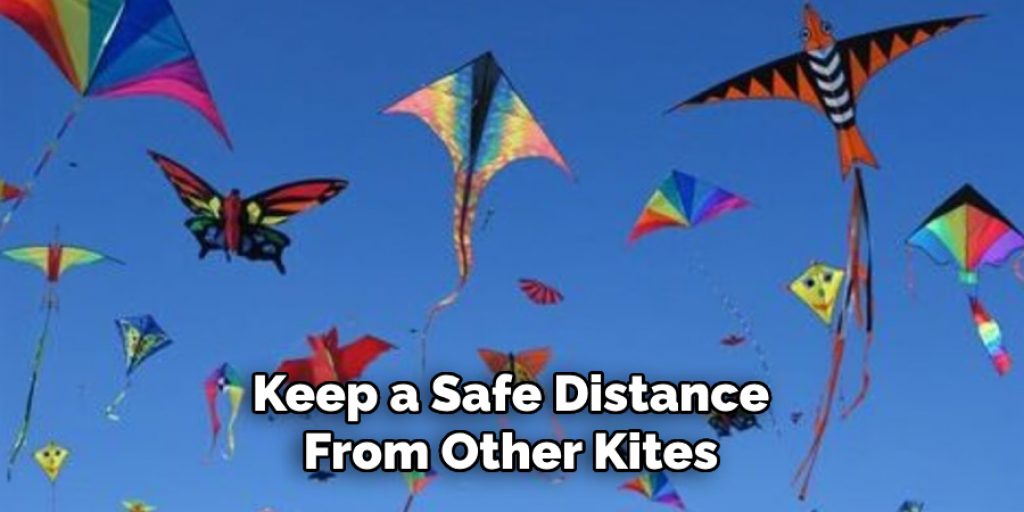
9) Be Prepared for Accidents
Despite taking safety precautions, accidents can still happen when flying a kite. So, make sure to have a first aid kit handy and know what to do in case of an emergency. It’s also important to keep a safe distance from other kites to avoid tangled strings, which can cause accidents.
Overall, flying a kite is a fun and enjoyable activity, but it’s essential to prioritize safety for yourself and others around you. By following these safety measures on how to decorate a paper kite, you can have a great time flying your beautifully decorated kite without any worries. Have fun, and let your creativity soar!
8 Things to Avoid When Decorating a Paper Kite
When decorating your paper kite, there are some things you should avoid to ensure a successful and enjoyable experience. Here are eight things to keep in mind:
1) Do Not Use Heavy Materials
Using heavy materials can weigh down the kite and make it difficult to fly. Stick to lightweight materials such as tissue paper or construction paper. And if you do want to add some weight, make sure it’s distributed evenly throughout the kite.
2) Avoid Using Too Much Glue
Using excessive amounts of glue can cause wrinkles and bubbles on your kite, making it look messy. It can also take longer to dry, which can be frustrating when you’re ready to fly your kite. Use a thin layer of glue, and if needed, use a glue stick for smaller decorations.
3) Don’t Cover the Entire Kite with Paint or Markers
Leaving some space on the kite for the wind to catch is crucial for successful flying. So, avoid covering every inch of your kite with paint or markers. Leave enough white space between decorations to allow air to flow through.
4) Avoid Sharp Objects
Using sharp objects like scissors or needles can be dangerous, especially for younger children. If you need to use them, make sure to supervise children closely and handle the objects with care. Keep in mind that sharp objects can also damage the delicate paper of your kite.
5) Don’t Overcrowd with Decorations
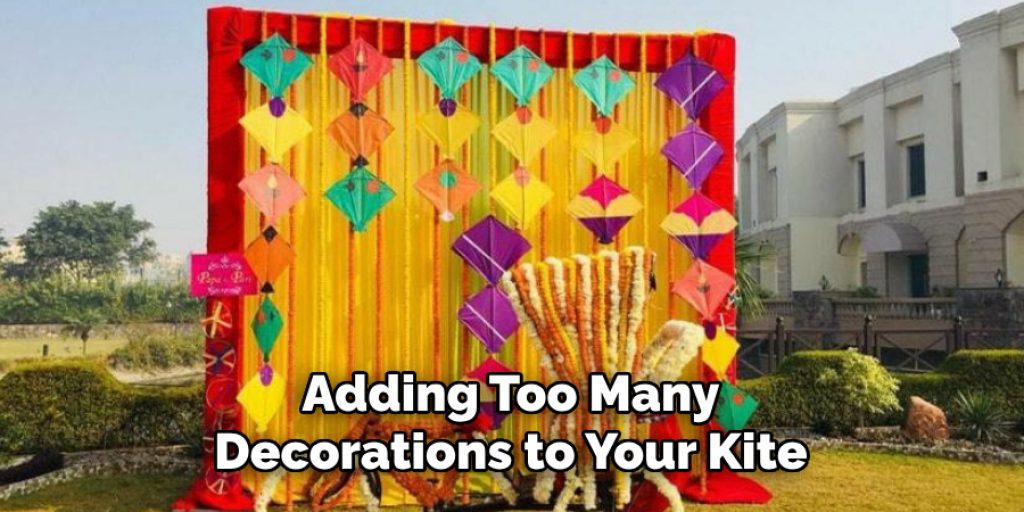
Adding too many decorations to your kite can make it heavy and difficult to fly. It’s best to stick to a few well-placed decorations rather than filling up every inch of the kite. Remember, less is often more when it comes to decorating a paper kite.
6) Avoid Using Permanent Markers
Permanent markers may seem like a good idea for decorating a kite, but they can bleed through the paper and create a messy design. Instead, opt for washable markers or paint that won’t damage your kite and will be easier to clean up.
7) Don’t Forget About the Tail
The tail of a kite is not just for looks; it also helps with stability and keeps the kite balanced. So, don’t forget to decorate the tail, but keep in mind that adding too much weight can affect the flying capabilities of your kite.
8) Avoid Using Flammable Materials
When decorating a paper kite, avoid using flammable materials such as certain types of paint or decorations. It’s crucial to keep safety in mind, even when it comes to decorating your kite. Stick to non-toxic and safe materials for a worry-free flying experience.
By avoiding these eight things, you can ensure that your paper kite is not only beautifully decorated but also safe and ready to fly. Remember to have fun and let your creativity take flight! So, gather your materials and start decorating your paper kite today for a fun and enjoyable outdoor activity.
8 Additional Tips for a Successful Kite Flying Experience
Aside from safety and decorating tips, here are eight additional tips to help you have the best kite flying experience possible:
1) Check the Wind Conditions
Before heading out to fly your kite, make sure to check the wind conditions in your area. Avoid flying kites on days with strong winds or unpredictable weather. It’s also best to avoid windy areas with obstacles such as trees or buildings.
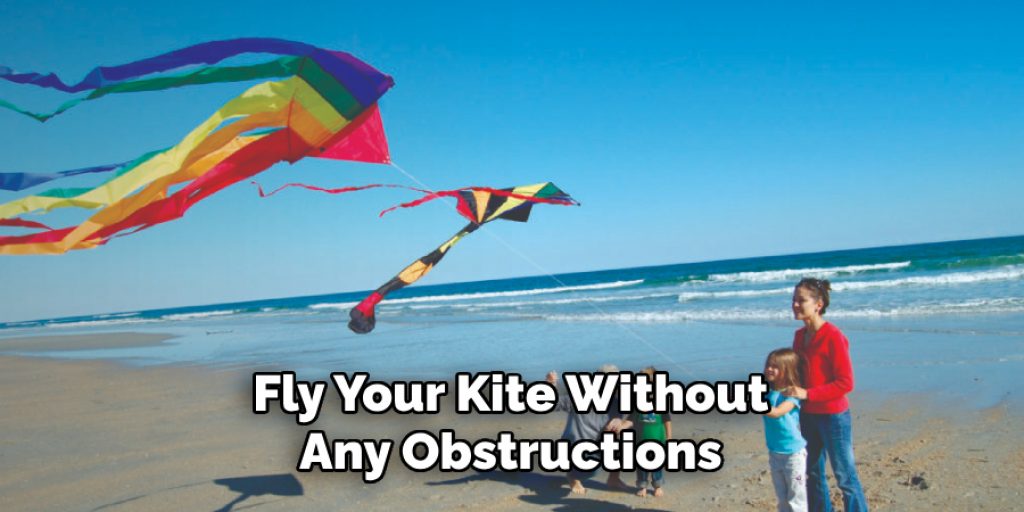
2) Find a Wide Open Space
Look for an open area, preferably a park or a field, where you can fly your kite without any obstructions. Avoid flying kites near power lines or crowded areas, and make sure to have enough space to maneuver the kite if needed.
3) Have Someone Help You
Flying a kite can be a two-person job. Having someone else help you launch and control the kite while you handle the string can make it easier to fly. It’s also more fun to share the experience with another person.
4) Hold Onto the String Tightly
Make sure to hold on tightly to your kite’s string at all times. Strong gusts of wind can easily pull the string out of your hands, leading to lost or damaged kites. While it’s essential to have a secure grip, avoid wrapping the string too tightly around your hand to prevent injuries.
5) Adjust the String Length
If you find that your kite is flying too high or too low, try adjusting the length of the string. A longer string will allow your kite to fly higher, while a shorter one will bring it closer to the ground. Also, make sure that the string is not tangled or knotted.
6) Be Patient and Have Fun
Don’t get discouraged if your kite doesn’t fly perfectly on the first try. It may take some time to get the hang of controlling it. Stay patient, enjoy the process, and have fun with it. With practice, you’ll become a pro at flying kites.
7) Experiment with Different Kite Shapes and Designs
There are countless kite designs and shapes to choose from, so don’t be afraid to experiment. You can even try making your own kite using different materials and designs. This will not only make your kite flying experience more unique but also give you a sense of accomplishment.
8) Take Pictures and Make Memories
Don’t forget to capture the moment by taking pictures of your decorated kite in flight. Making memories and documenting your experience is a great way to look back on this fun activity. You can even create a scrapbook or frame your favorite picture as a reminder of your successful kite flying adventure.
By keeping these additional tips on how to decorate a paper kite in mind, you can ensure that you have a fun and successful kite flying experience. So, go out there, fly your decorated paper kite, and enjoy the fresh air and sunshine! Keep in mind to always prioritize safety and have fun with your creativity when decorating and flying kites.
Frequently Asked Questions on Decorating and Flying Paper Kites
Here are some frequently asked questions about decorating and flying paper kites:
Can I Decorate My Kite With Stickers?
Yes, you can decorate your kite with stickers as long as they are not too heavy or bulky. Stickers can add a fun and unique touch to your kite design. However, make sure to avoid using stickers that are too large or made of heavy materials, as they can affect the kite’s flying capabilities.
Can I Decorate My Kite With Glitter?
Using glitter to decorate your kite may seem like a good idea, but it can easily fly off and create a mess. Also, glitter is known to harm the environment, so it’s best to avoid using it as a decoration for your kite.
How Do I Make Sure My Kite Flies Well?
To ensure that your kite flies well, make sure to check the wind conditions and find a wide open space with minimal obstructions. Also, hold onto the string tightly and adjust its length if needed. Avoid overcrowding your kite with decorations and stick to lightweight materials.
Can I Fly My Kite in Any Weather?
No, it’s essential to check the weather conditions before flying a kite. Strong winds, rain, and thunderstorms can all affect the flying capabilities of your kite and may even cause damage. It’s best to fly kites on clear and calm days for a safe and enjoyable experience.
Where Can I Buy Materials for Decorating and Flying Kites?
You can purchase materials for decorating and flying kites at local craft stores, toy stores, or online. Look for lightweight and non-toxic materials specifically made for kite decorations to ensure safety and optimal flying performance. So, go out there, have fun, and let your creativity take flight with decorated paper kites!
Conclusion
Decorating and flying paper kites is a fun and entertaining outdoor activity for people of all ages. By following these tips on how to decorate a paper kite, you can ensure that your kite is safe, well-decorated, and ready to take flight.
Remember to also keep safety in mind and have patience while learning to fly a kite. So, gather your materials, check the weather conditions, find a wide open space, and get ready for an enjoyable kite-flying experience. So, go out there, have fun, and let your creativity take flight with decorated paper kites! Remember to prioritize safety and have patience while learning to fly a kite.
Angela Ervin
Angela is the executive editor of DIY quickly. She began her career as an interior designer before applying her strategic and creative passion to lifestyle and home. She has close to 15 years of experience in creative writing and online content strategy for housekeeping, home decorations as well as other niche efforts. She loves her job and has the privilege of working with an extraordinary team. She lives with her husband, two sons, and daughter in Petersburg. When she's not busy working she spent time with her family.